How to Pack for Winter Camping: Essential Tips for Cozy Adventures
Winter camping sounds like a dream until you’re shivering in your tent at 2 AM, wondering why you didn’t pack extra socks.
I’ve been there. I learned that packing the right gear is the difference between an unforgettable snowy adventure and a total nightmare. Success comes down to organizing your insulation, layers, and sleep systems so everything stays dry and easy to find.
Winter camping is worth the effort. You get the trails to yourself, the views are incredible, and drinking cocoa under the stars while snow falls is a vibe you can’t beat. But you can’t just throw your summer gear in a bigger bag. You need a real packing strategy to stay safe.
I’m going to show you exactly what to pack so you stay warm and comfortable. Whether it’s your first time or you’re a cold-weather pro, these tips will help you handle whatever the season throws at you.
Key Takeaways
- Bring winter-specific gear like a four-season tent, two sleeping pads, and a cold-rated sleeping bag.
- Pack smart by keeping important items easy to reach and protecting your gear from moisture.
- Plan for more fuel, better hydration, and high-calorie foods to keep your energy up.
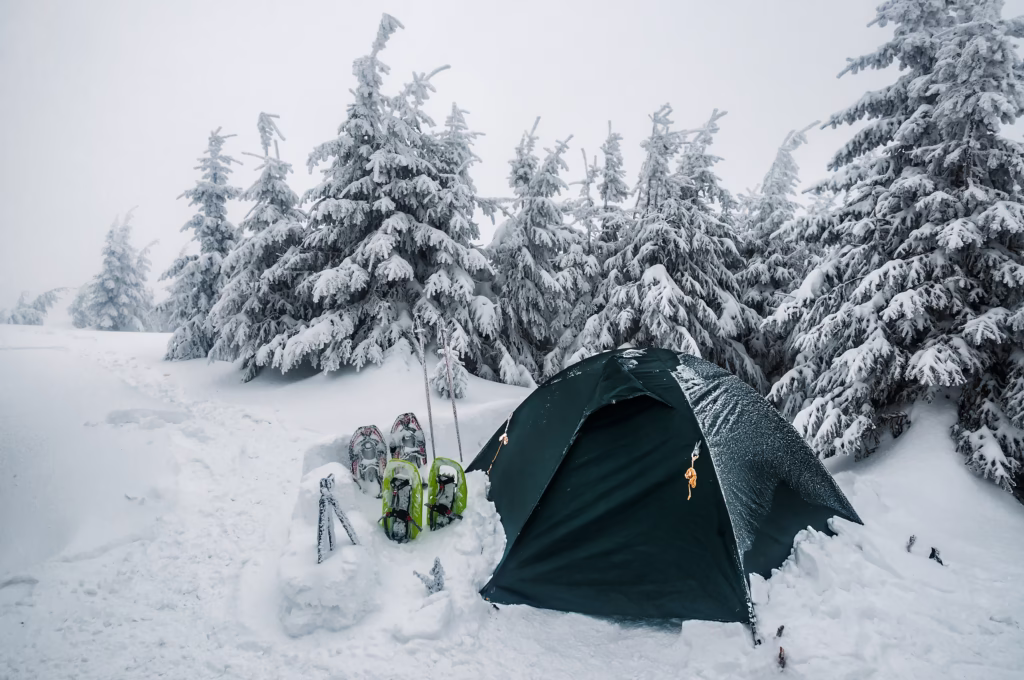
Winter Camping Essentials

Getting your gear right is the main thing. These are the core items that keep you safe and warm enough to actually enjoy yourself.
Packing Checklist Fundamentals
I always start with the Ten Essentials. These are non-negotiable. You need navigation, sun protection, insulation, lights, first-aid, fire starters, a repair kit, food, water, and emergency shelter.
I also pack extra layers because your body works harder to stay warm in the cold. I use a wicking base layer, an insulating middle layer like fleece, and a waterproof shell.
Bring at least one extra day of food. I stick to high-calorie snacks like nuts and chocolate. Hot meals are great for warming you up from the inside, and cocoa or tea is a must-have when it’s freezing.
Don’t forget the small details. I use oversized zipper pulls so I can use my gear without taking my mittens off. Insulated sleeves for your water bottles are also helpful, so your water doesn’t turn into ice overnight.
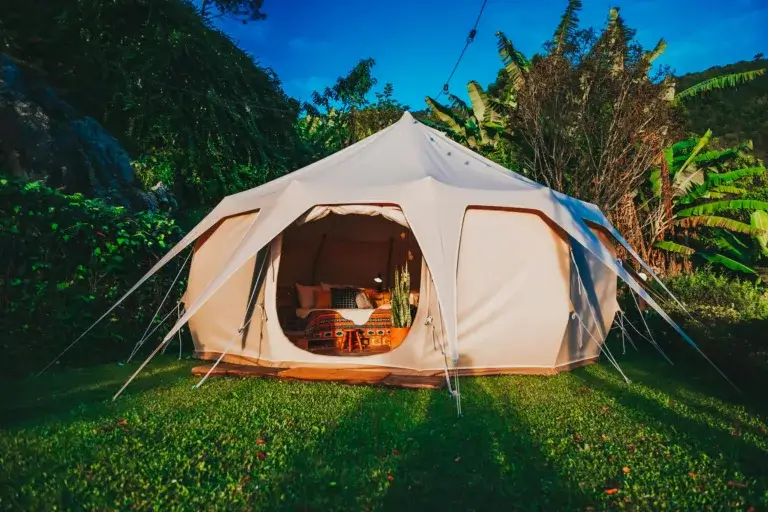
Must-Have Shelter Items
A four-season tent is your most important piece of gear. These tents have stronger poles and tougher fabric to handle heavy snow and high winds.
I always carry a tarp too. It’s light and works as a windbreak or a dry place to cook. I’ve used mine many times to create extra storage space outside the tent.
Your sleep setup is just as vital. I use a bag rated for 0°F at the very least. You also need an insulated sleeping pad with a high R-value. The cold ground will drain your body heat fast if you don’t have a barrier.
Navigation Tools You Need
Never leave without a map and compass. GPS devices are helpful, but batteries die fast in the cold. I keep my map in a waterproof sleeve and check it before I head out.
A compass with a clinometer is great for checking slope angles. This is important for staying safe in avalanche territory. Practice using your tools before the trip so you aren’t guessing during a whiteout.
I carry a GPS as a backup, but it’s not my primary tool. It’s useful for tracking your path, but always have a manual way to find your way home.
Clothing and Layering for Cold Weather
The right clothes can make or break your trip. I’ve found that proper layering is the best way to stay dry and happy when the temperature drops.
Mastering the Layering System
Layering is the golden rule of winter camping. You wear three layers that work together to keep you comfortable.
The base layer touches your skin and moves sweat away. The mid layer traps your heat to keep you warm. The outer shell stops wind and snow from getting in.
This system is flexible. If you’re sweating while hiking, take a layer off. When you stop to set up camp, put it back on. It’s better than wearing one big jacket that makes you too hot or too cold.
Make sure your layers can breathe. If sweat gets trapped, you’ll get a chill the second you stop moving.
Choosing Base Layers for Warmth
Base layers are critical. I always choose merino wool or synthetics that wick moisture. These materials help keep you dry all day and night.
Stay away from cotton. It holds onto sweat and makes you colder when it gets wet. I learned that the hard way.
| Material | Benefits | Best For |
|---|---|---|
| Merino Wool | Warm when wet and stays fresh longer. | Longer trips and damp weather. |
| Synthetic | Dries fast and is very lightweight. | High activity and lower budgets. |
| Silk | Thin and smooth. | Layering under other clothes. |
Look for a snug fit. The fabric needs to touch your skin to work properly. Long underwear for your top and bottom is a necessity.
Mid Layers That Make the Difference
This is where the warmth happens. I usually pack a fleece jacket and a down jacket so I can adjust to the weather.
Fleece is great because it breathes well and stays warm even if it gets a little damp. It’s perfect for when you’re active, like gathering wood or setting up your site.
Down jackets are very warm for their weight. I save mine for when I’m hanging out at camp or sleeping. Just remember that down doesn’t work well if it gets wet, so keep it dry.
Synthetic insulated jackets are a good middle ground. They are heavier than down, but they still keep you warm if they get wet. I like these for rainy or slushy conditions.
Essential Outer Layers
Your outer shell protects you from the elements. You need a waterproof jacket that lets sweat escape.
I look for jackets with taped seams and a hood that fits over my warm hat. These features keep the moisture out during a storm.
Waterproof pants are just as important. Snow and wet ground will soak through normal pants fast. I like pants with side zippers so I can put them on without taking off my boots.
Don’t forget your feet and hands. Use wool socks instead of cotton. Mittens are warmer than gloves because your fingers share heat. Gaiters are also great for keeping snow out of your boots.
A warm hat is a must because you lose a lot of heat through your head. I also use a neck gaiter to protect my face from the wind.
Creating a Toasty Sleep System
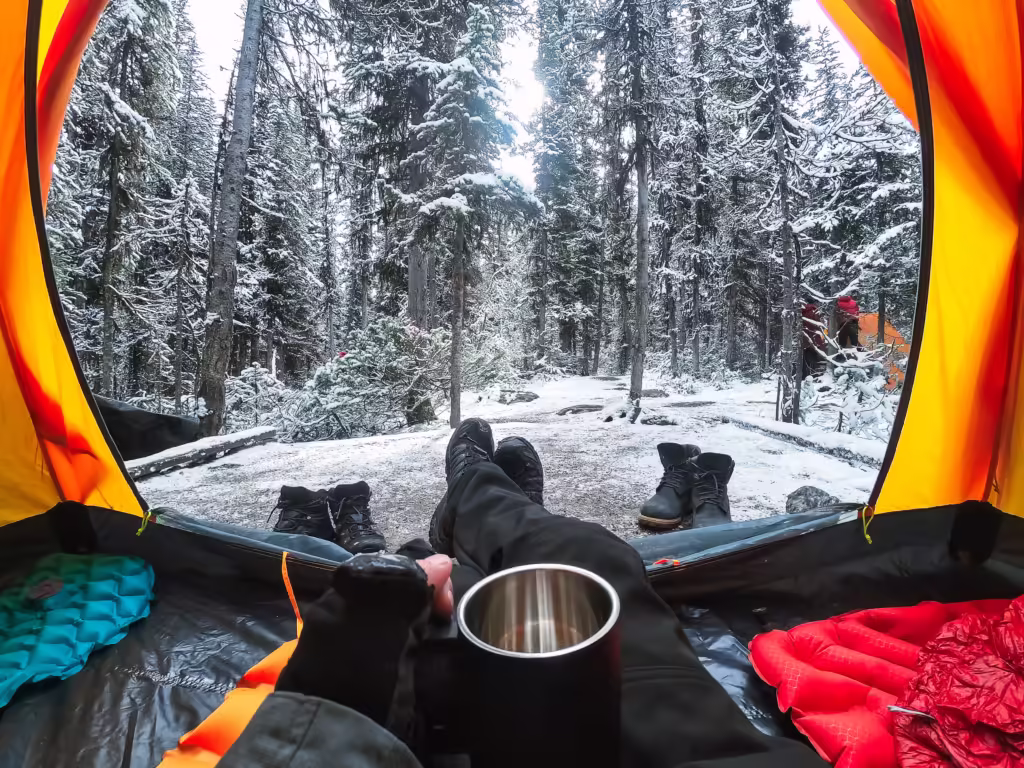
Your sleep setup is the most important part of your gear. A bad night of sleep can ruin the whole trip. Combining a sleeping bag, an insulated pad, and a few extras will keep you warm all night.
Picking the Right Sleeping Bag
Pick a bag rated at least 10 degrees colder than the lowest temperature you expect. I usually look at the Comfort rating instead of the Lower Limit to be safe.
For winter, I use bags rated for 0°F or less. Down is light and packs down small. Synthetic bags are bigger and heavier, but they still work if they get wet.
Mummy-style bags are best because they fit close to your body. Make sure your sleeping bag has a hood and a draft collar to keep the heat from leaking out.
Insulated Sleeping Pads and R-Value
The cold ground is a major problem. You need an R-value of 5.0 or higher for winter. R-value measures how well the pad keeps heat from escaping.
I stack two pads for extra warmth. I put a foam pad on the bottom and an inflatable one on top. This protects the inflatable pad and gives me way more insulation.
| R-Value | Temperature Range | Season |
|---|---|---|
| 1.0-2.0 | Above 50°F | Summer |
| 2.0-4.0 | 30-50°F | 3-Season |
| 4.0-6.0 | 0-30°F | Cold Weather |
| 6.0+ | Below 0°F | Extreme Cold |
You can add the R-values of your pads together to find your total insulation level.
Boosting Warmth With Liners and Tricks
A liner can add up to 15 degrees of warmth without much extra weight. I like fleece or wool liners because they feel warmer than silk.
Try doing some quick exercises before you get into your bag to warm up your core. Drinking hot tea also helps you stay cozy.
Hand warmers are a lifesaver. I put a few at the bottom of my bag near my feet about 10 minutes before bed. They stay warm for hours.
Always change into dry base layers for sleeping. If you wear the clothes you hiked in, the sweat will make you cold. I keep my snacks and water inside the bag so I don’t have to get out at night.
Food, Water, and Camp Kitchen Basics
Your body needs more fuel in the winter. Staying hydrated is also tough when your water keeps freezing. Good food storage and the right tools make a huge difference.
Melting Snow and Hydration Hacks
Pack two insulated water bottles. Wide-mouth bottles are best because you can break up any ice that forms inside.
Store your bottles upside down. Ice starts at the top, so this keeps the opening clear so you can actually drink.
Melting snow uses a lot of fuel. Start with a little liquid water in the pot so you don’t burn the snow. Don’t eat snow directly. It takes too much energy for your body to heat it up.
Fill a thermos with boiling water for drinks throughout the day. I keep one bottle inside my jacket during the day and sleep with my water at night so it doesn’t freeze.
Filters can freeze and break in the winter. Use chemical tablets instead for water treatment.
Keeping Food from Freezing
Use a cooler to keep things from freezing. I fill bottles with hot water and put them inside with my food to keep everything at a good temperature.
Pack food that stays edible even when it’s frozen. Peanut butter, cheese, and energy bars are great. Avoid fresh fruit because it gets too hard to eat.
I wrap my breakfast in my clothes and put it at the bottom of my sleeping bag. My body heat keeps it ready for the morning. For liquids like oil, use wide containers so you can scoop them out if they get thick.
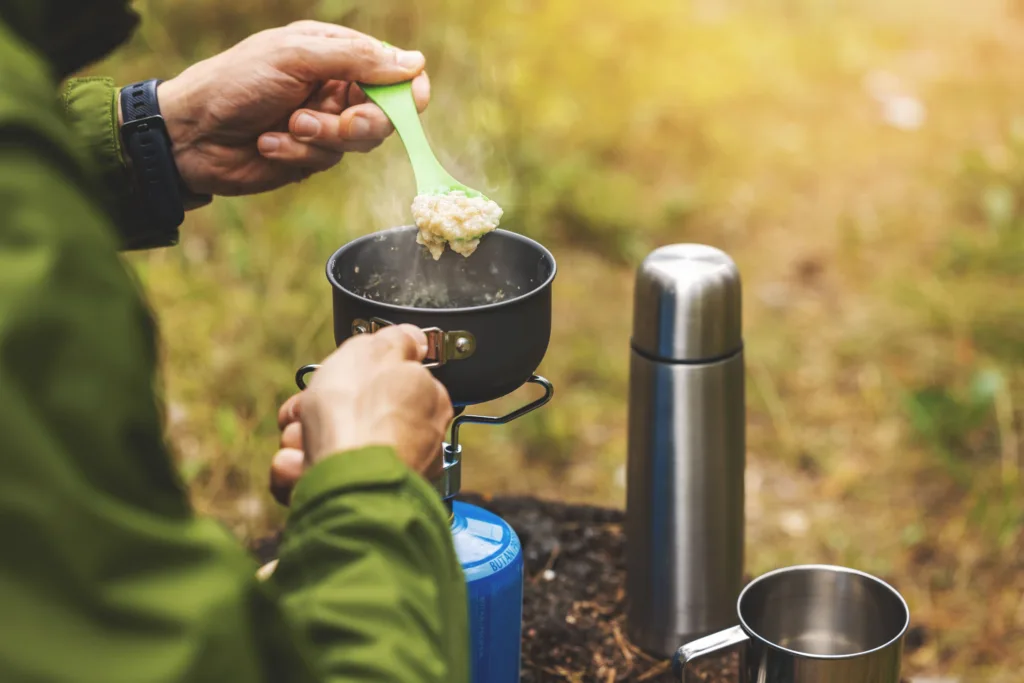
Must-Pack Cooking Gear
Use a liquid fuel stove. Canister stoves often fail when it gets very cold. Bring 1.5 times the fuel you think you’ll need.
A wide pot with a lid helps cook faster and saves fuel. A foam cozy is great for keeping your food hot after you take it off the stove.
Essential Cooking Gear:
- Liquid fuel stove and plenty of fuel.
- A wide 1-2 liter pot with a lid.
- Pot cozy to keep meals warm.
- Plastic utensils so they don’t freeze to your lips.
- A deep bowl for soups.
- An insulated mug for cocoa.
- A lighter kept in your pocket.
Keep your lighter and fuel warm inside your jacket. A deep bowl is better than a plate for keeping your food hot while you eat.
Safety, Health, and Navigation
Winter camping has its own risks. Make sure your first aid kit is ready for cold weather issues like frostbite or hypothermia.
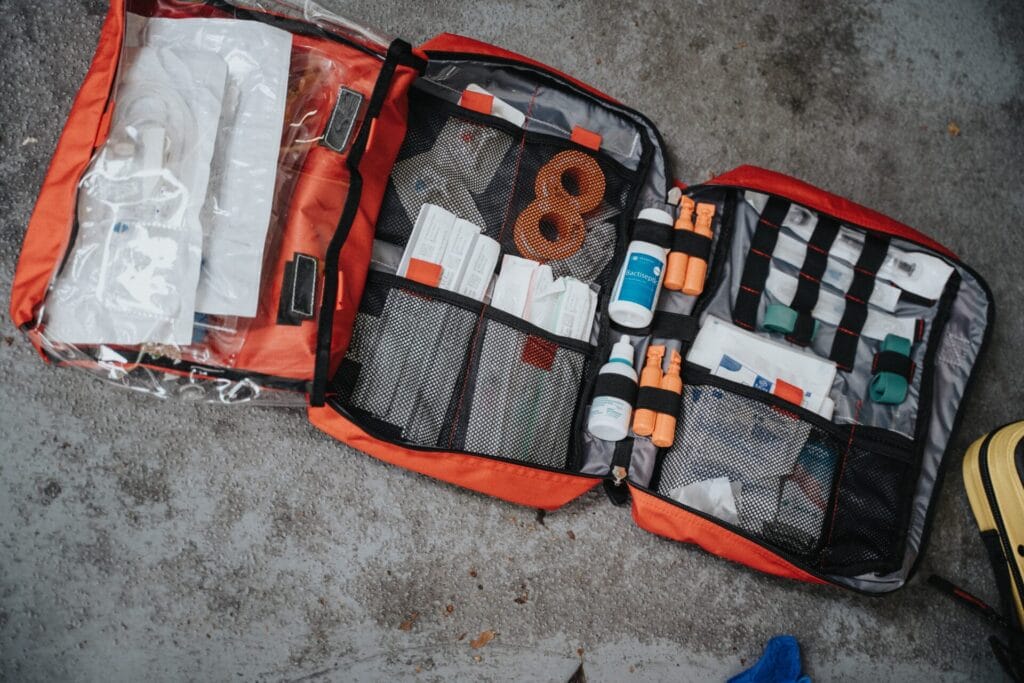
First Aid Kit Packing Tips
Add moleskin for blisters and chemical heat packs for frostbite. These are essential for keeping your hands and feet safe.
I pack pain relievers for altitude headaches and an emergency blanket just in case. Bring extra bandages too. It’s harder to treat wounds when you’re wearing thick gloves.
Don’t forget sun protection. Snow reflects a lot of UV rays. Bring sunscreen and sunglasses to prevent sunburn and snow blindness.
Navigating in Winter
Batteries die fast in the cold. I carry a headlamp with extra batteries and keep them in my pocket to stay warm.
Don’t rely only on a GPS. Bring a compass and paper maps. Navigation tools should be easy to reach at all times.
Landmarks can look different when they are covered in snow. Mark your path and take photos of key spots. A whistle is also a good piece of safety gear if you need to call for help.
Avalanche Awareness
If you’re in steep terrain, you need avalanche safety gear. This means a beacon, probe, and shovel. Make sure everyone knows how to use them before you leave.
Check the weather forecast and avalanche reports daily. If the danger is high, change your route. Avoid camping under steep slopes where a slide could happen at night.
Safety equipment only works if you have the training. Be aware of your surroundings at all times.
Weather and Emergency Prep
Leave a trip plan with a friend. Tell them where you are going and when you expect to be back. This way, they can call for help if you don’t return on time.
Bring multiple ways to start a fire. I pack waterproof matches and fire starter cubes. A good knife is also helpful for making kindling or fixing gear.
Carry an emergency shelter like a bivy sack. If you get stuck or need to help someone, it provides fast protection. For remote areas, a satellite messenger is a great way to stay in touch.
Personal Comfort and Final Touches
Staying organized makes the trip much better. Smart packing keeps your essentials ready, and a few comfort items will keep your spirits up.
Smart Packing Strategies
I use waterproof stuff sacks for everything. This keeps my gear dry and helps me find things without digging through my whole bag in the snow.
I use different colors for clothes, cooking gear, and personal items. It makes it much easier to find what I need.
Keep daily items in top pockets. My power bank stays in my jacket so the battery doesn’t die. I also wrap my camera in a soft cloth and keep it in an insulated pouch.
Duct tape is great for quick fixes. Wrap a few feet around your trekking poles to save space instead of bringing the whole roll.
Keeping Personal Items Accessible
I have one small bag for items I use all the time. This includes medications in their original bottles and personal care items.
Hand sanitizer and lip balm are very important. The winter air is dry, so you’ll need them. I also pack a bit of toilet paper and a trowel in a waterproof bag.
My hygiene kit has wipes for when I can’t use water. A small, quick-dry towel is also helpful. Sunscreen is a must, even when it’s cloudy, because of the snow’s reflection.
Little Luxuries for the Camp
A few extras can make a cold night feel much better. I bring a book or some podcasts to stay entertained in the tent.
Hot chocolate or tea are great for a quick boost. They don’t weigh much but they make a big difference in how you feel.
I also pack cards if I’m with friends. It’s a fun way to pass the time after the sun goes down. A journal is also a nice way to keep track of your adventure. A few wet wipes can help you freshen up when a full wash isn’t possible. Remember to pack out all waste, including used wipes.
Frequently Asked Questions
Winter camping can be confusing. Here are the essential items and strategies for warmth, gear protection, and beginner tips.
What are the must-have items for staying warm while winter camping?
Pack a sleeping bag rated 10°F lower than the coldest temp you expect. You need two sleeping pads to stay insulated from the frozen ground. A puffy jacket, wool socks, and hot water bottles in your bag will help you stay cozy all night.
Any tips on staying cozy in the tent when it’s snowing?
Pack down the snow before you set up your tent to create a solid floor. A snow wall can help block the wind. Keep a vent open for airflow and eat a snack before bed to help your body generate heat.
Can you suggest a winter camping checklist for a small budget?
Use what you already have. Add a cheap foam pad under your summer sleeping pad for more warmth. A bag liner is a great way to add heat without buying a new sleeping bag. Rent expensive items like snowshoes for your first few trips.
What clothing should I pack to stay warm?
Use the three-layer system: a wicking base, a warm mid layer, and a waterproof shell. Bring extra wool socks and change into fresh ones before bed. A warm hat and quality mittens are also essential for keeping your heat in.
How do I keep my gear dry and working in the cold?
Use water bottles instead of hydration tubes because they won’t freeze as easily. Keep your stove fuel and electronics inside your jacket or sleeping bag to keep them warm. Store your water bottles upside down to prevent the openings from freezing shut.
What are the basics for a winter camping beginner?
Start with a short trip close to your car. Practice using your stove and tent at home first. Bring plenty of food because you’ll need the calories. Pick a site that has some natural wind protection, like a grove of trees.