
Halloween Campsite Decorating Ideas to Spook Up Your Next Fall Trip
Two of my favorite things collide in late October: sleeping in the woods and going a little overboard with spooky decor. Glowing pumpkins on a dark trail, cobwebs stretched across a tent, and cold wind pushing dead leaves around can beat a store-bought haunted house pretty easily.

You can pull off a haunted campsite for under fifty bucks with dollar store finds, cardboard, and a handful of battery lights. I’ve built these setups with kids underfoot, in the rain, and at sites where I forgot half my gear at home.
Every idea below is beginner-friendly, packs flat, and survives a breezy night. By the end, you’ll know which decorations deserve the trunk space, how to stop everything from blowing into your neighbor’s fire ring, and where you can cut corners without losing the creep factor.
Pumpkin Lantern Parade – carve various pumpkins with fun and spooky faces, then line your campsite path with them for a glowing welcome

A row of glowing carved pumpkins along your entrance path is the cheapest high-impact decoration in the whole lineup. Pumpkins cost a few dollars each at most patches in October, and at night the result looks like you hired someone.
Buy a mix of sizes. I grab two or three big ones and five or six little pie pumpkins that cost about two bucks apiece.
Free carving stencils are all over the internet if freehand drawing makes you nervous. Tape a printed template to the skin before you cut, and most of the guesswork disappears.
Mix the moods. Add a couple of menacing faces, one goofy grin with two teeth, and maybe a cat shape. Guests walking the row never know what’s next.
Drop battery LED tea lights inside instead of real candles. Dry leaves plus an open flame is how you meet the campground host in a bad way.
I set my carved pumpkins about three feet apart, from the main road to the tent door. The biggest one goes right at the entrance with a wide, happy grin, and it’s the piece everyone photographs.

50 Halloween Templates for Carving Pumpkins, Decorating and Painting Crafts
2) Ghostly Hanging Lanterns – drape white cloth ghosts with LED lights inside from tree branches to create eerie floating spirits.
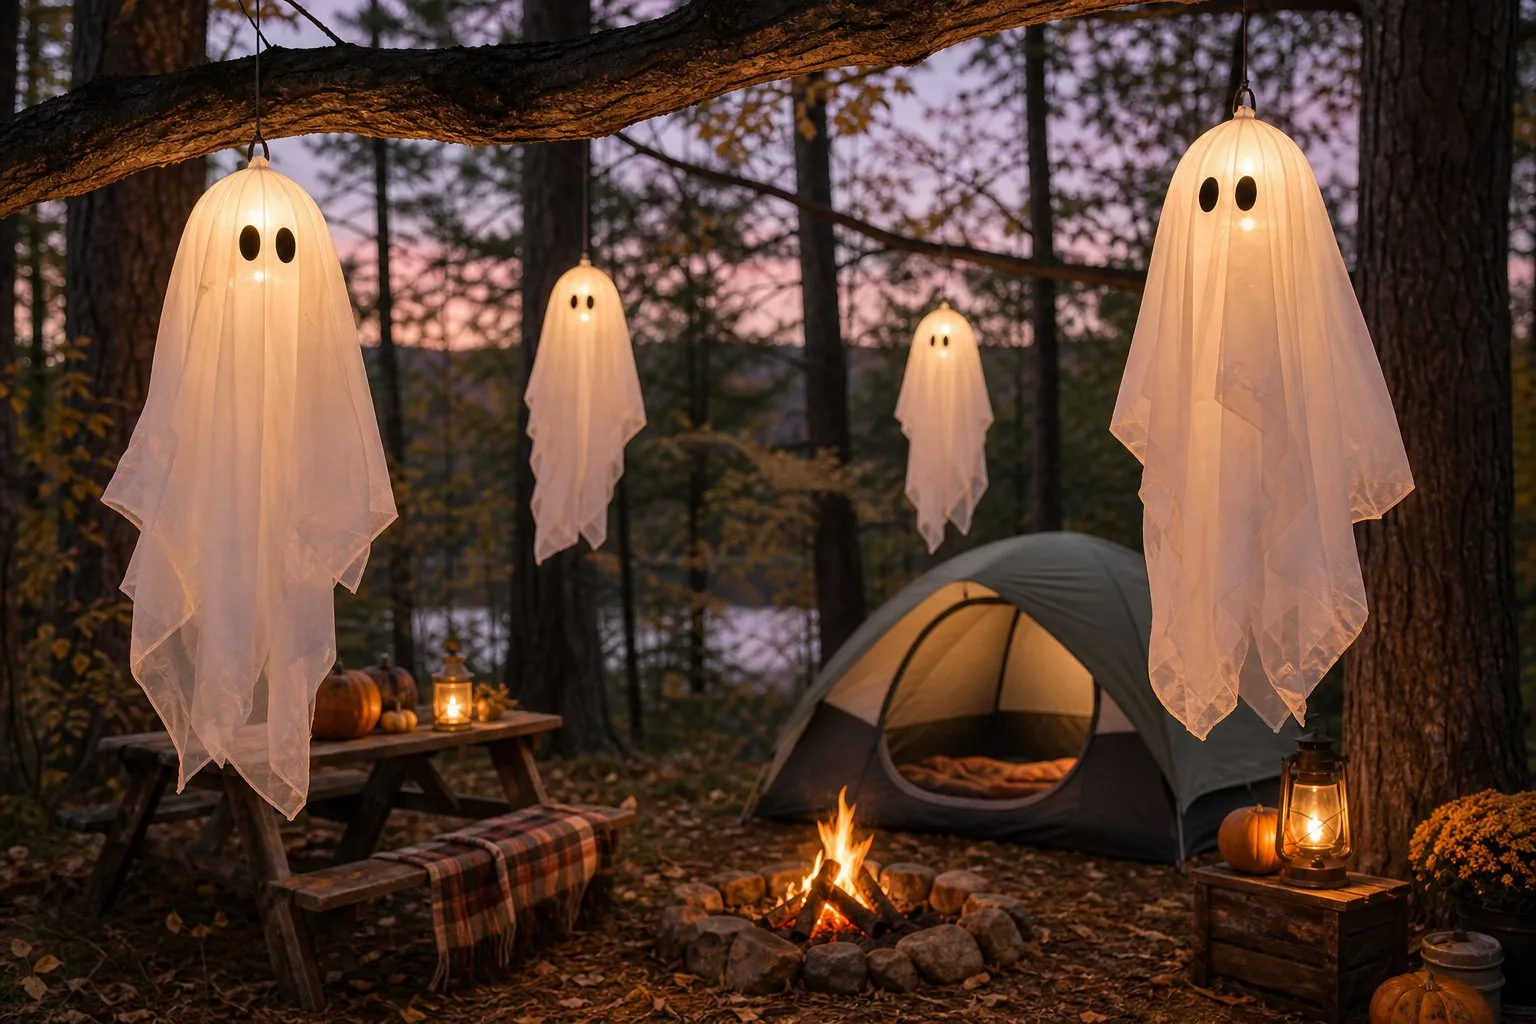
Floating ghosts made from white fabric and LED lights cost almost nothing, but they look like the most expensive thing at your site. I’ve made a set of five for under ten dollars with dollar store supplies.
Start with something that holds a round shape. White paper lanterns work great, but an empty plastic yogurt tub or a crumpled grocery bag works too.
Tuck a small strand of warm white LED lights inside, and use battery power so you aren’t dragging a cord through the dirt. Drape cheesecloth or a thin white sheet over the top, then let the edges hang loose.
Cheesecloth is my favorite because it’s thin enough for the glow to shine through. Draw the faces with a black marker. I make some friendly and some mean, and the kids always want to handle this part themselves.
Hang them at different heights from branches with clear fishing line. The line disappears after dark, so the ghosts look like they’re hovering with nothing holding them up.
On a breezy night, they bob and spin. Every single time, somebody asks where I bought them.
3) DIY Spider Web Corners – stretch thick white yarn or camping rope across your tent corners and snag plastic spiders for the creepiest effect.
Your tent already has every anchor point you need for a giant web, which makes this the easiest decoration on the list. One skein of thick white yarn costs about three dollars and covers a whole tent.
Tie one end to a corner loop or guy line, then run it across to the opposite corner. I build an X first, then add four or five more strands across the middle.
Wrap a few loops around the center to fake the concentric rings, and the shape reads as a web from twenty feet away. Want it bigger? Run the yarn out to nearby trees or the back of a camp chair.
There’s no wrong way to do this, which makes it a good first project if you’re new to decorating a camping tent. Now clip on plastic spiders.
A bag of forty runs about seven dollars. I use every size in the bag so it looks like a proper infestation.
Yarn webs handle a light breeze fine. If a real storm rolls in, pull them down before they get soaked.
Wet yarn turns into a knot that no amount of patience fixes, and store-bought fake spider webs get even worse.

120 Pieces, 3 Sizes
4) Zombie Silhouettes – cut out zombie shapes from cardboard, paint them black, and place behind lanterns for spooky shadows

Cardboard silhouettes give you the biggest scare per dollar. You only need a leftover shipping box and a can of black spray paint. I made six figures from one appliance box.
Sketch rough zombie poses with a marker: arms out, shoulders hunched, head tilted at a weird angle. Your drawing doesn’t need to be good.
Once you cut the shapes out and paint them flat black, that’s all anyone sees. Cut, paint, let dry. That’s the whole build.
The magic happens with placement. Set a lantern or camp light on the ground in front of a cutout, and its shadow stretches huge across your tent wall or the trees behind it.
Move the cutout closer to the light and the shadow gets bigger. Slide it back and it shrinks. I shift them around a few times during the night because someone always notices a figure that wasn’t there before.
The same trick works for fake tombstones. Cut headstone shapes from cardboard, paint them gray, add a few bloody handprints with red craft paint, and you’ve got a graveyard for pocket change.
Plastic tombstones from the store cost fifteen dollars each and don’t pack any flatter than cardboard. Lean the cutouts against trunks or push a stake through the bottom to hold them upright.

10 Pack, Large Halloween Scary Black Zombie Hands
5) Glow-in-the-Dark Tape Trail – use glow tape to mark paths or tent edges for a mysterious nighttime vibe and safety
Glow-in-the-dark tape does double duty as decoration and trip protection, which is why one roll lives in my camp box year-round. A fifteen-foot roll costs around twelve dollars and lasts several seasons.
I run strips along the tent seams and the outer edge of my site. After dark, those lines look like a glowing barrier someone drew in the dirt.
The ground trail is my favorite part. Short pieces of tape, laid every couple of feet along the path, keep trick-or-treaters and late-night bathroom walkers from face-planting over a root.
Nobody thinks of it as a safety feature, but it is one. Most glow tape holds a usable glow for two to six hours after a good charge.
I hit each strip with a flashlight for thirty seconds right before guests show up, so it’s at full brightness when it matters. I also outline the cooler lid, chair legs, and the corner of the picnic table.
Those are the three things people bark their shins on every trip. Cheap glow sticks work as a backup if you run out of tape.
Snap a few and tuck them in the grass along the trail. Kids will fight over who gets to do the tape job, and watching them realize it works is worth the ten seconds of arguing.
If you want more ways to light a site after dark, there are plenty of camping tent lighting ideas that pair well with this.
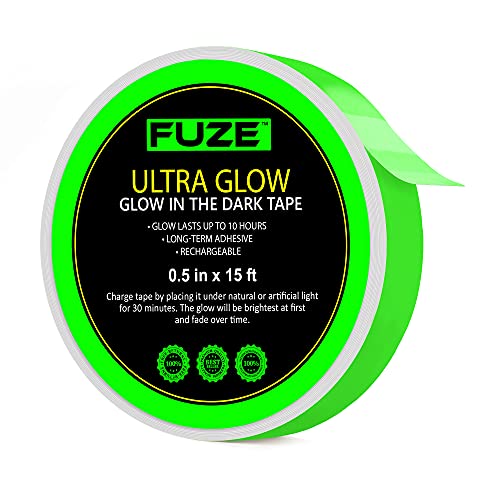
15 Ft x 0.5 in - Bright - Rechargeable - Reflective - Glow Tape
6) Blacklight Tent Zonej – set up a blacklight inside your tent and use neon decorations for a fun ultraviolet glow party

One blacklight strip turns a plain tent into a glow party for about seventeen dollars. For the money, it creates the biggest change of anything I bring.
I run a flexible LED blacklight strip around the inside ceiling of the tent. The second it kicks on, anything neon or white lights up like it’s radioactive. Plain white t-shirts, socks, teeth. Everyone finds this funnier than they should.
I pack a few cheap glow items to go with it:
- Glow sticks: I add a few around the tent entrance.
- Neon rope: I wrap it around poles or tie it between trees.
- Bright plastic cups: These glow nicely near the seating area.
- Neon pool noodles: I bring these when I’m feeling ambitious.
Neon tape wrapped around the tent poles looks like glowing stripes in the dark. I also hang a neon skeleton garland along the back wall. Against the black woods outside, the contrast is wild.
My favorite cheap trick is painting smooth rocks with glow paint during the day, then scattering them around the tent entrance at night. They turn into little green stones sitting in the dirt, and kids hunt for them like treasure.
The blacklight zone always becomes the gathering spot. We end up inside telling ghost stories under that purple haze until somebody’s parent calls quiet hours.

50 Foot, Dimmable Flexible Blacklights, Non-Waterproof 900 LEDs 50ft/15M
7) Creepy Crawly Table Centerpieces – arrange fake bugs and moss in your campsite table centerpiece for an instant creepy crawlspace
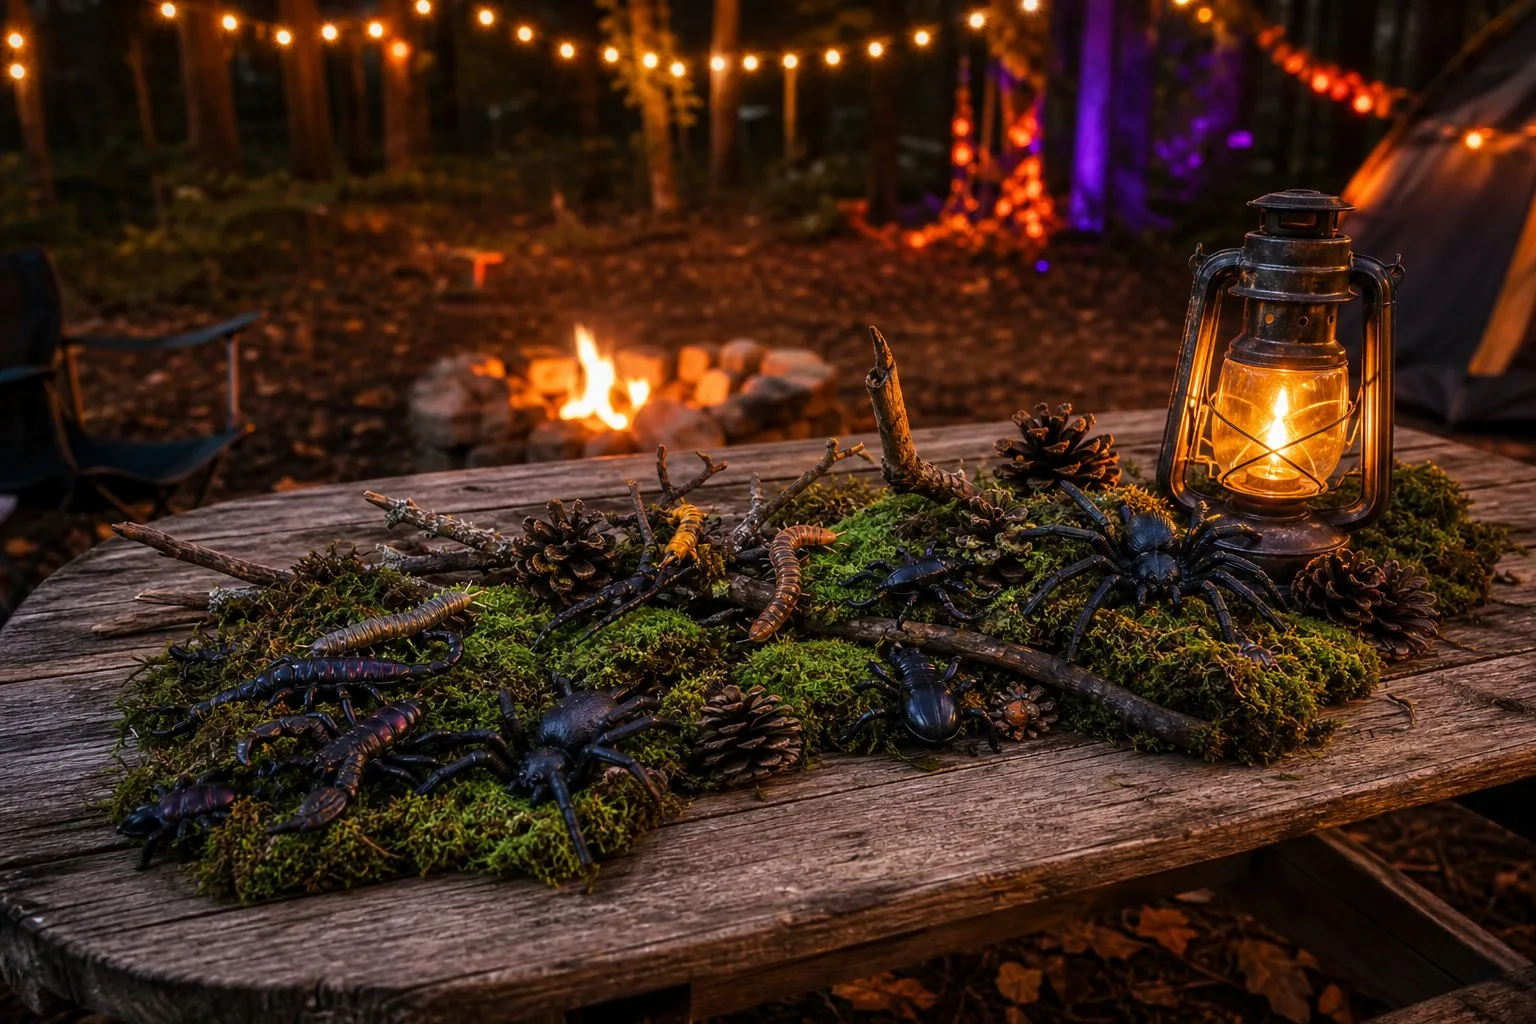
A tray of fake bugs on artificial moss costs about ten dollars and makes my picnic table look like a rotting forest floor. It’s the decoration people lean in to examine, then immediately regret examining.
I use a shallow wooden box or a cheap metal serving tray as the base. I pile in artificial moss and stick with darker green shades because bright green looks like a craft store shelf.
Then come the bugs:
- Plastic spiders: I scatter them across the moss.
- Beetles and roaches: I mix in different shapes and sizes.
- Centipedes: I drape one long centipede over the edge.
A 150-piece bag runs about eight dollars, so I can go heavy. I scatter everything at odd angles so it looks like the bugs wandered in rather than got arranged by hand.
I tuck two or three battery tea lights under the moss. The low glow makes the bug legs cast long, crooked shadows across the table.
Small plastic bones or a mini skull add a nice touch, and a few wisps of fake webbing over the top finish it. One tiny creepy doll head half-buried in the moss takes it up a notch, though I skip that when little kids are eating at the table.
This centerpiece is weatherproof, weighs almost nothing, and doesn’t blow away like paper decorations do. I just gather the bugs before packing up so I don’t leave plastic in the woods. For real bugs, I also use a few tricks to keep bugs away while camping.

150pcs, Cockroaches, Spiders, Worms Centipedes, Scorpions
8) Floating Witch Hats – hang upside-down witch hats with string lights inside to give a floating magic look.
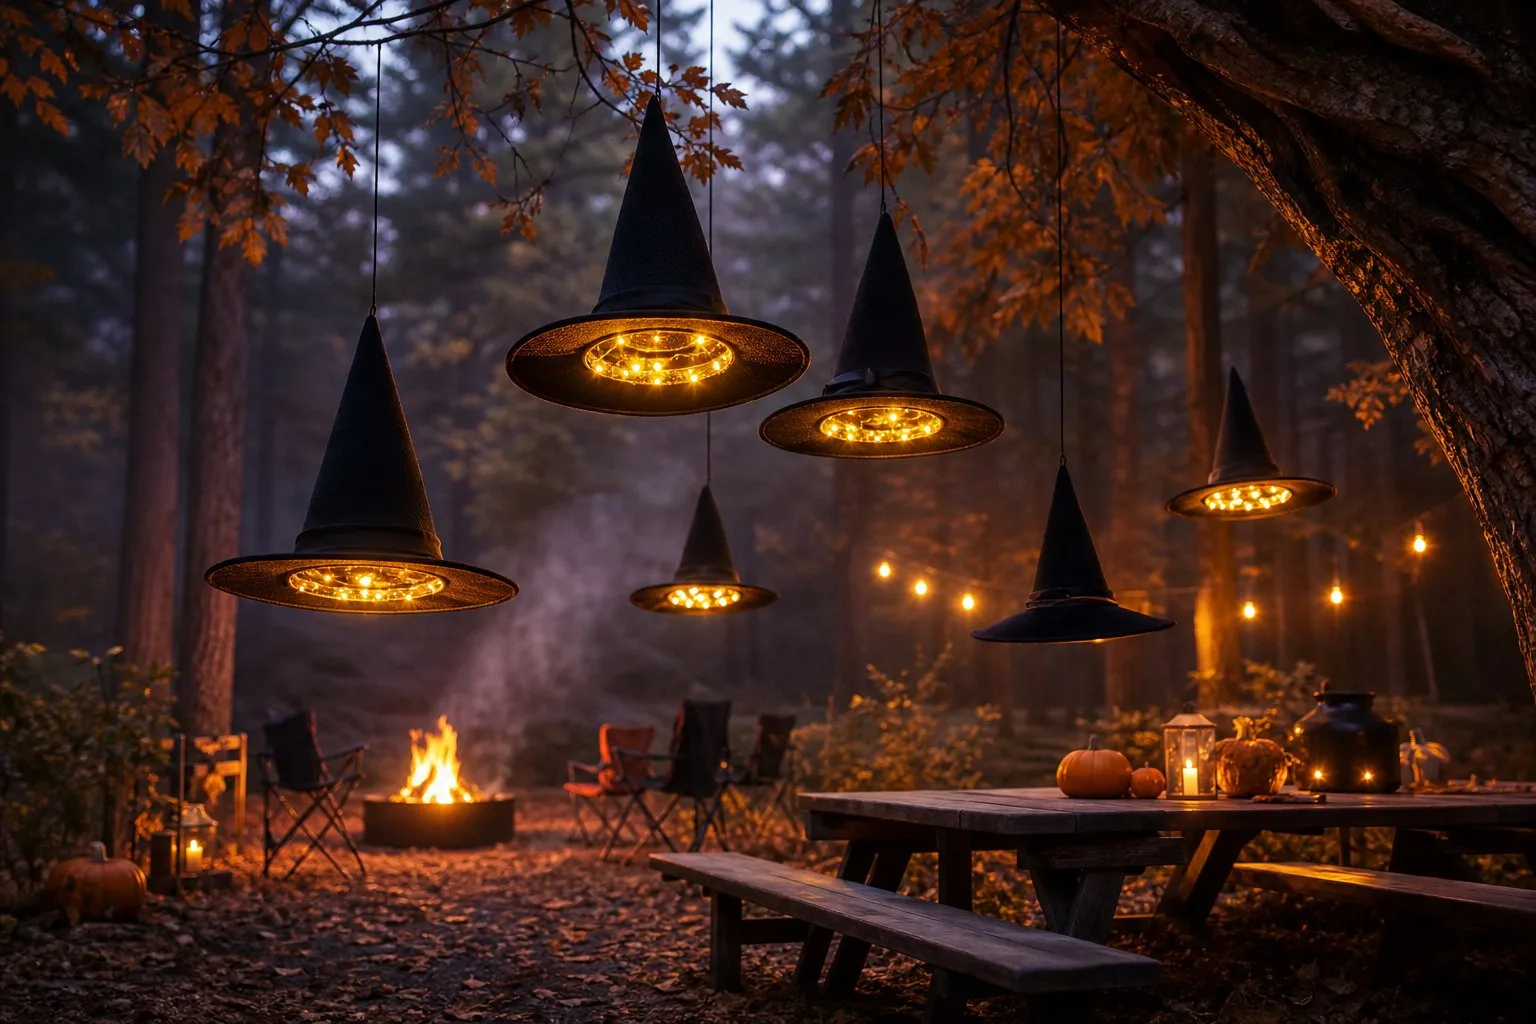
Witch hats hung upside down with lights inside look like they’re hovering in midair. Dollar store hats and glow sticks keep the whole display under ten dollars.
I tie clear fishing line to the tip of each hat and hang it point-down from a branch. From below, it looks like a hat floating with an invisible witch under it.
I drop a glow stick inside for the cheap version, or use short battery-powered string lights for a warmer look. Orange string lights inside the black felt throw the best color. Either way, I don’t need an outlet, which matters at a site with no hookups.
I attach the fishing line to branches or the RV awning with 3M light clips. One quick wrap keeps them in place through a decent wind. Tying directly to a branch works too, but it’s harder to undo in the dark.
I vary the heights. Some go way up in the canopy, while others hang low over the picnic table. Hats at one uniform height look like a store display. Staggered heights look like a coven just got startled off.

20 Clear Clips and 24 Command Strips, Damage Free Hanging Outdoor Light Clips with Weather Resistant Strips
9) Jack-o’-Lantern Drink Holders – hollow small pumpkins to hold cans or cups, doubling as festive drink holders

Hollowed-out mini pumpkins hold a can upright on an uneven picnic table, and they look festive while doing it. At two dollars a pumpkin, six of them cost less than a single store-bought decoration.
The build is faster than a real jack-o’-lantern. I cut a hole in the top just big enough for a 12-ounce can, scoop out the seeds, and test-fit it before widening anything. Cut small first. You can always take more off.
If carving isn’t your thing, plastic pumpkin can coolers ship for about ten dollars and last for years. That’s the move if you’re heading out in a week and don’t want the mess.
With fresh pumpkins, I carve a quick face on the front: two triangle eyes and a jagged line for a mouth. It takes about ninety seconds per pumpkin. Charm beats precision here.
I tuck a tea light behind the can inside the shell, and the face glows while the drink sits in it. Watching friends pick up their drink and notice the goofy jack-o’-lanterns staring back is the whole payoff, especially when everyone’s circled around the fire with s’mores.
I make six so everyone claims their own pumpkin for the weekend. Nobody mixes up drinks after that. usually make half a dozen so everyone gets their own pumpkin pal for the weekend.

Soft Sided Cooler, Beverage Holder for Soda Cans
10) Bat Garland – string together paper or felt bats on twine and hang them around your camping area.
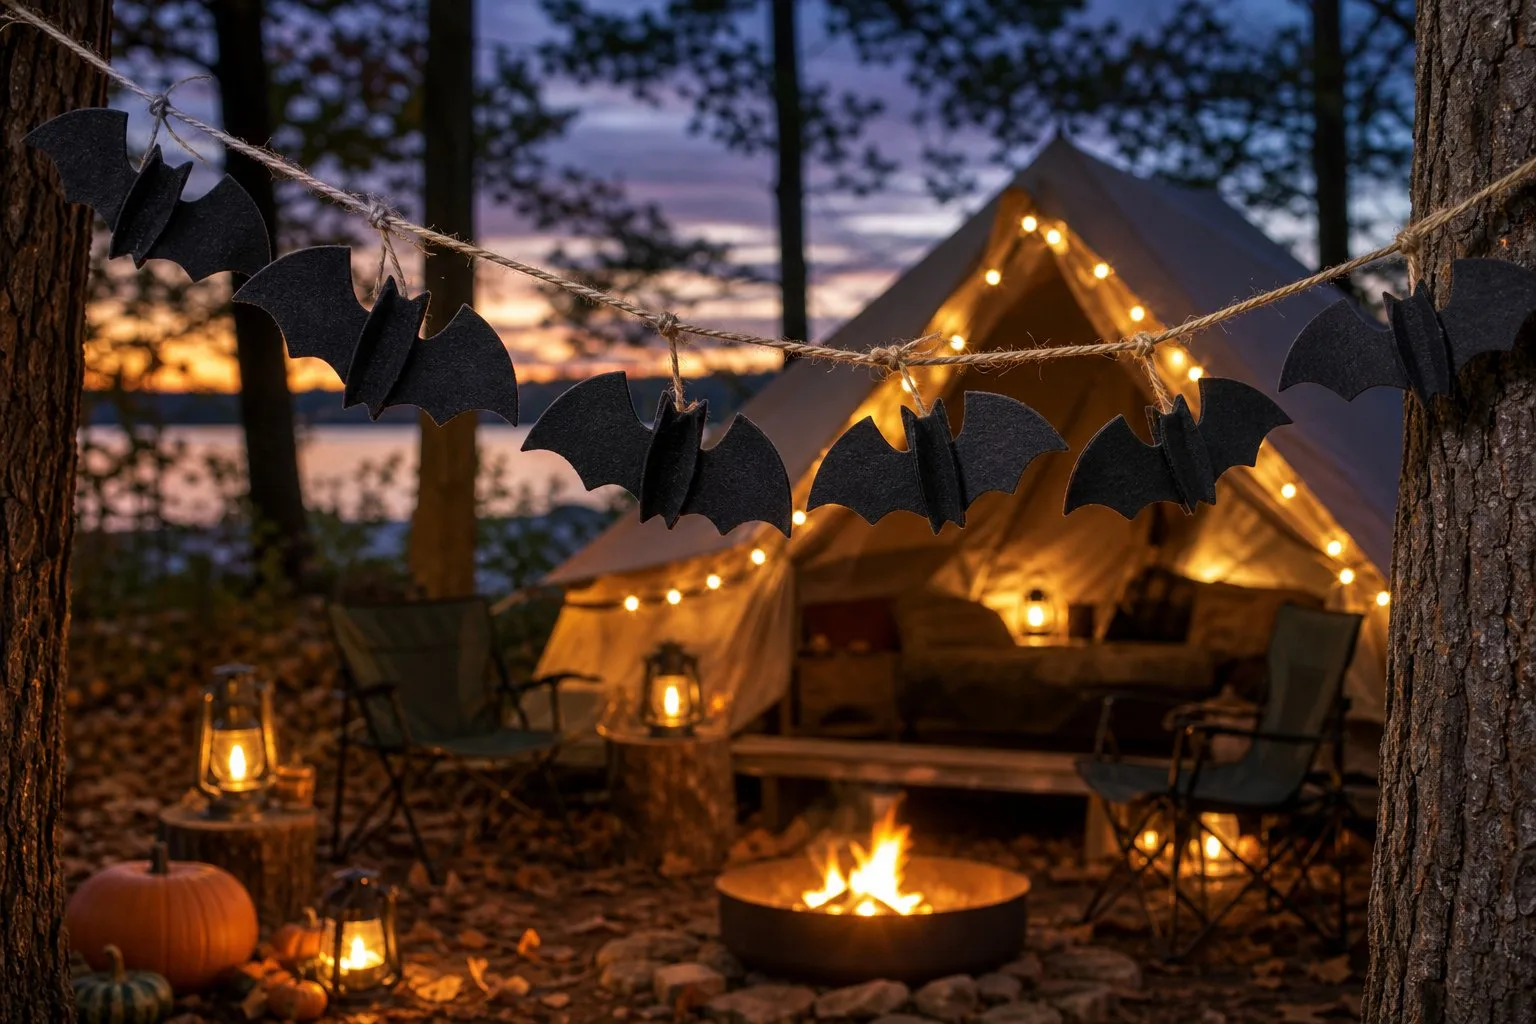
Bat garland is the lightest decoration I bring, and it costs about four dollars in materials. A finished eight-foot strand weighs less than a granola bar.
I cut mine at home from black cardstock or felt. Cardstock works fine for one trip and packs flat in a folder. Felt holds up in damp air and rolls up for storage between years.
I cut bats in several sizes. Templates are easy to find online, but I usually fold the paper in half, cut half a bat, and unfold it. They’re symmetrical every time, with no tracing needed.
I string them on twine. Four feet per strand is about right. I punch a hole through the center of each bat and tie a knot on either side so they don’t slide into a clump.
I hang the strands between two trees, across the tent door, or along the edge of the picnic table. The bats spin a little when the wind moves, which makes the whole strand look alive.
Making bats is a solid rainy-afternoon project. It’s also one of the better camping crafts for keeping kids occupied while I handle the tent and the food.

(18 Pcs) Large Flying Plastic Bats, 3 Different Sizes with Cute Eye Stickers for Hanging in trees, etc.
11) Fog Machine Effects – borrow or bring a fog machine to create spooky mist for a haunted campsite vibe.
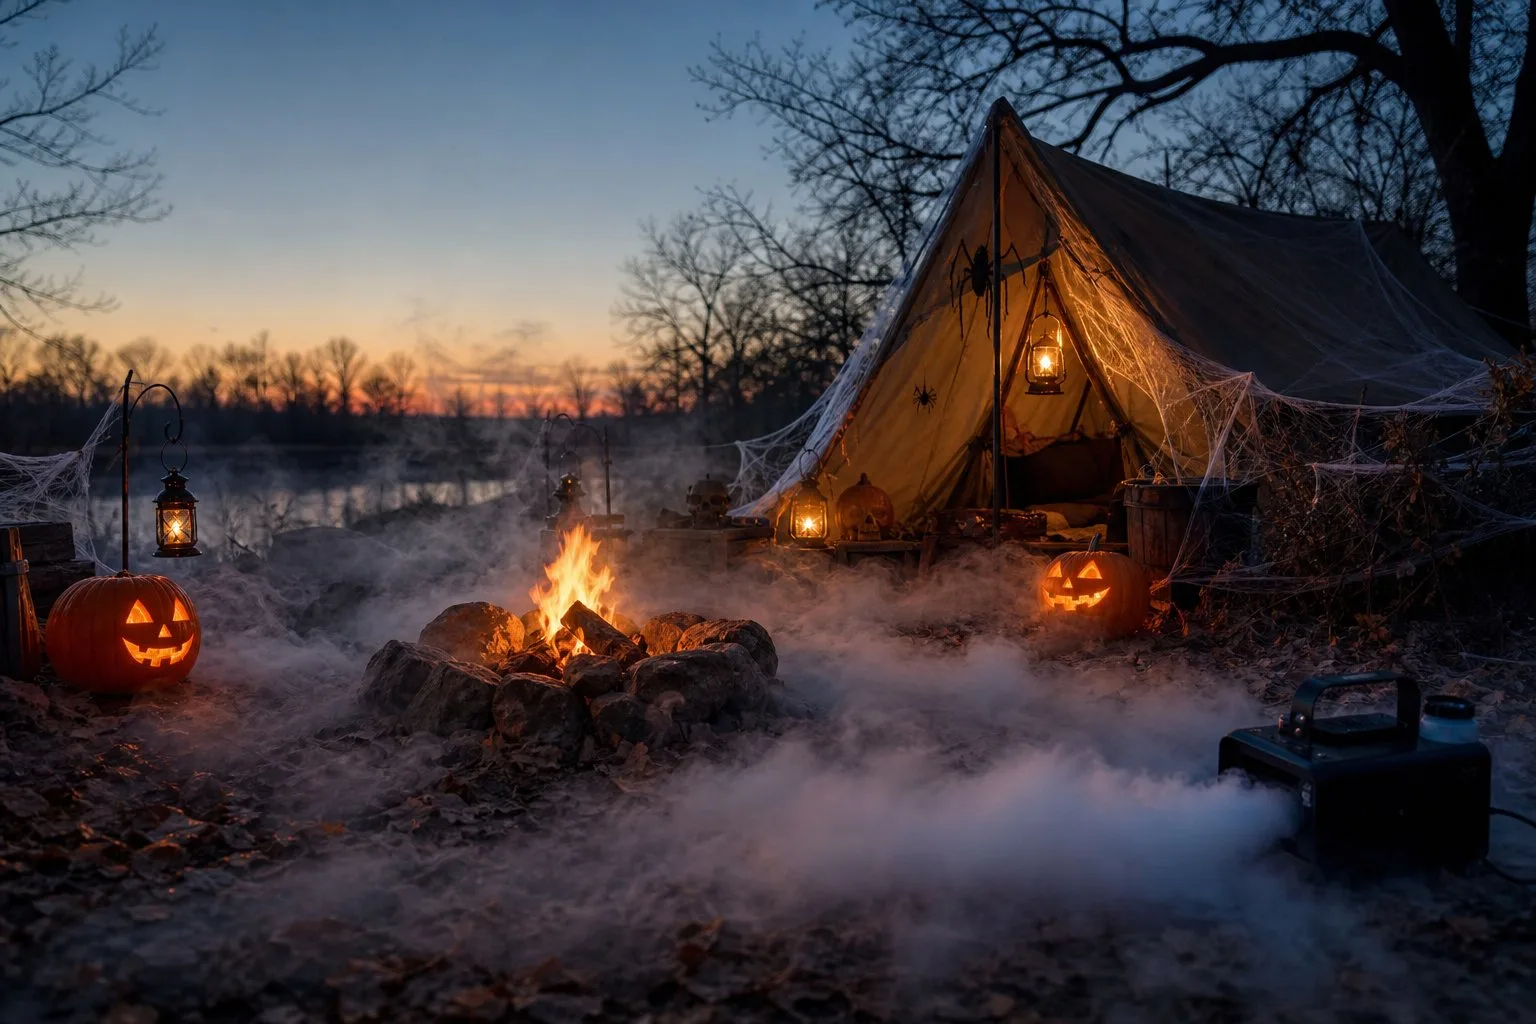
A fog machine is the one splurge item on this list, though borrowing one keeps it free. Mist rolling between the tents at dusk does something no other decoration can quite match.
I’ve never owned one. I borrow from a friend who decorates hard every year, and party supply shops in most towns rent them for a night. A small 500ml unit sells for around fifty dollars if you decide you want your own.
I set it on the ground between tents or at the base of a tree. Fog is heavier than the surrounding air when it first comes out, so low placement keeps it hugging the dirt where it looks best.
Aim it high and it just disperses. I also bring more fog fluid than I think I’ll need because a small tank empties faster than you’d guess. Running dry in the middle of a ghost story is a letdown.
Low-lying fog pairs perfectly with a graveyard scene. Add cardboard tombstones and a couple of skeleton hands poking up, and you’ve got a cemetery.
Battery-powered foggers exist now, and they’re the right call for sites without power. I test whatever I’m using at home first. Figuring out the buttons by headlamp while everyone watches isn’t fun.
Fog plus a colored lantern is where it turns into something memorable. Kids lose their minds when the mist starts creeping across the ground.

Fog Machine, 6 LED Lights with 12 Colors Effect, with Wireless Remote Control, 500ml Tank
12) Skeleton Seat Buddies – place plastic skeletons seated in camping chairs around your fire pit for unexpected company
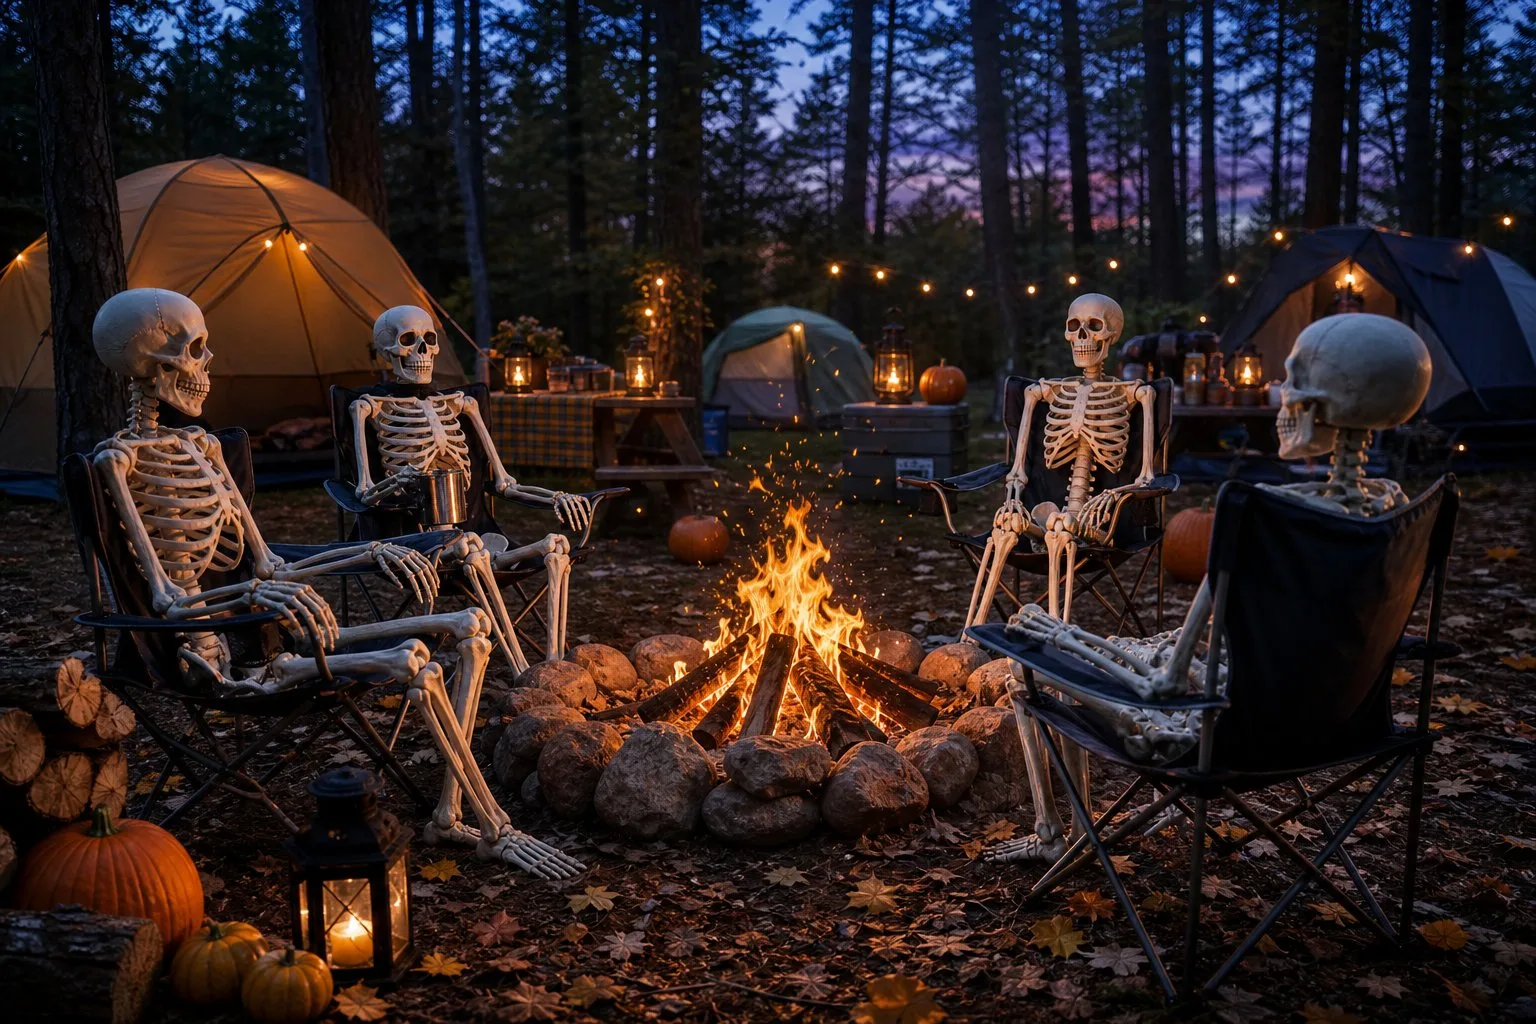
Nothing gets a bigger reaction than a skeleton sitting in a camp chair by the fire. People walking past do a full double take, laugh, and then take a picture.
You need poseable plastic skeletons and chairs you already own. A three-foot skeleton with movable joints costs about seventeen dollars, and the smaller ones cost less. Two is plenty for a normal site.
Buy weather-resistant versions. I learned the expensive way that cheap, thin plastic gets brittle and cracks at the joints after one damp night.
Pose them like they’re in the middle of a conversation. Cross one leg over the other, sling an arm over the chair back, or lean one toward the fire.
I put a marshmallow stick in one hand and a can in the other. Firelight flickering across the ribs does the rest.
This works just as well at an RV site as it does at a tent site. Your neighbors will either crack up or feel slightly unnerved, and both reactions count as a win.

36", Full Body Movable, Posable Joints Skeleton
13) Zombie Hand Tent Stakes – replace regular tent stakes with fake zombie hands gripping the ground for a fun scare.
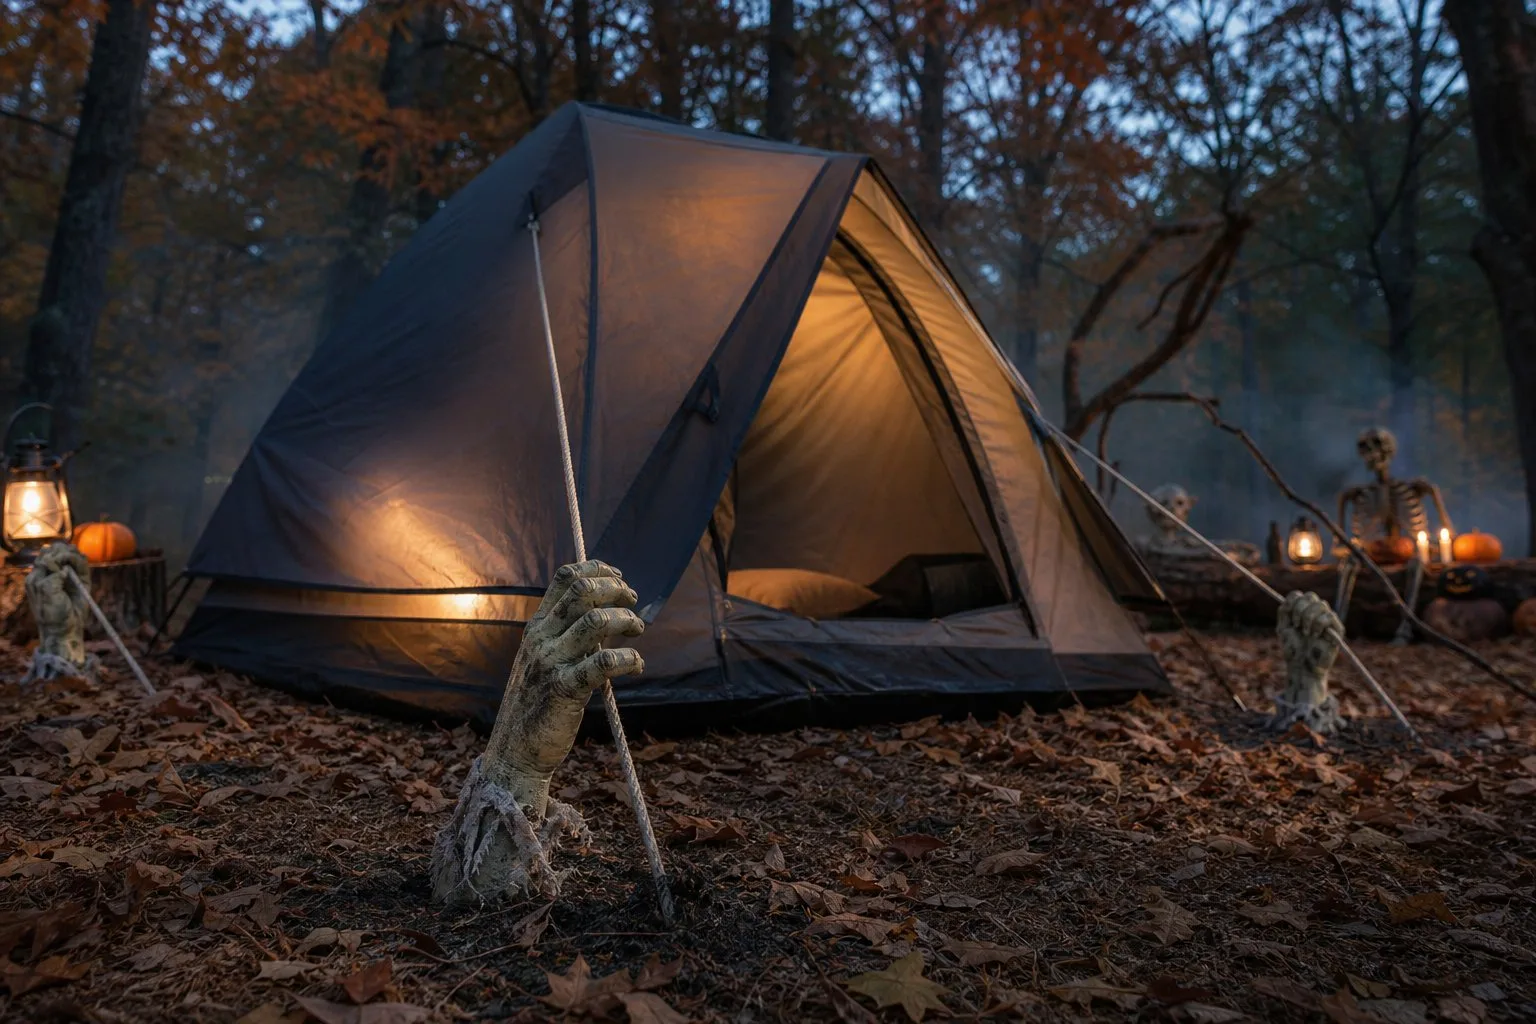
Zombie hand yard stakes do the same job as plain tent stakes, but they make your tent look like it’s parked on a grave. A set of ten costs around twenty-eight dollars, while smaller two-packs go for under ten if you just want to try them out.
The hands look like they’re clawing their way out of the dirt. Ring your tent with them and the site takes on a graveyard feel that still cracks me up whenever I walk back from the bathhouse.
Look for weather-resistant plastic or powder-coated metal stakes. Flimsy ones snap the first time you hit a root, and I’d rather buy once than replace them every October.
Setup works just like it does with normal stakes. Push them in at the guy-line points and loop the line over the wrist.
They hold a tent fine in normal weather, though I keep real stakes in the bag for windy nights. Why test a novelty stake when the wind is having a bad day?
The best part is watching a group walk by after dark, stop, and stare at your tent before they figure out what they’re looking at.

14) Spider Web Firepit Surround – decorate firepit edges with fake spider webs and plastic tarantulas for a chilling centerpiece

The fire pit is where everyone ends up, so webbing the area around it puts your decorations right where people are looking. A bag of fake cobwebs costs about four dollars and covers plenty of ground.
Stretch the webbing around the pit’s outer rim and out toward the nearby rocks or ground. Wait until the pit is completely cold before you get close to it.
I do this in the morning after the last fire has gone out overnight, never during a burn. Keep the webbing off the metal rim and outside the range of flying sparks. Synthetic webbing near heat is a hard no.
Pull the webbing thin as you stretch it and leave a few loose strands hanging. Thick clumps look like cotton balls, while thin strands look like a real web that’s been there for a while.
Then add the plastic tarantulas. Four big, realistic ones cost about twelve dollars, and I mix them with the small plastic spiders left over from the tent web.
Different sizes sell the illusion. I plant the biggest spiders right by the chair legs, and somebody screams every time they look down.
Once the fire gets going, the webs throw moving shadows across the whole circle.

4 Pieces, Realistic
15) Creepy Soundtrack Setup – bring a portable speaker and play eerie forest sounds mixed with Halloween tunes
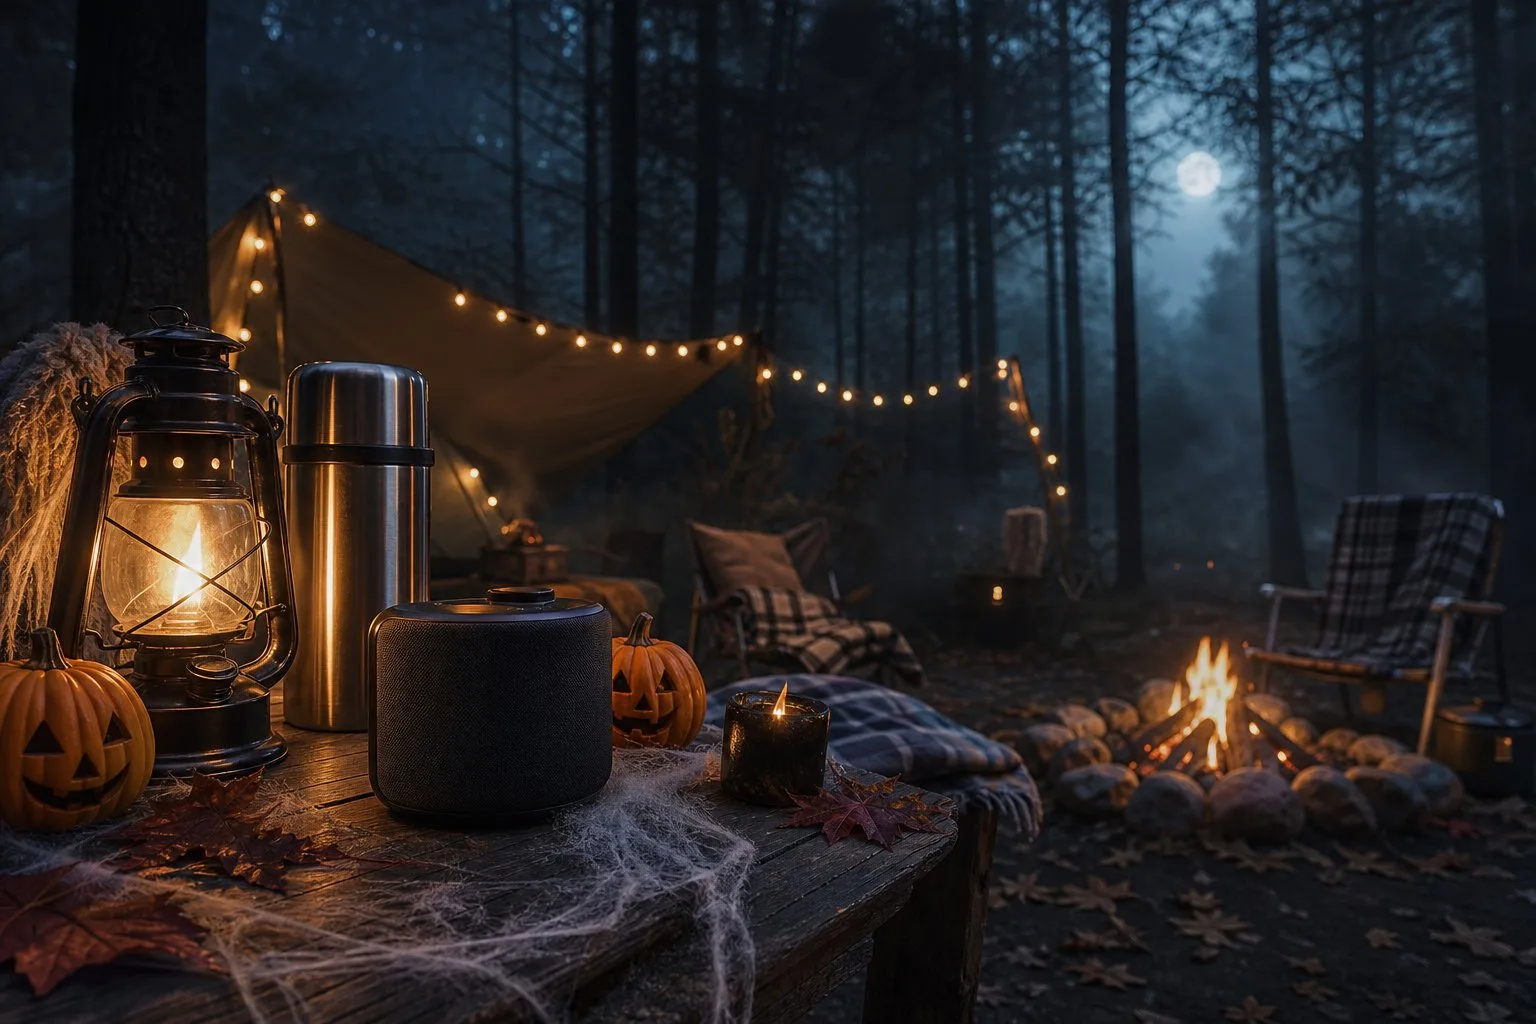
Sound is the cheapest atmosphere upgrade because you probably already own the speaker. A spooky soundtrack playing quietly under everything else does more for the mood than another twenty dollars’ worth of props.
Any battery-powered Bluetooth speaker works. Mine is water resistant, which matters in October when the weather does whatever it wants.
You can find free, royalty-free Halloween playlists and eerie forest ambience tracks all over the internet. Download them before you leave.
Campgrounds often have terrible cell service, and a playlist that won’t load is useless. I blend classic Halloween songs with haunted forest ambience: wind, distant owls, and a few creaks.
The mix makes the real woods around you feel less empty and more occupied. Ambience works best in the background, so I run it quietly while we cook and trade scary stories around the fire.
Keep it low enough that nobody has to raise their voice. Volume discipline matters at a campground. Keep it loud enough for your circle and quiet enough that the site two spaces over doesn’t hear a thing.
My sneaky favorite is adding an occasional creak or branch snap during a lull in conversation. Someone always turns toward the trees.
If you want more after-dark entertainment, plenty of things to do while camping at night pair well with a soundtrack.

Waterproof Wireless Speakers with Colorful Flashing Lights, 25W Super Bass 24H Playtime, 100ft Range, TWS Pairing for Outdoor, Home, Party, Beach, Birthday Gift
Tips for Creating Spooky Campsite Ambiance

Three things separate a haunted-looking site from a site that looks like a yard sale: light color, one clear theme, and protection from wind and rain.
Get those right and a twenty-dollar setup can beat a hundred-dollar one.
Choosing the Right Lighting
Color does most of the work with lighting. Orange and purple LEDs read as Halloween right away, while plain white lights make your site look like a regular campsite with spiders added as an afterthought.
Battery string lights are the backbone. A set costs about eight dollars and lasts the whole weekend on three AAs.
Solar string lights cost a little more up front and need no batteries, which works well for a longer trip.
Fake flickering candles belong inside every pumpkin and lantern you own. A ten-pack costs around seven dollars.
I place them at different heights: on stumps, on the table, and inside a mason jar hanging from a low branch.
My lighting checklist:
- Low path lights so nobody trips
- Orange or purple lights circling the tent
- Flickering tea lights tucked inside decorations
- One bright white flashlight hidden away for emergencies
Keep that emergency flashlight out of sight but easy to grab. You’ll need it, usually when someone drops a car key in the leaves.
For a warmer overall setup, a few glamping lighting ideas blend well with the spooky stuff.
Picking a Fun Theme
Pick one theme and buy only for that theme. It cuts your shopping in half and keeps the site from looking like a Halloween store exploded on the tent pad.
Themes that work outdoors:
- Haunted graveyard: tombstones and bony hands reaching from the dirt
- Spider invasion: webs on everything, spiders in every size
- Pumpkin patch: jack-o’-lanterns from tiny to enormous
- Ghostly campground: white sheets, chains, and a lot of nerve
The haunted graveyard is my go-to. Cardboard or foam tombstones, a skeleton half-buried beside the tent, and creepy cloth over the camp chairs make it cheap, quick, and easy to spot from across the loop.
Spider themes work especially well when you’ve got trees. Run webs between the trunks, add a few oversized spiders, and let the woods handle the rest.
Match the theme to the site you booked. A wide-open grassy site suits pumpkins because they don’t need anything to hang from.
Dense trees suit spiders or ghosts because you can dangle almost everything. The same logic works for other seasons if you get hooked, like fall camping decor or christmas camping ideas.
Weather-Proofing Your Décor
October will test your setup. I’ve lost ghosts to wind and watched a paper garland turn to pulp in an afternoon shower, so now I prepare for bad weather before I unpack the first pumpkin.
Wind: Stake down everything, including things that seem too heavy to move. Tent stakes, rocks, and rope all work.
Fake webbing needs extra anchor points because it catches wind like a sail. Two bungee cords live in my decoration bin permanently.
Rain protection:
- Choose plastic or vinyl over paper for anything staying out overnight
- Tape over the battery compartments on light strings
- Bring a tarp to throw over larger displays
- Store fabric decorations in a sealed plastic bin
Weather-resistant materials save money over a few seasons. If something isn’t rated for outdoor use, I spray it with waterproofing spray a day before the trip and let it dry completely.
My repair kit holds spare AA and AAA batteries, duct tape, zip ties, and a few zip-top bags. That kit has rescued more Halloween setups than anything else I pack.
Plenty of these habits overlap with general tent camping hacks worth knowing anyway.
Safety Considerations for Campsite Halloween Decorations
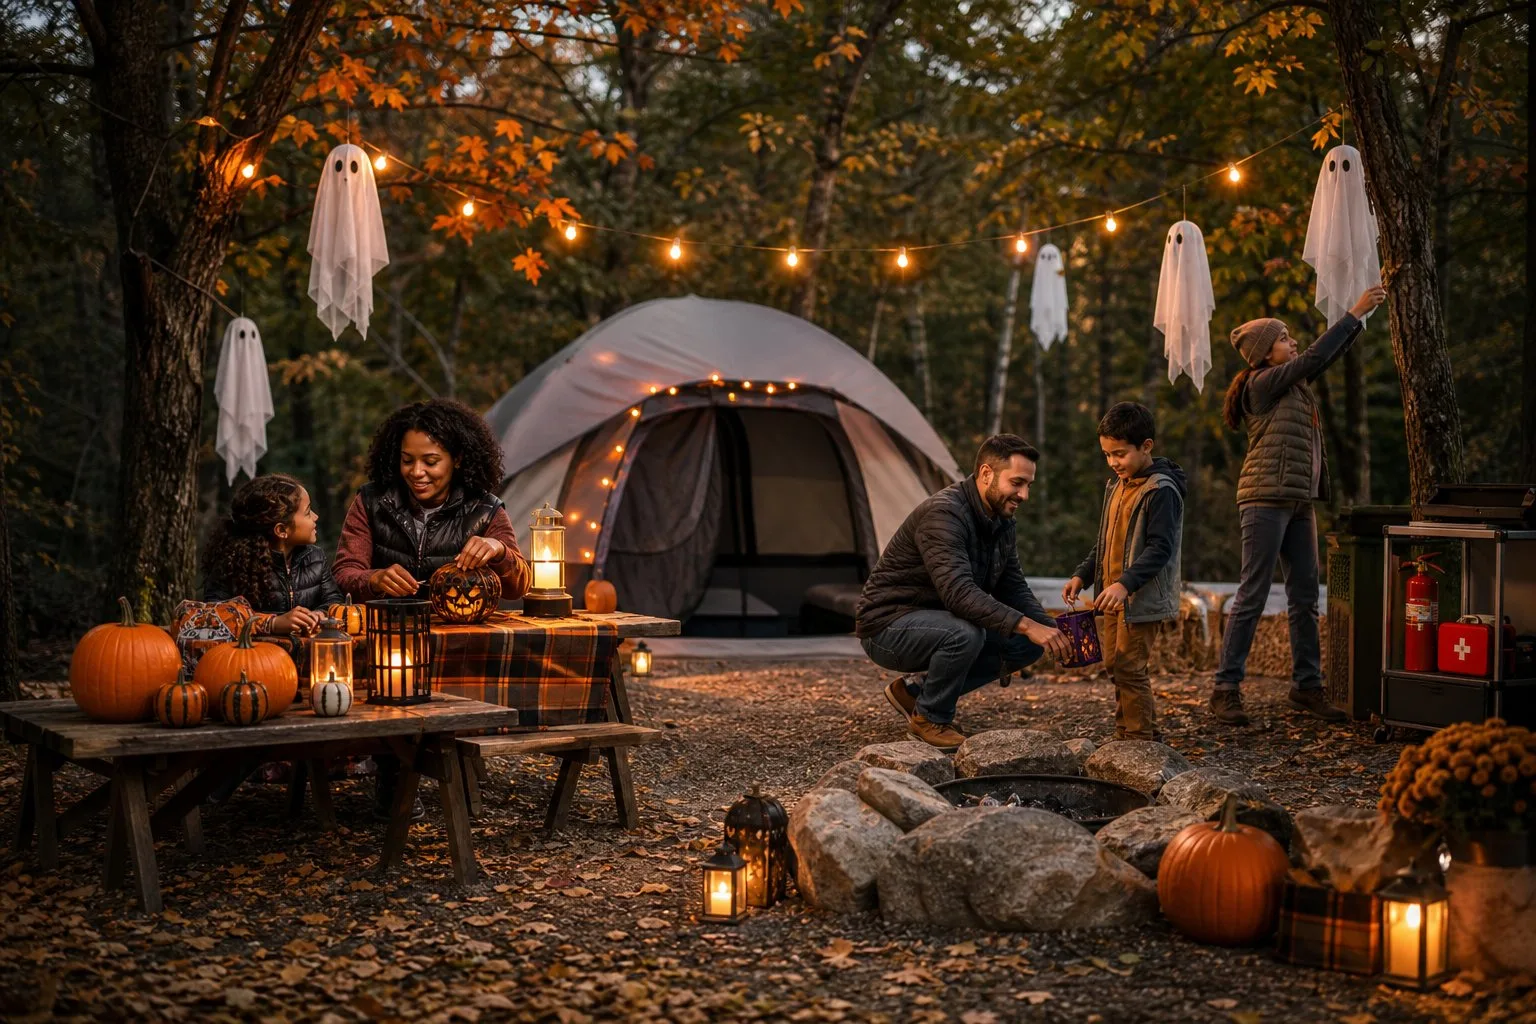
Three safety rules cover almost everything: keep decorations away from flames, don’t give wildlife a reason to visit, and remember that other people booked this campground too.
Keeping Fire Hazards at Bay
Fake cobwebs, costumes, and loose fabric catch fire fast. I keep every decoration at least 10 feet from the fire ring, lanterns, and heaters.
Use LED tea lights inside every pumpkin. They cost about seventy cents apiece, flicker convincingly, and remove the risk entirely.
Wind is the real danger because it moves things you thought were safely placed. I tie down or weigh everything so nothing drifts into the coals while we’re mid-s’more.
My fire-safe swaps:
- Materials: Metal or ceramic pumpkins near the fire ring
- Lighting: LED string lights with no open flame anywhere
- Banners: Vinyl or plastic over paper
- Props: Battery-powered options
- Natural items: Pinecones and branches placed well back from heat
If any real flame is going, I keep a bucket of water or sand within arm’s reach. Campground rules usually require it, and it’s cheap insurance.
Being Mindful of Wildlife
Animals notice new shapes and smells in their territory, and some of them investigate. I skip anything that looks or smells like food.
No fake candy, scented candles, or food coloring on props. Raccoons and bears don’t know your candy corn is plastic until they’ve already ripped through a decoration to find out.
Wind-driven decorations can startle animals. I once watched a spinning ghost send a whole deer family bolting through a neighbor’s site. It was funny for about two seconds, then it just felt rude.
My wildlife rules:
- Pack decorations into sealed bins overnight
- Use unscented materials only
- Skip props with sudden noises or motion triggers
- Keep everything inside your site and out of the woods
Treat anything sweet-smelling or food-shaped exactly like food and follow the campground’s storage rules. Nobody wants to unzip the tent to find a bear picking through a bag of fake spiders.
Respecting Fellow Campers
Plenty of people booked a quiet fall weekend and didn’t sign up for a haunted house next door. That’s fair, and it costs nothing to work around.
I keep every decoration inside my site boundary and clear of walkways, water spigots, and shared paths. Check the campground rules before hanging anything on trees. Some places prohibit it, while others hand out prizes for the best site.
Sound gets the most complaints. I shut off spooky audio by 9 PM, earlier if there are babies nearby. Most campgrounds set quiet hours around ten, and being the site that pushes it makes you the villain of the loop.
Aim lights at your own tent. Purple spider shadows dancing across someone else’s rain fly all night are a fast way to make an enemy.
I walk over and introduce myself to the closest neighbors before setting up. Almost everyone appreciates the heads-up, and more than once a neighbor has pulled out their own box of decorations and joined in.
Wrapping Up Your Haunted Campsite
You can build every decoration in this lineup for less than the cost of one inflatable yard prop. Carved pumpkins with LED tea lights, yarn webs across the tent, cardboard zombie cutouts throwing shadows, and a bag of dollar store spiders create more atmosphere than anything expensive.
For your first spooky trip, start with three ideas instead of all fifteen. A pumpkin lantern path, a tent web with plastic spiders, and glow tape along the walkway take under an hour and cover lighting, decoration, and safety in one pass.
Keep the practical stuff handy: battery lights only near the fire, everything staked down against wind, decorations packed into bins overnight, and audio off by nine. Those habits let you go as big as you want without creating problems for the site or the folks camped next to you.
Frequently Asked Questions
What are some spooky yet simple ways to dress up my tent for Halloween?
A yarn spider web is the fastest win. Stretch thick white yarn from corner to corner across the tent, add a few crossing strands, and clip on plastic spiders. Total cost is around five dollars, and it takes ten minutes.
Glow-in-the-dark tape along the tent seams and guy lines gives you an eerie green outline after dark. It also keeps people from tripping over the lines.
Hanging fabric ghosts are another easy option. Tie white sheets or cheesecloth to the guy lines, and they’ll flutter in the breeze and look convincing from a distance.
Can you suggest some wickedly fun lighting ideas to make our campsite look haunted?
Ghost lanterns are the classic. Drape white cloth over a paper lantern with LED string lights inside, then hang it from a branch on fishing line. Once the sun goes down, it reads as a floating spirit.
A pumpkin lantern path never fails. Carve faces in a mix of pumpkin sizes, drop in battery tea lights, and line them along the walkway to your site.
Cardboard zombie cutouts set in front of a lantern throw huge, stretched shadows onto your tent wall. That trick gets the most double takes of anything I’ve tried.
How can I incorporate Halloween decorations without breaking the bank?
Dollar stores carry plastic spiders, fake cobwebs, witch hats, and battery tea lights. I fill a basket there every year for under fifteen dollars.
Collect free materials on site. Bare branches, pinecones, and dark leaves make great natural arrangements around your table and fire ring.
Repurpose what’s already in your house. Old white sheets become ghosts, shipping boxes become tombstones and silhouettes, and leftover yarn becomes webbing. A few diy camping hacks stretch a small budget further than buying anything new.
Got any tricks for making our RV look like a ghostly retreat?
Inflatable spiders and ghosts suit RVs well because they deflate down to almost nothing for storage in tight compartments.
Magnetic decorations are an RV owner’s friend. Magnetic skeleton hands climbing the side panels and static window clings on the glass leave no marks and come off in seconds.
Orange and purple string lights along the awning and slide-outs finish the look. If you want the interior to match, some colorful camper decor ideas work year-round, not just in October.
What DIY Halloween decor crafts could the kids get involved in for our campsite?
I set up a craft table with paper, markers, and glue. It keeps kids busy during the slow stretch between lunch and dinner.
Paper plate spiders are always a hit. Paint the plate black, glue on construction paper legs, add googly eyes, and hang them around the site with string.
Rock painting is the other winner. Bring acrylic paints and let the kids turn smooth rocks into tiny tombstones with silly epitaphs. It’s messy, cheap, and the rocks come home as souvenirs.
How do I weatherproof my Halloween decorations against the October chill?
Battery-powered LED lights handle the cold better than older string lights, but low temperatures drain batteries faster. I pack a spare set of AAs for every light string I bring. It’s a small detail, but running out of power halfway through the night gets annoying fast.
Fabric decorations soak up rain and become heavy. I spray them with a waterproofing treatment before the trip, or move them under the awning when clouds roll in.
Cardboard props are the most fragile things you’ll bring. I cover them with clear packing tape or wrap them in plastic sheeting. That usually keeps them from curling during a damp night.