
25 Camper Remodel Ideas to Transform Your RV on a Budget
Your camper can feel like a cozy home on wheels without draining your savings or hiring a pro. Many of the best upgrades are simple weekend projects that cost less than a night at a hotel.
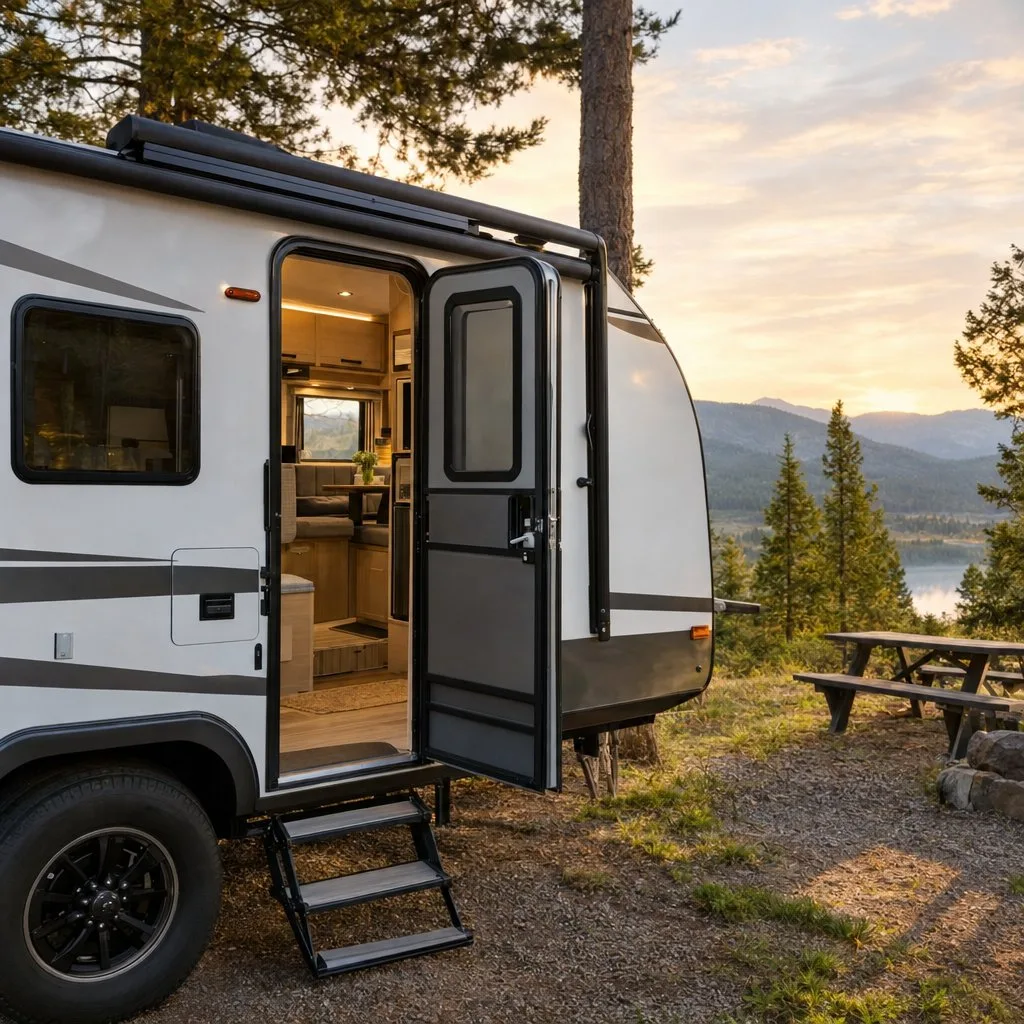
Dated fixtures, cramped corners, and plain beige walls are the usual complaints. The fastest budget-friendly way to transform your RV is to start with cheap, beginner-friendly upgrades: peel-and-stick wallpaper, LED strip lighting, and smart storage like magnetic strips and command hooks, which change both the look and the function of your space for under $50 each. From there, you can work up to bigger projects like a Murphy bed or new flooring. The ideas below cover a full camper remodel or RV makeover at any pace, along with planning tips so you finish on time and on budget..
1) Turn a Window Corner Into a Reading Nook With Shelves and Cushions
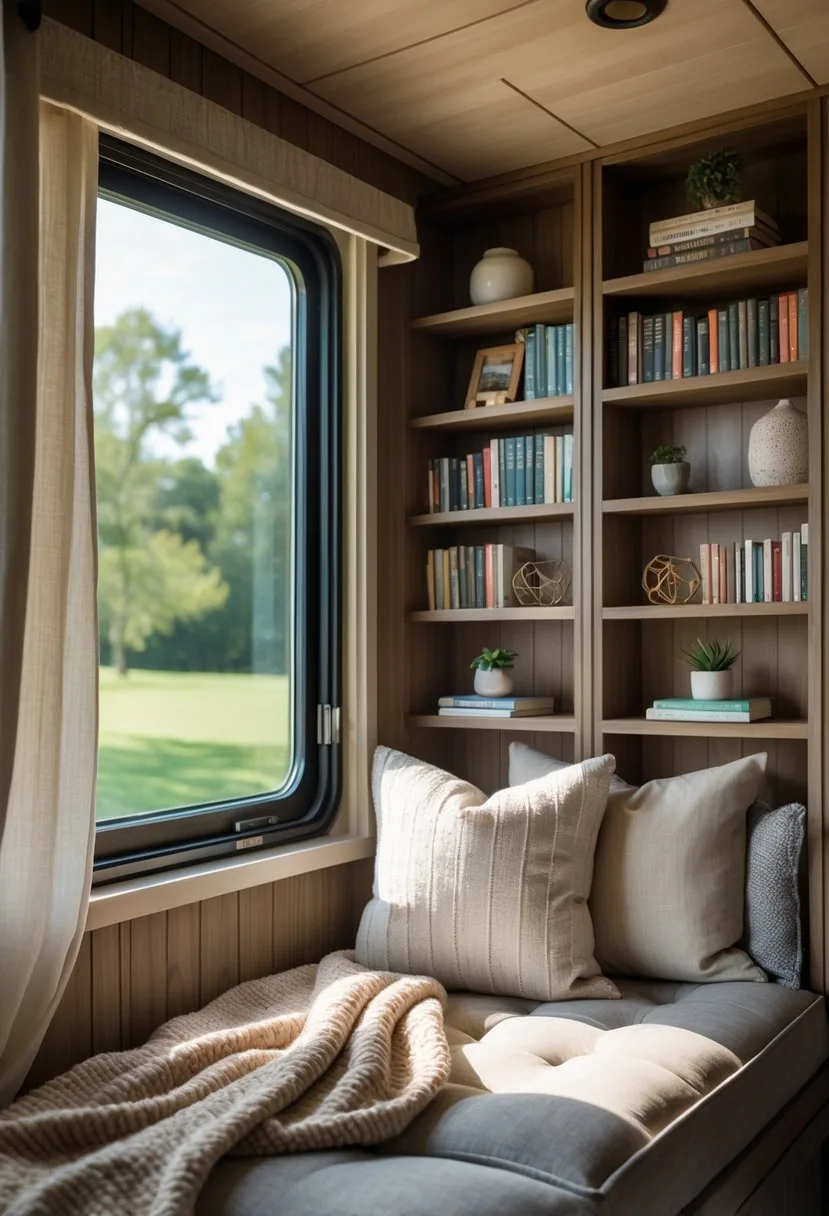
A window corner is one of the easiest spots in your camper to turn into a comfortable reading space. Those awkward gaps by the glass often go unused, and a few cheap materials can change that.
Start with floating shelves made from lightweight pine boards. They hold a stack of books without adding much weight. Screw them into the wall studs so they stay put on bumpy roads.
For seating, cut a thin foam cushion to fit the window ledge or bench. Cover it in outdoor fabric, since it wipes clean after spills and muddy paws. Add a few throw pillows in mixed textures to make the spot feel inviting.
Daylight from the window handles your morning reading. For evenings, add a small LED reading light. Battery-powered models work well if you camp off-grid.
Use the space under the seat to store blankets and spare pillows. Everything stays tidy and within reach for rainy afternoons.
2) Try Peel-and-Stick Wallpaper for Low-Risk Personality
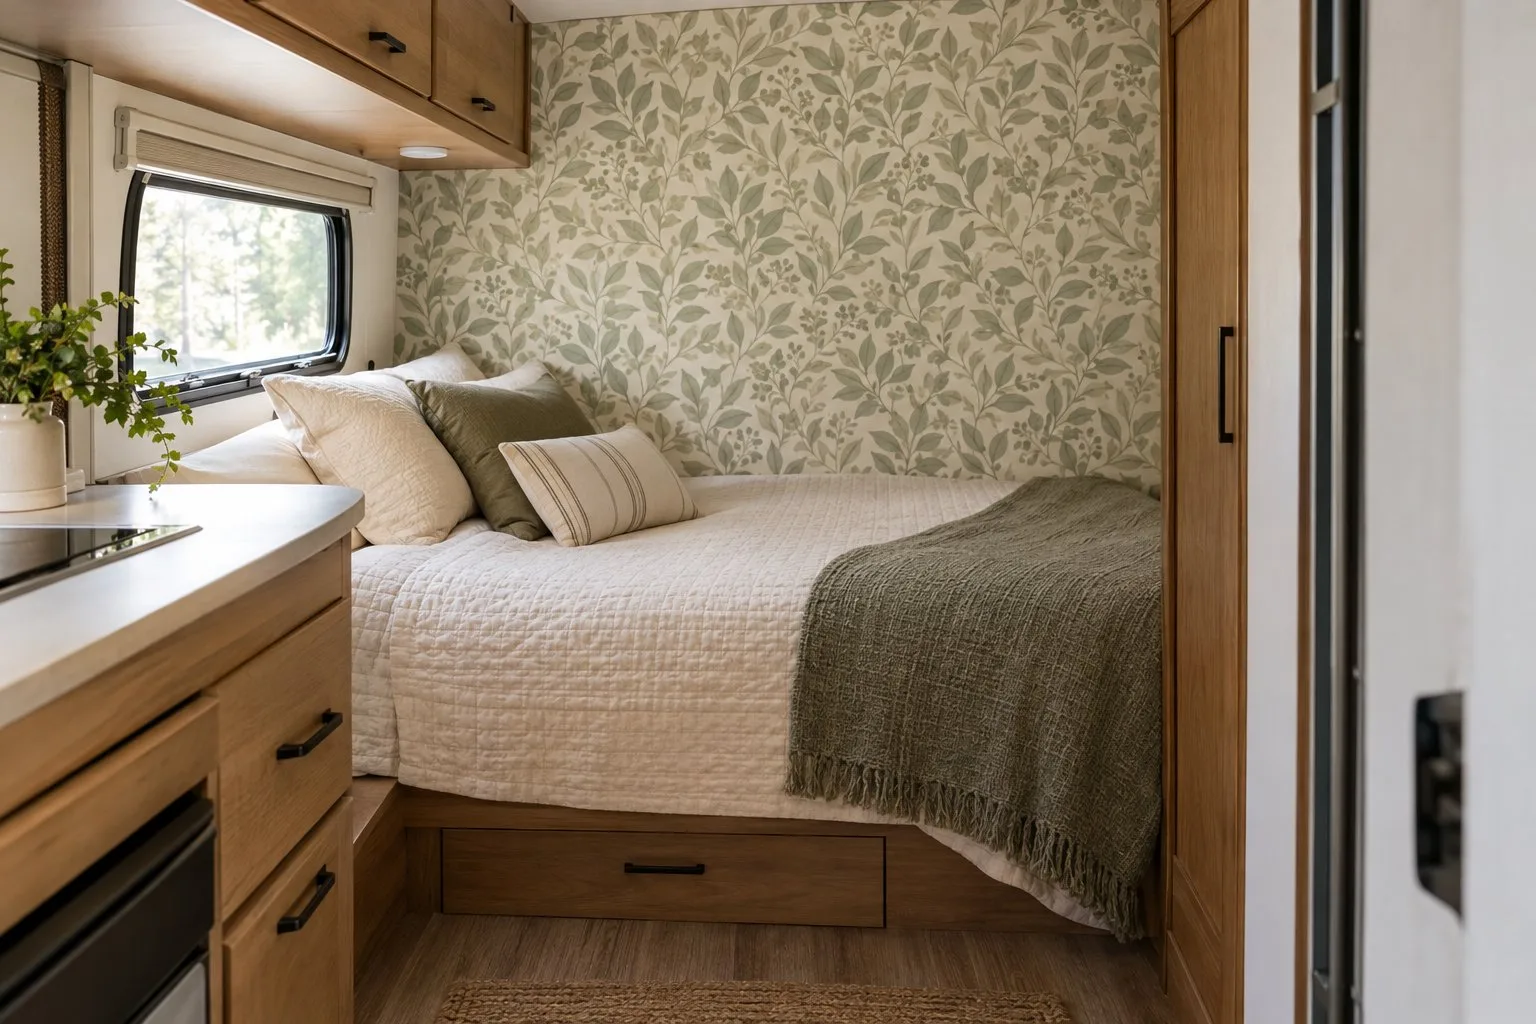
Peel-and-stick wallpaper is one of the simplest ways to add style to your rig without making a permanent change. It goes up faster than traditional wallpaper and comes off cleanly when you want a new look.
An accent wall behind the dinette is a popular first project. A bold geometric print can make a plain beige interior feel personal in an afternoon. RV walls also tend to show staples and trim strips, and wallpaper helps hide them.
If you’re a beginner, start small. The wall above your bed is a good test area. Patterns range from wood grain to big florals, so you can try a style and swap it out next season.
3) Refresh Old Cabinet Handles With Spray Paint
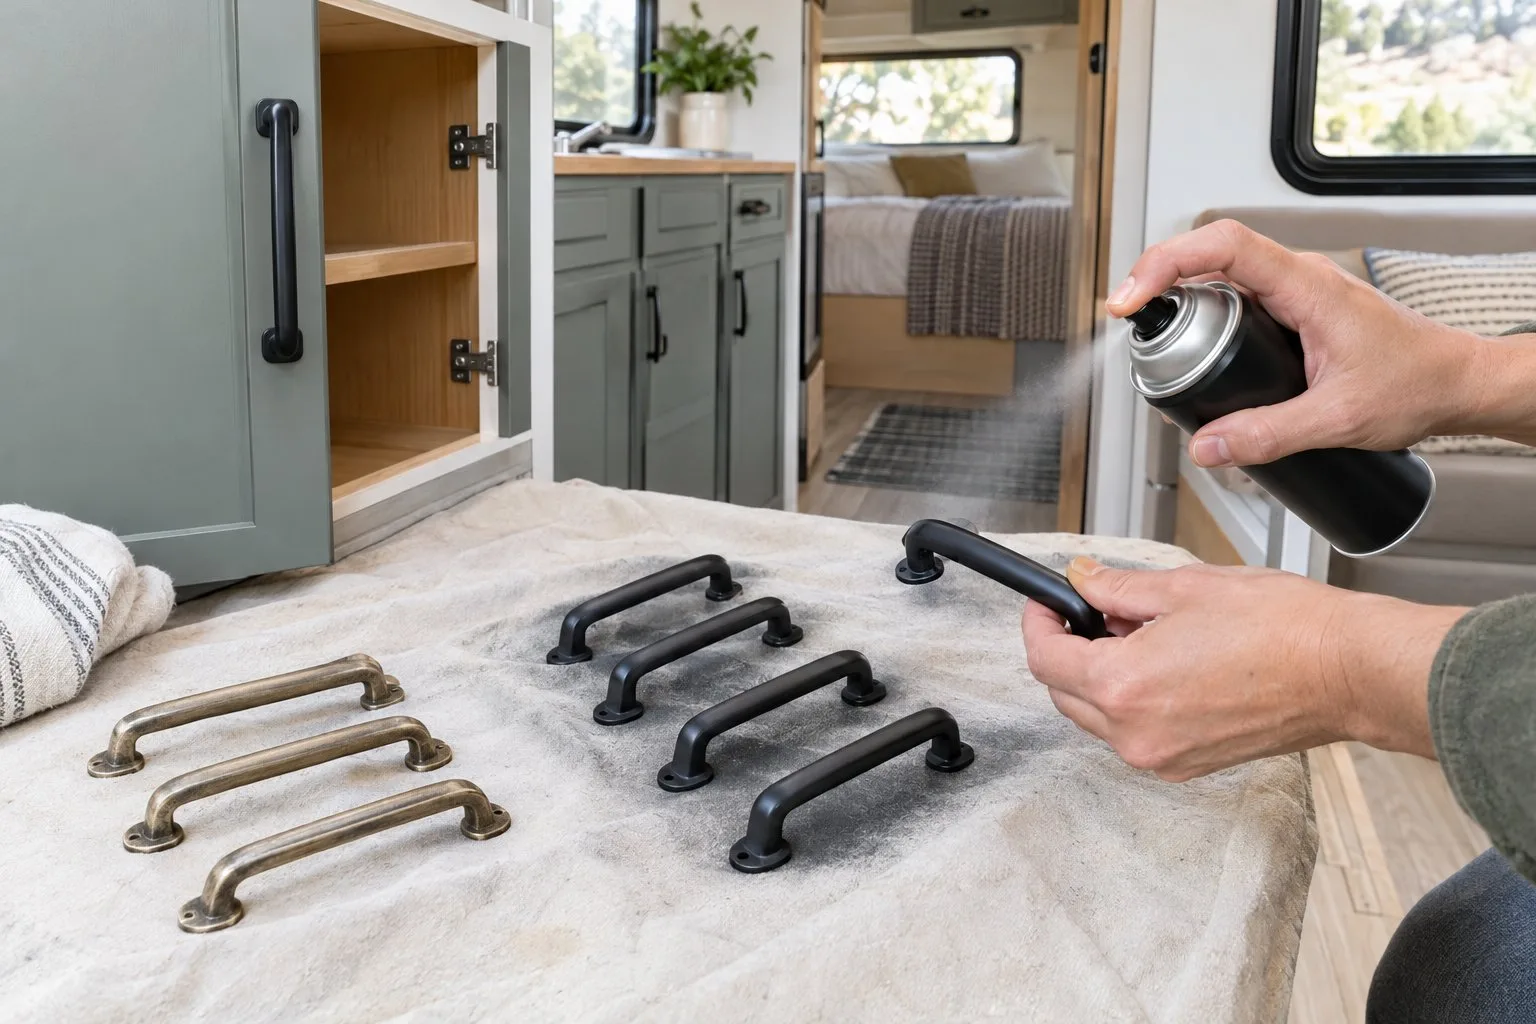
Spray painting your cabinet handles gives your kitchen a modern look for under $20. New hardware can cost far more, so painting the pieces you already own is a smart budget move.
Follow these steps:
- Remove every handle and knob.
- Scrub them with degreasing soap and let them dry.
- Lightly sand each piece so the paint grips better.
- Spray a primer made for metal. Skipping this step leads to chipping, especially on shiny brass.
- Apply thin coats of your color and let them cure.
Matte black is a favorite because it gives a modern farmhouse feel. The whole job fits into one afternoon, drying time included. If you paint your cabinet doors too, the matching hardware ties the look together.
4) Build a Fold-Down Table for Meals and Work
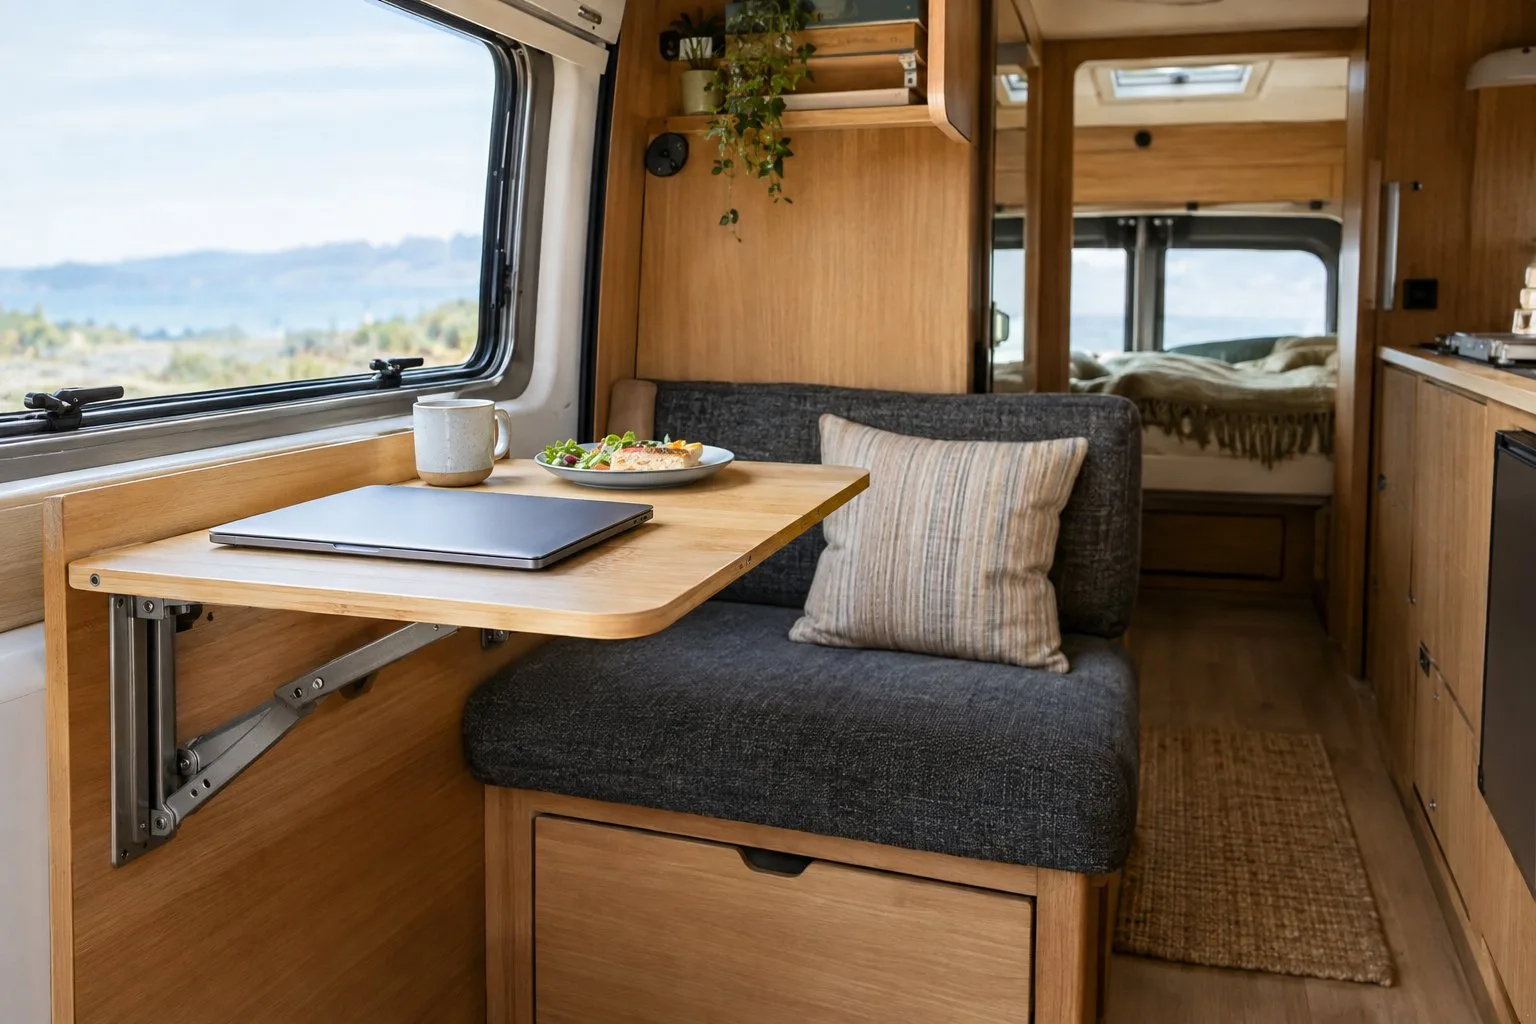
A fold-down table gives you a work surface when you need one and open floor when you don’t. It’s a beginner-friendly build that pays off every day.
You only need plywood and basic hinges or folding brackets. The key is mounting it firmly into the wall framing so it can hold a laptop or a full dinner plate without sagging.
Use it as a dining spot, a desk, or a place to map out tomorrow’s hike. Fold it away and you have room to stretch. For a fun twist, coat the top with chalkboard paint so it doubles as a message board. Size it to fit your space exactly.
5) Mount Magnetic Strips for Knives and Metal Tools
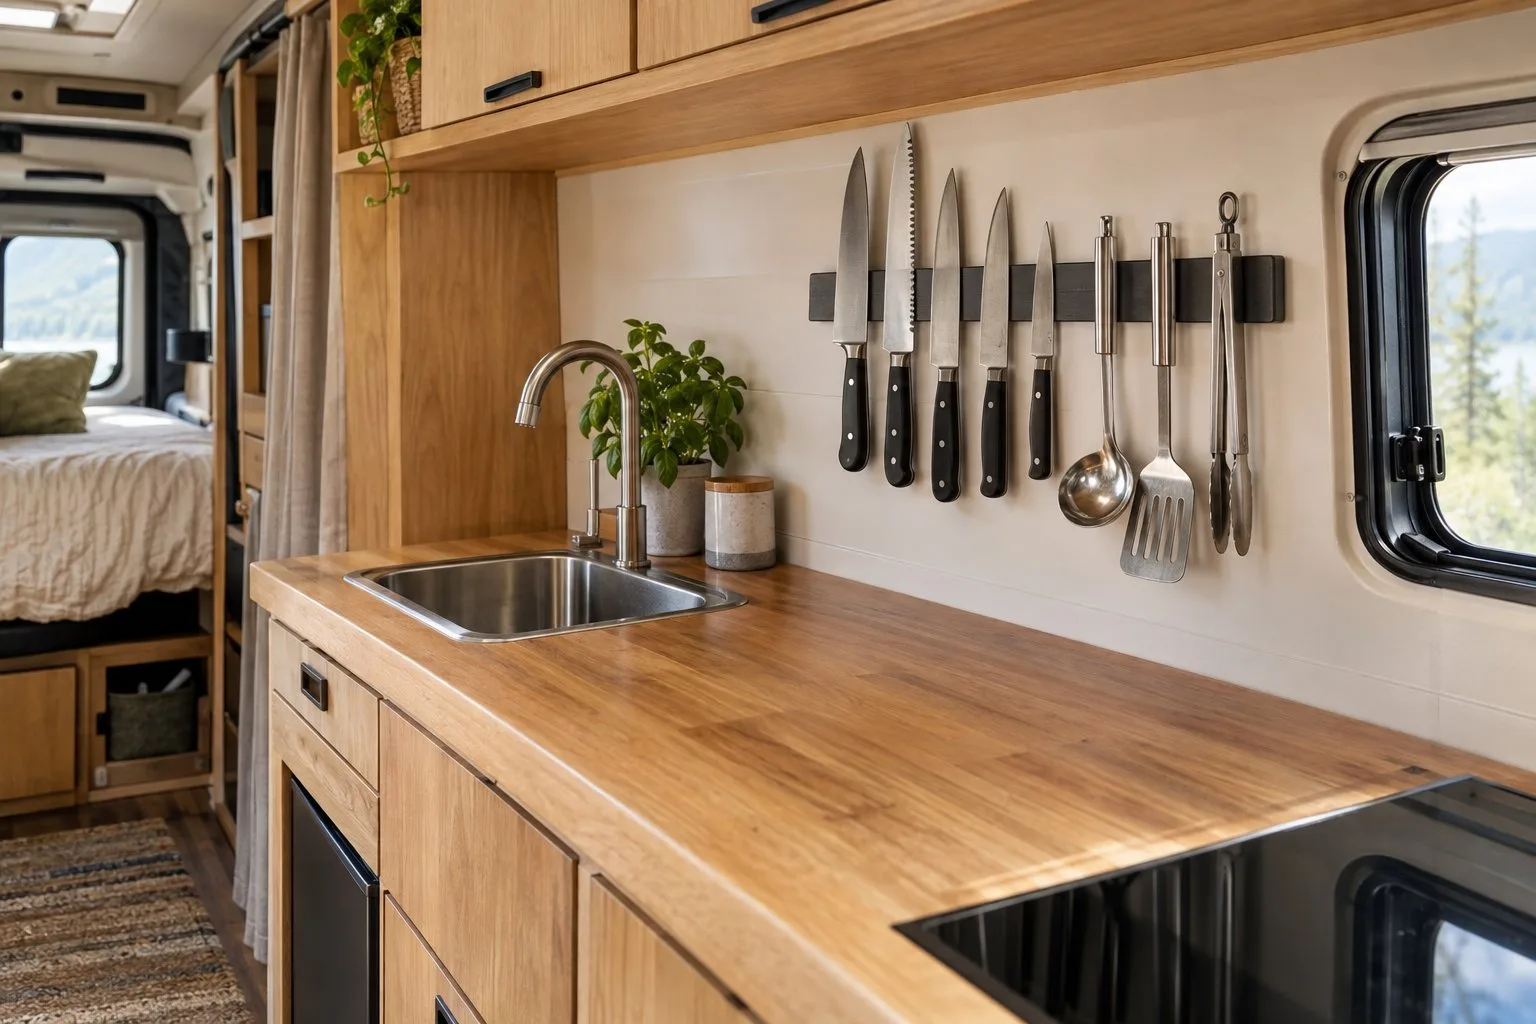
A magnetic strip keeps your knives off the counter and out of crowded drawers. It’s a cheap fix for one of the hardest items to store safely in a moving kitchen.
Mount the strip near your stove so tools are easy to grab while cooking. It also holds metal spatulas, ladles, scissors, can openers, and tin spice jars.
If you’d prefer not to drill, adhesive strips work for lighter tools. Textured RV walls and road vibration put extra stress on adhesive, so keep heavy chef’s knives on screw-mounted strips. When you pull a knife off, tilt it by the spine to protect the edge.

Multi-Purpose Magnet Bar for Knives, Heavy Duty Strip Holds Up to 6 lbs, Kitchen Organizer, Drilling Required, 10 Inch
6) Hang Mugs and Utensils on Command Hooks
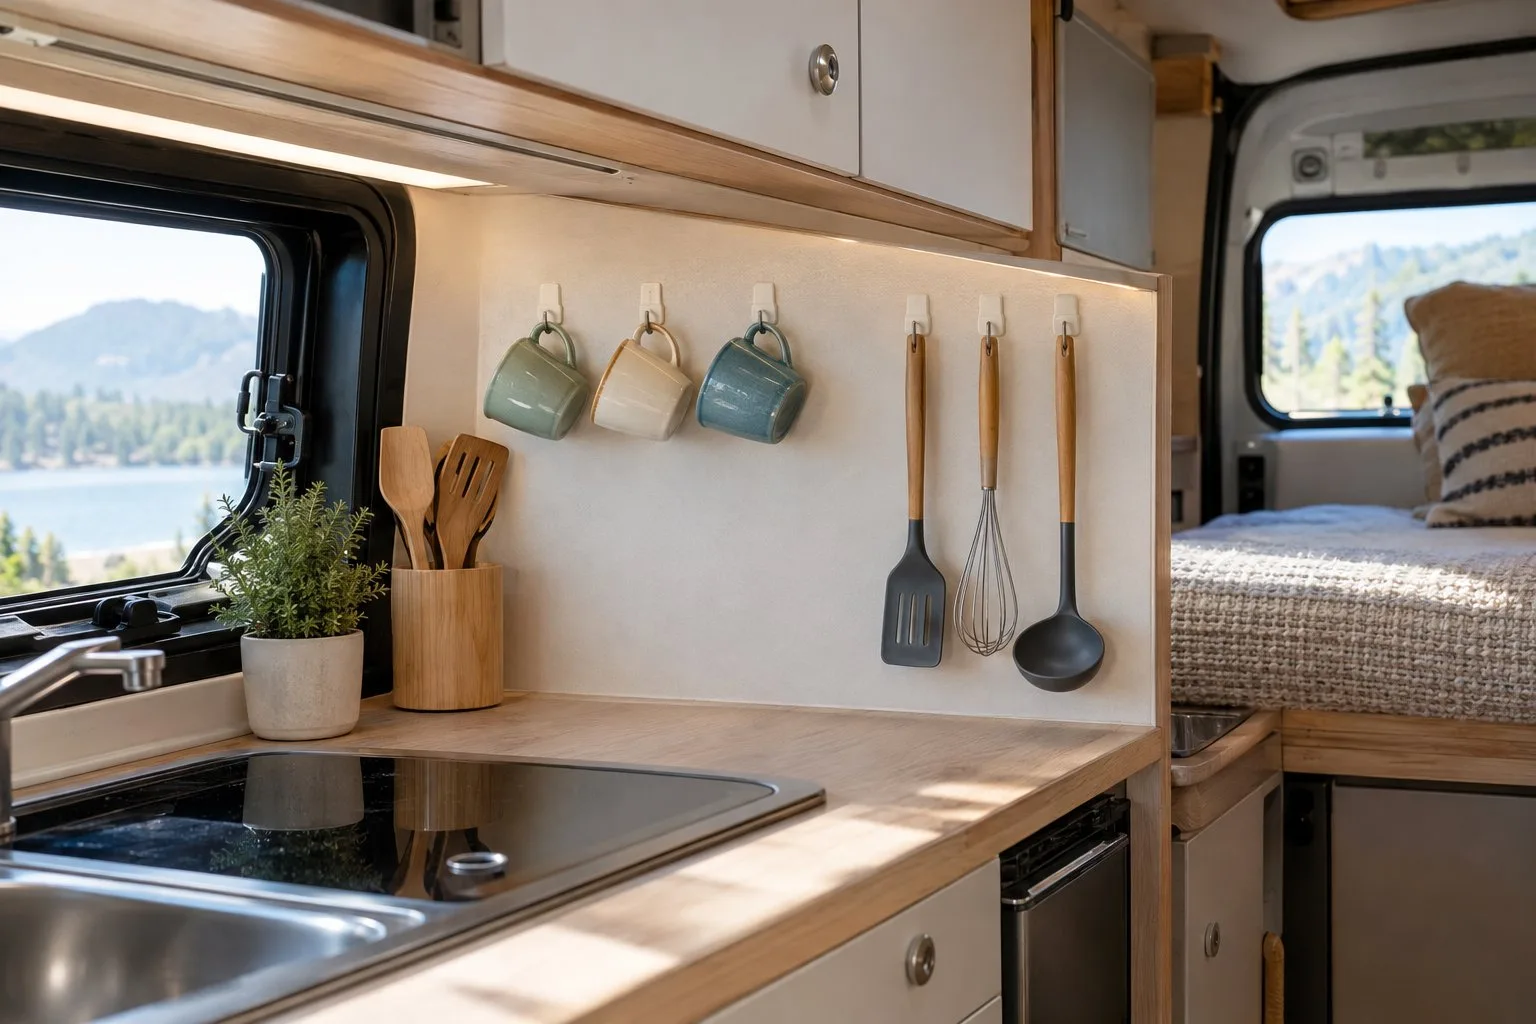
Command hooks free up cabinet space by putting your mugs and small tools on the wall. They stick on without damage and peel off cleanly if you change your layout.
Place them inside cabinet doors or along the backsplash. Give measuring spoons, whisks, and spatulas their own hooks so you never dig through a drawer again.
With mugs off the shelves, you have room to stack plates and bowls properly. Match the hook to the job: medium hooks for mugs, small ones for light utensils. Check the weight rating against your heaviest mug.
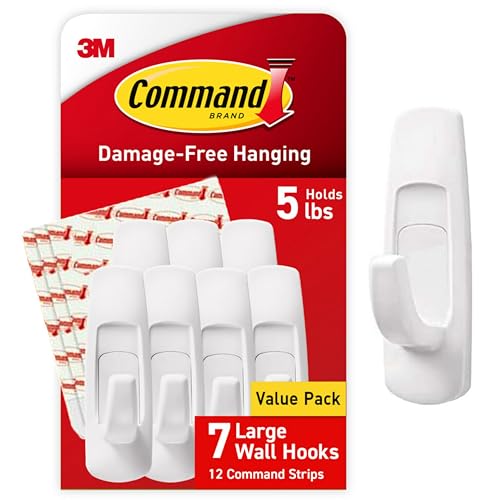
7 Wall Hooks, and 12 Command Strips, Damage-Free Hanging with Adhesive Strips, No Tools for Hanging
7) Add a Murphy Bed to Reclaim Daytime Floor Space
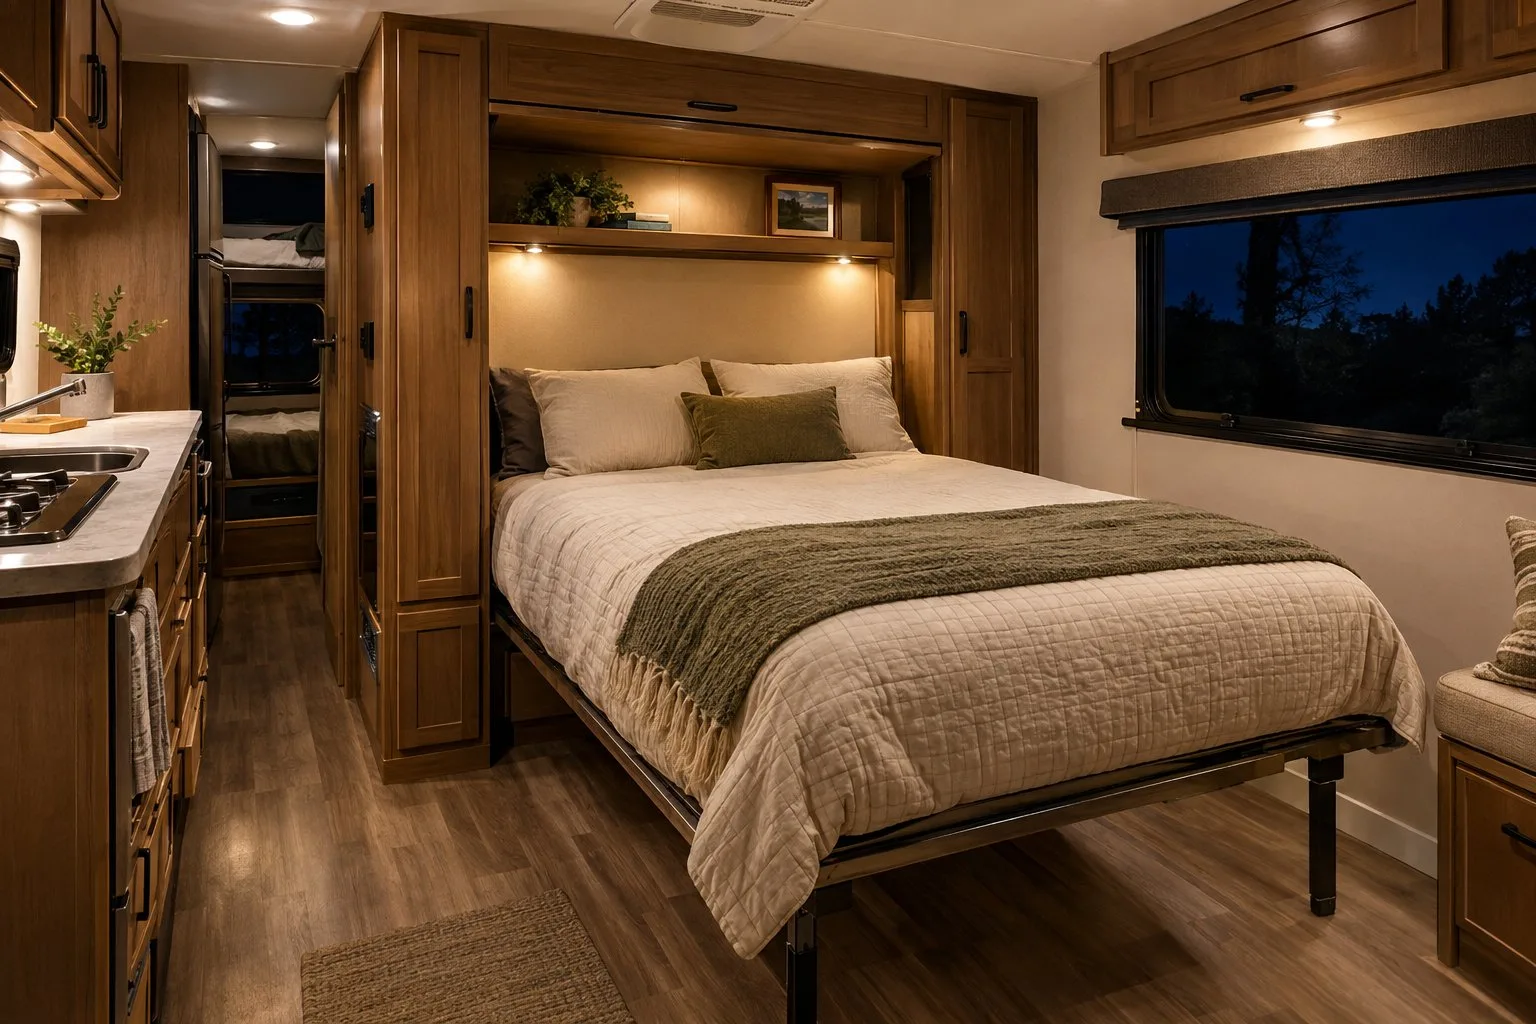
A Murphy bed folds into the wall during the day, which opens up a large stretch of floor in a small rig. At night, you pull it down and your bedroom is ready.
Kits come in sizes from twin to queen. A queen suits couples who like room to spread out, while a twin fits tighter layouts.
This is one of the bigger projects on the list, so plan carefully. RV walls are oddly shaped and space is tight. Measure several times before you buy a kit or cut anything. Once it’s in, you can use the open floor for yoga, cooking prep, or hanging out with friends.

Vertical
8) Sew or Clip Bright DIY Curtains
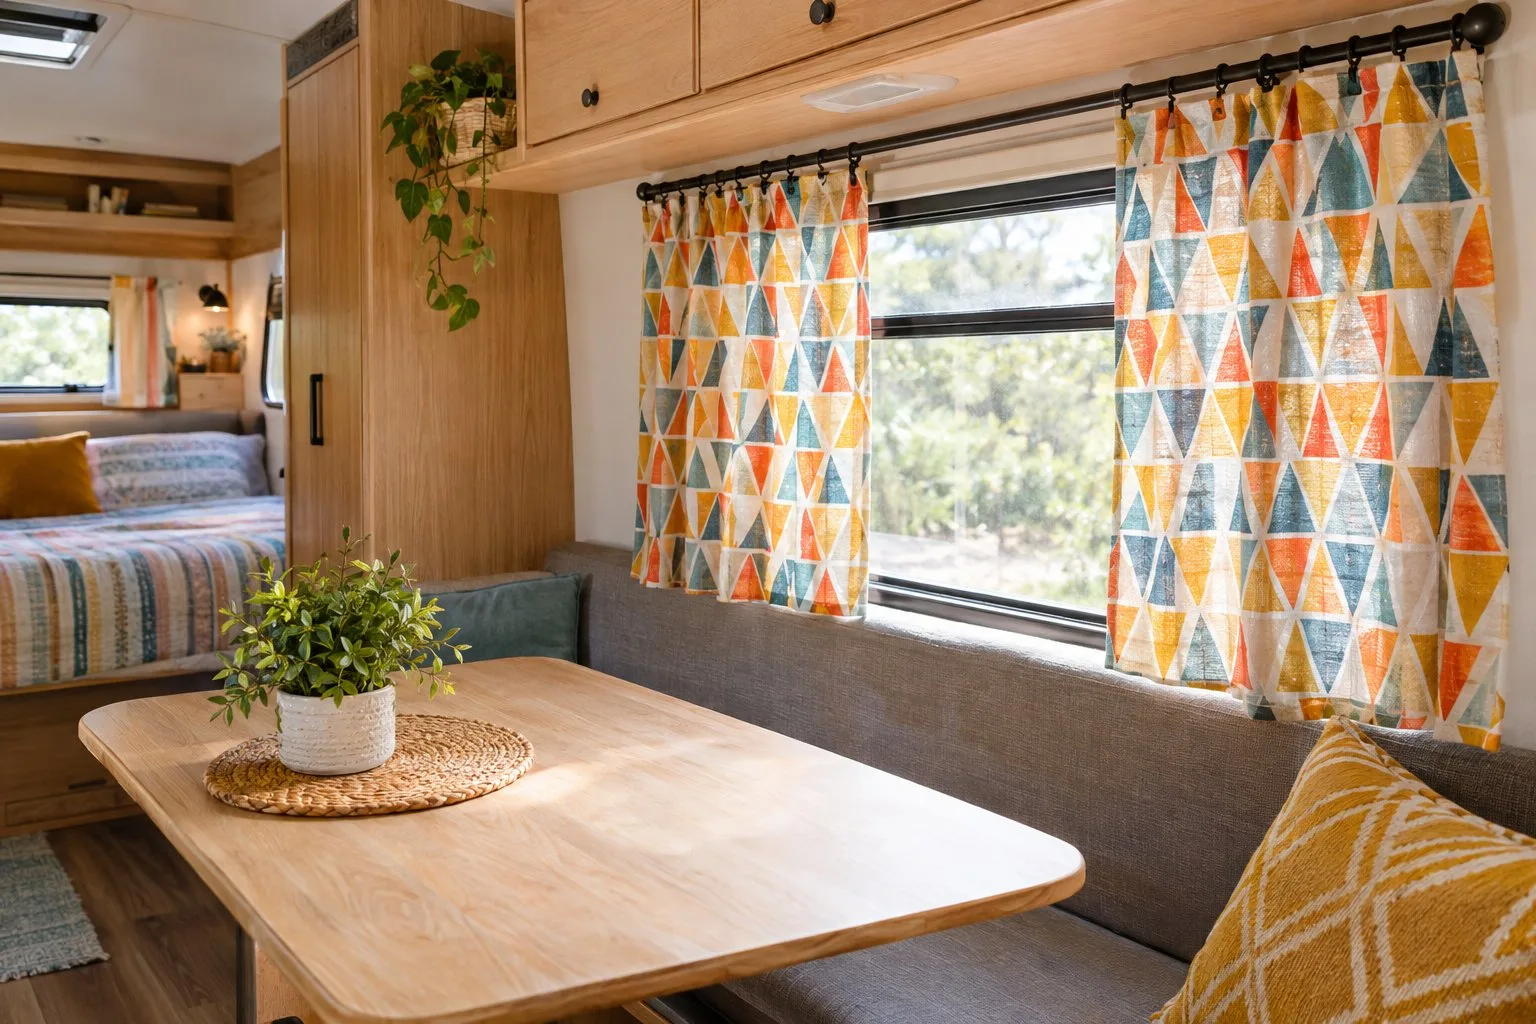
Colorful homemade curtains are an easy RV window makeover that brightens the whole interior. Dark, heavy drapes make a camper feel small, and cheerful fabric does the opposite.
Choose lightweight cotton in sunny shades like yellow or sky blue. Measure each window and add a few inches on each side so the panels drape nicely. Pick fabric that is durable and easy to wash.
You don’t need a sewing machine. Curtain clips skip the rod pocket entirely and make swapping panels quick. Fabric glue or iron-on hem tape also works for no-sew edges.
Hang sheer panels behind the main curtains for daytime privacy that still lets light in. Mixing patterns, like striped panels with solid tie-backs, gives a designer look for under $20 per window.
9) Run LED Strip Lights Under Your Cabinets
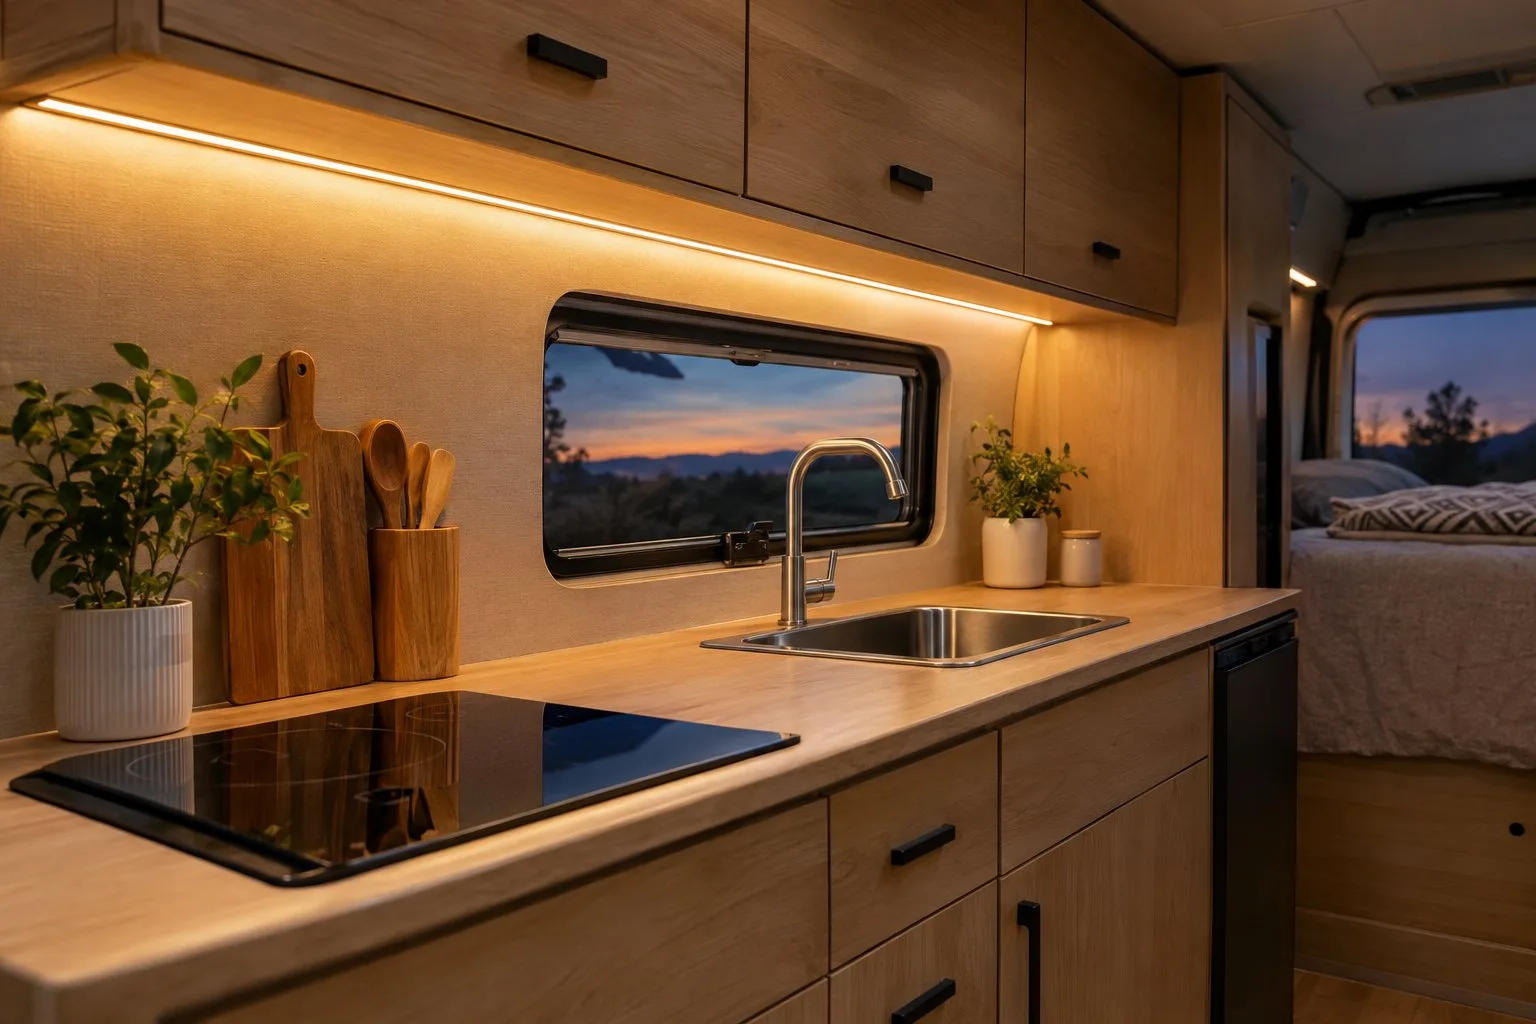
Under-cabinet LED strips are one of the most useful RV light fixtures you can add. They spread an even glow across your counter so you can chop food and read labels without shadows.
Most strips have an adhesive back, so you peel and press them into place. Many people finish the job in under an hour. Strips can be cut to length to fit your cabinets.
Warm white in the 2700K to 3000K range gives a cozy evening feel. LEDs draw far less power than old bulbs, which helps your battery last. Add a dimmer or a remote so you can go bright for cooking and soft for dinner..

With Remote, 16.4ft 3000K Dimmable Ultra Bright Warm White COB Light Strip, Adhesive
10) Decorate With Removable Vinyl Decals
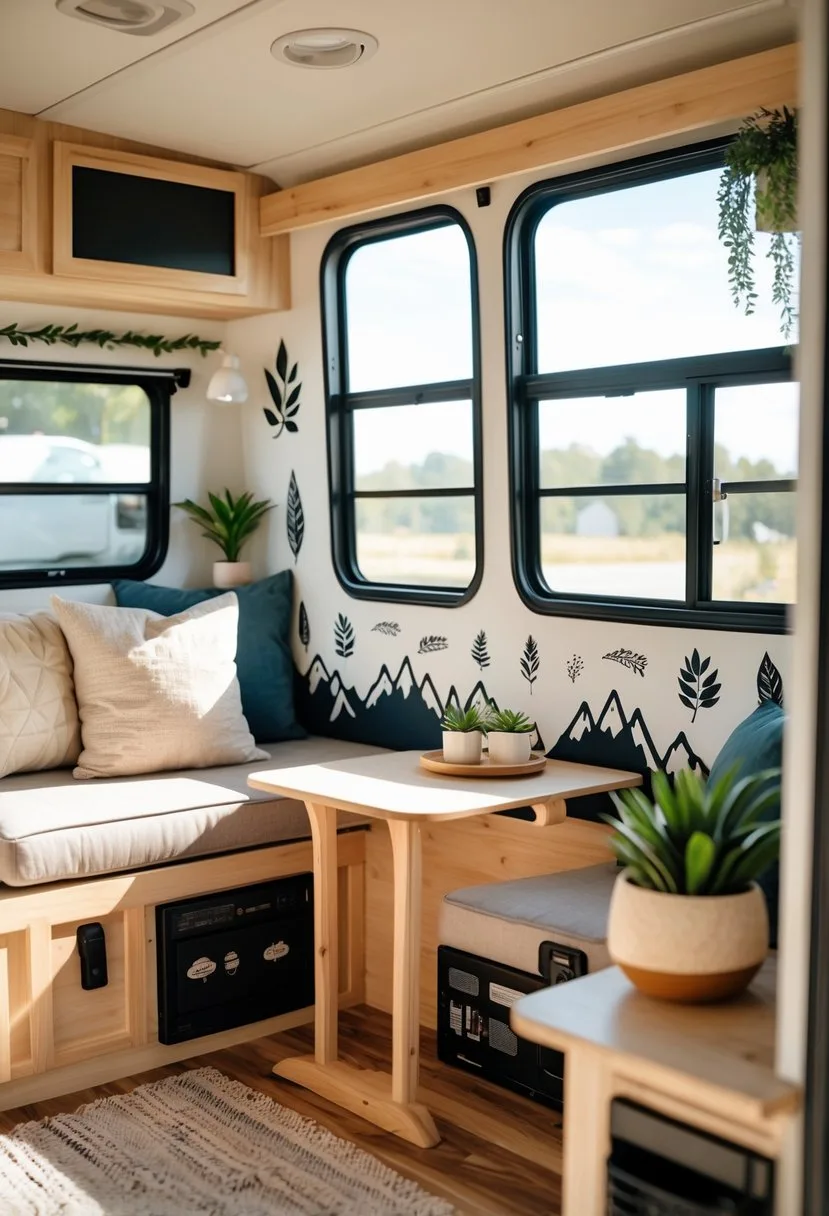
Removable vinyl decals add personality to your walls and peel off without damage. Like contact paper, they let you decorate boldly and change your mind later.
Mountain silhouettes above the dinette or a forest scene in the bedroom suit a camper well. Always buy removable adhesive vinyl, since permanent vinyl can pull paint or paneling when it comes off.
To apply:
- Clean the wall so it’s free of dust and grease.
- Position the decal and smooth it from the center outward.
- Use a small plastic scraper to push out bubbles.
Decals work on cabinets, furniture, and appliances too, with designs from travel quotes to nature scenes.

Peel & Stick Wall Decorations
11) Grow Fresh Herbs in a Vertical Garden
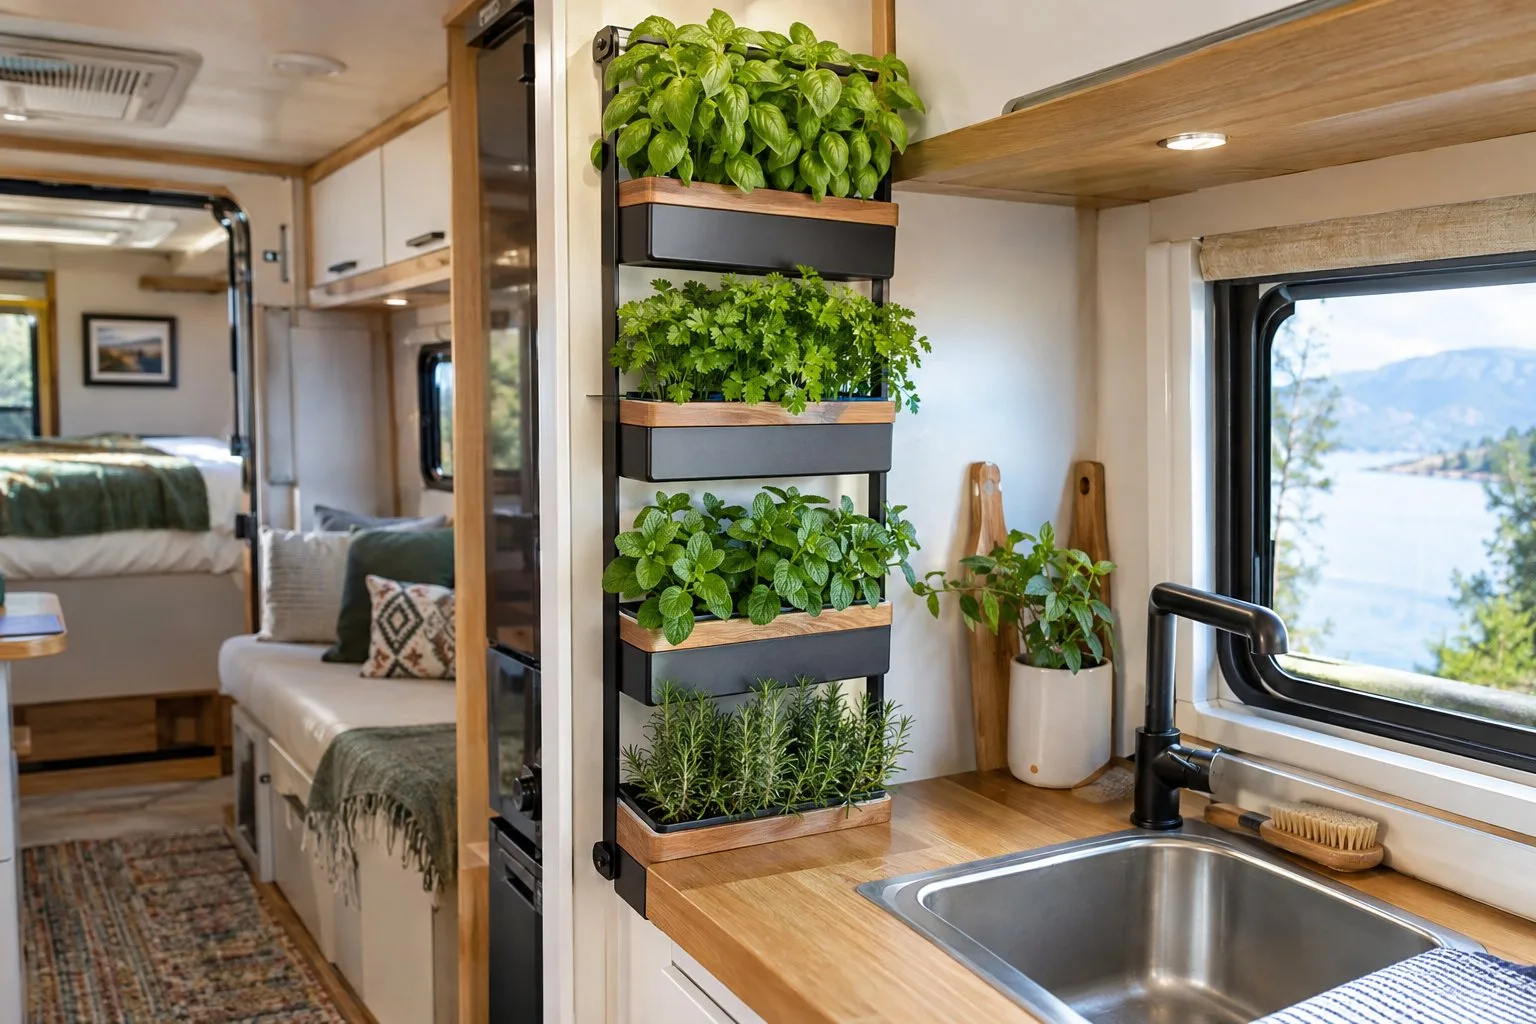
A vertical herb garden gives you fresh flavor for camp meals while using almost no floor space. Basil on pizza or mint in your tea tastes better when you just picked it.
Inside, a pegboard lets you move small pots around as needed. Outside, lean a wooden ladder against the rig and hang planters from the rungs. Pocket planters, shoe organizers, or mason jars screwed to a board also work.
Start with hardy herbs:
- Rosemary
- Thyme
- Oregano
These handle temperature swings with little care. Hang your garden near a window or under the awning so plants get sun but stay sheltered from storms. Vertical setups drain well and give each plant good airflow. Secure every pot before you drive.
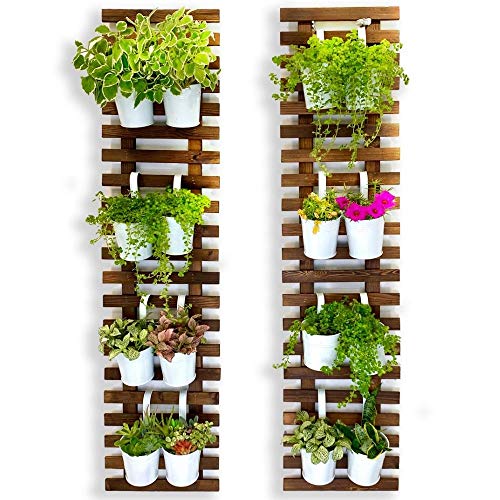
2 Pack, Wooden Hanging Large Planters for Indoor Outdoor Plants, 47.2" (120cm)
12) Swap Your Stock Mattress for Better Sleep
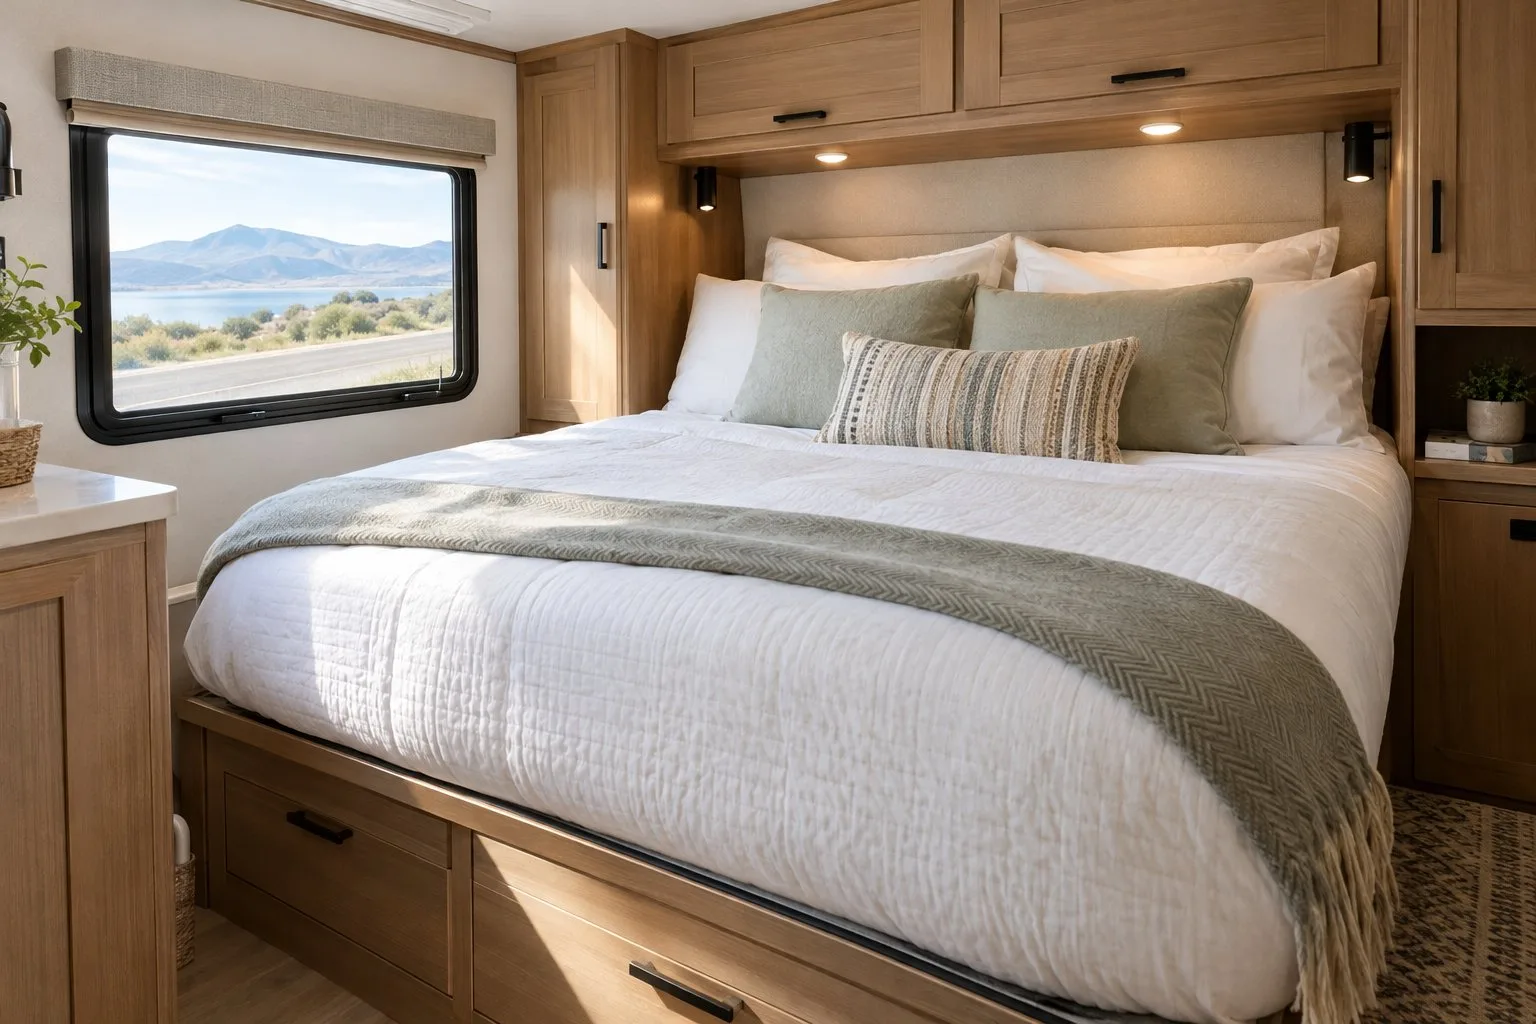
Upgrading your RV mattress is one of the best comfort changes you can make. Factory mattresses in most campers are thin and cheap, and many owners wake up with sore backs.
The budget fix is a memory foam topper. It adds a soft layer for a fraction of the cost of a new bed.
For a full replacement, buy a mattress made for RVs. These come in odd sizes like short queen, and many ship compressed so they fit through a narrow door. Check the weight and height so the bed still clears cabinets and stays within your load limit. Extra comfort layers make a noticeable difference after a long drive day.
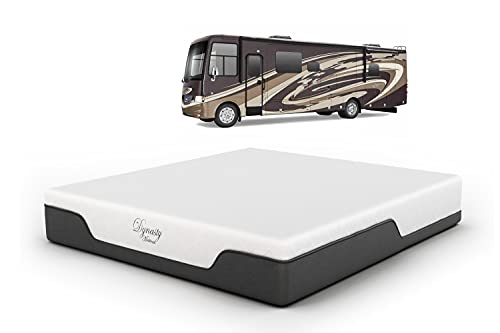
DynastyMattress, 10-Inch CoolBreeze Medium-Firm Gel Memory-Foam Mattress for RV Bed, Camper, Pop Up, and Trailer
13) Install Solar-Powered Fans for Fresh Air
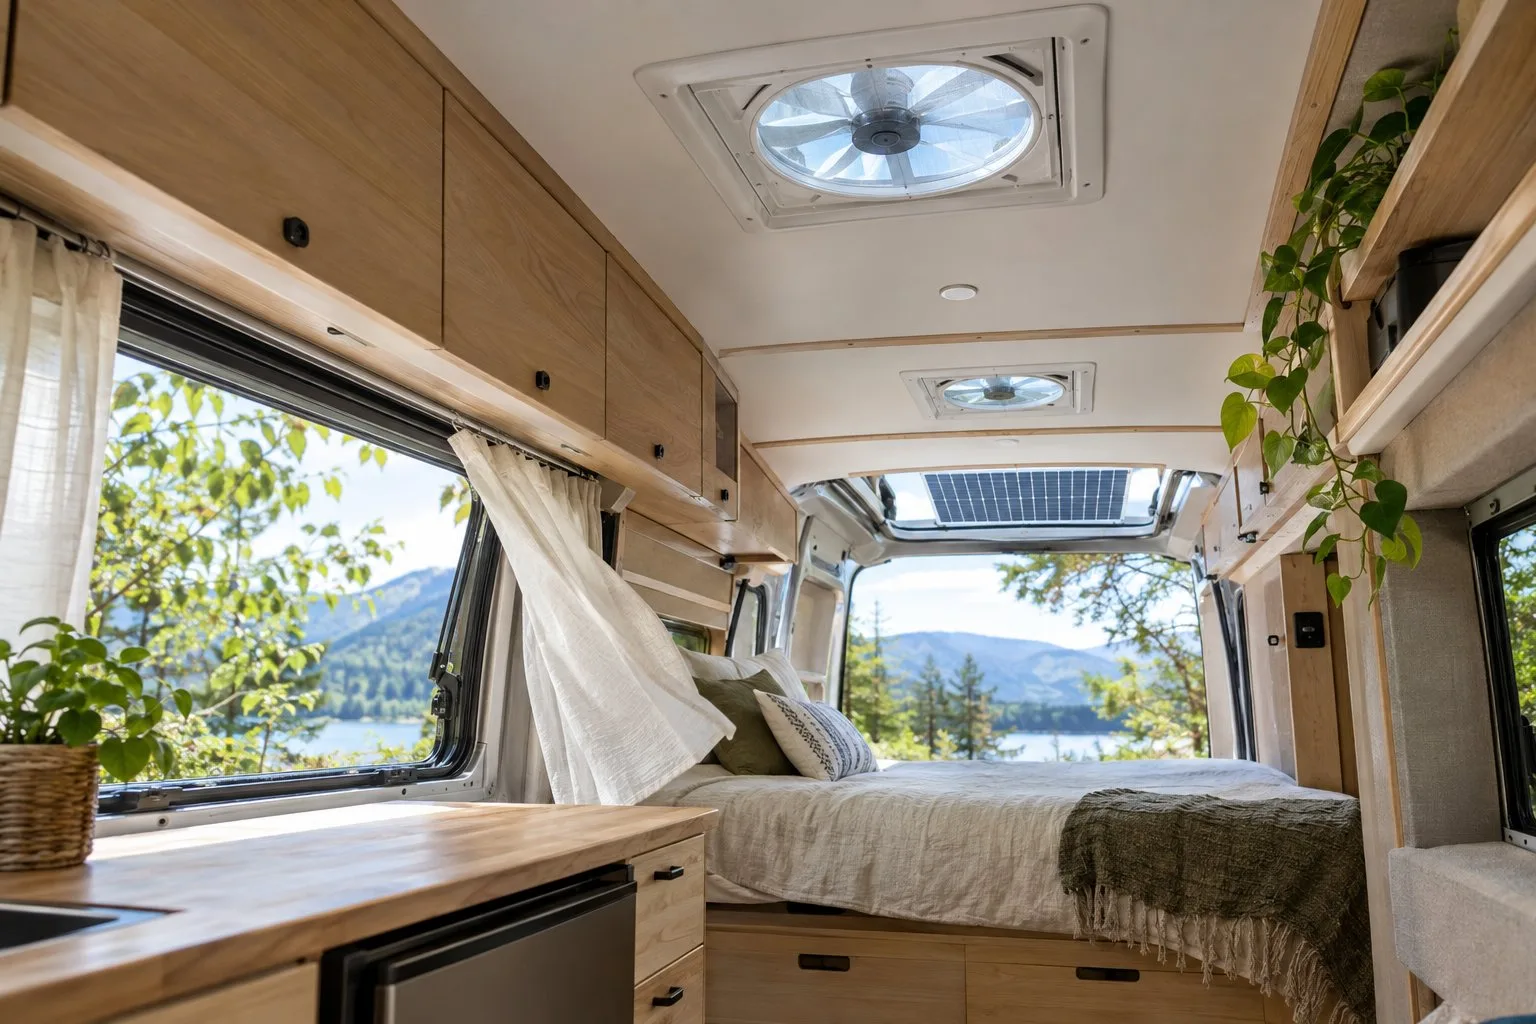
A solar-powered roof fan moves stale, hot air out of your camper without draining your battery. It’s a good fix for stuffy afternoons when open windows aren’t enough.
Most models are DIY-friendly and take about half a day. You cut an opening in the roof (or replace an existing vent), seal the edges well against leaks, and connect the wiring. Use a sealant rated for RV roofs.
The fans run hardest on the sunniest, hottest days, right when you need them, and they switch on by themselves. Better airflow means less need for the air conditioner and a drier interior on humid trips.
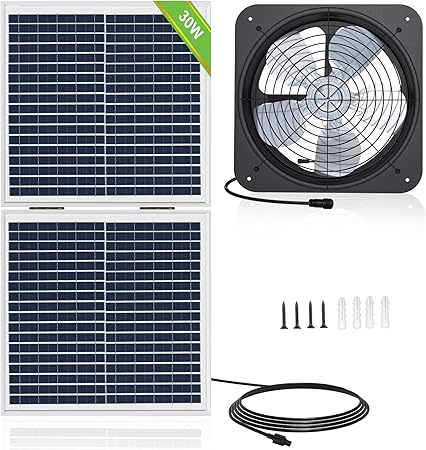
ECO-WORTHY - 25W with 30W Foldable Panel - Fans for RV
14) Block Heat With Reflective Window Covers
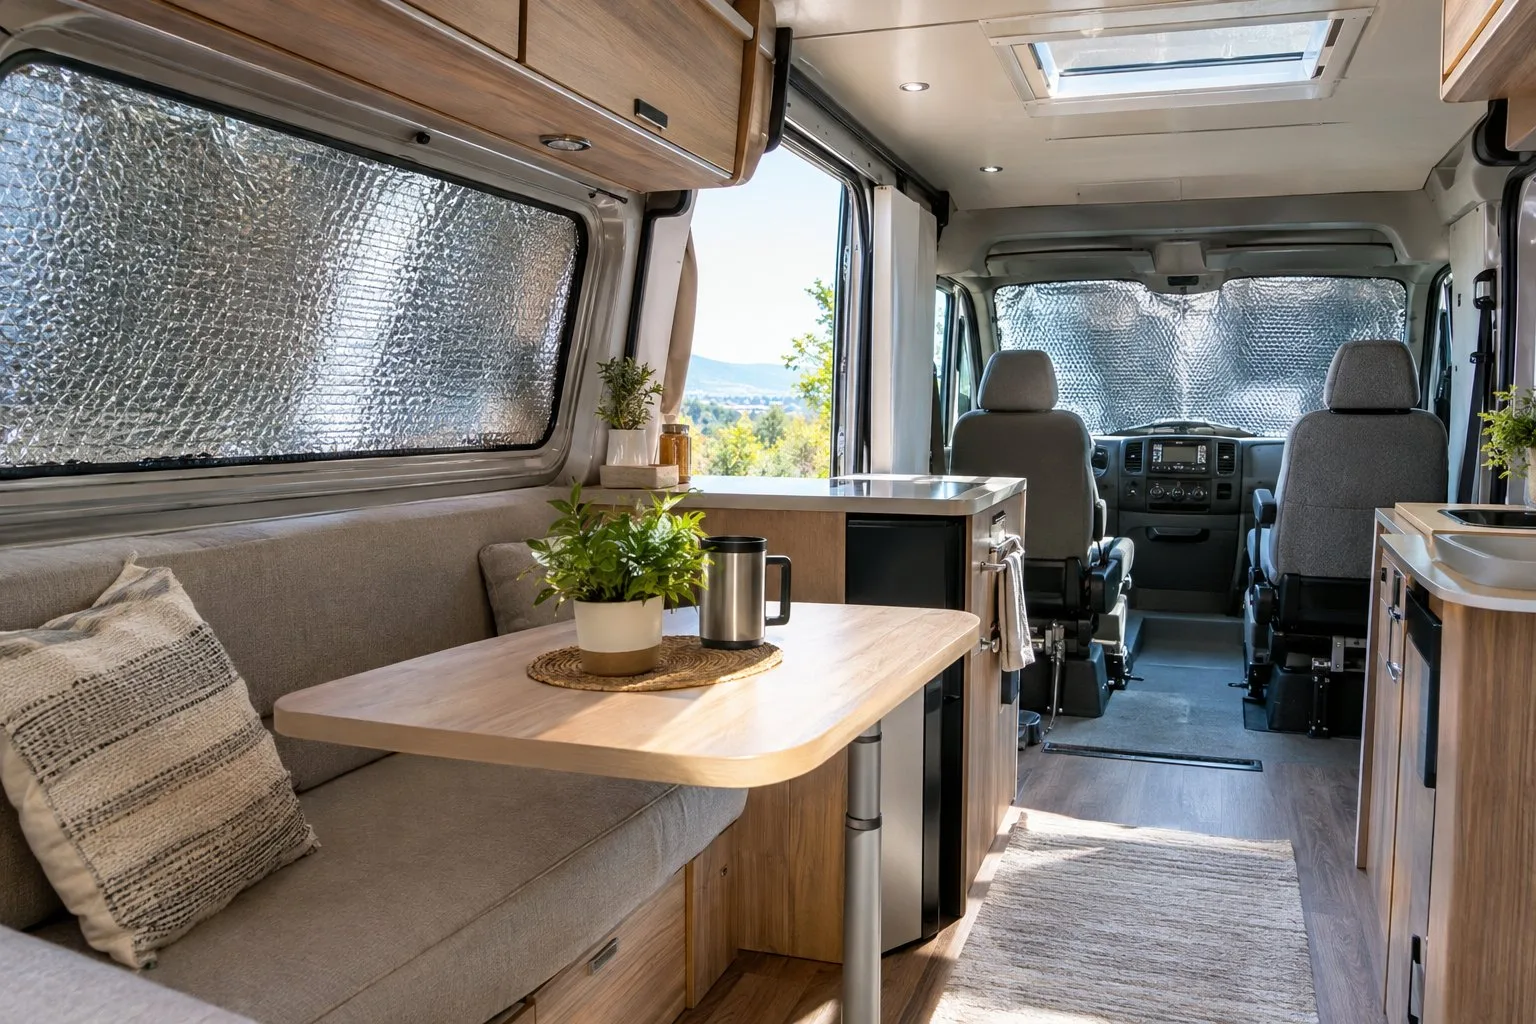
Reflective window covers bounce sunlight away before it heats your interior. They’re one of the cheapest ways to keep a camper cool in summer.
You can buy ready-made covers or make your own from reflective bubble insulation like Reflectix. Trace each window, cut the material to fit, and hold it in place with suction cups or magnets. The windshield is the best place to start because it lets in the most heat.
Don’t forget skylights above the bed. The covers also add privacy and take only a few minutes to put up when you pull into camp. Your A/C works less, and hot nights are easier to sleep through.

Double-Side Aluminum Foil Bubble Shield, Aluminum Foil Thermal Insulation Radiant Barrier for Windows, RV, Roof - (23.6IN X 10FT)
15) Build a Slide-Out Kitchen for Outdoor Cooking
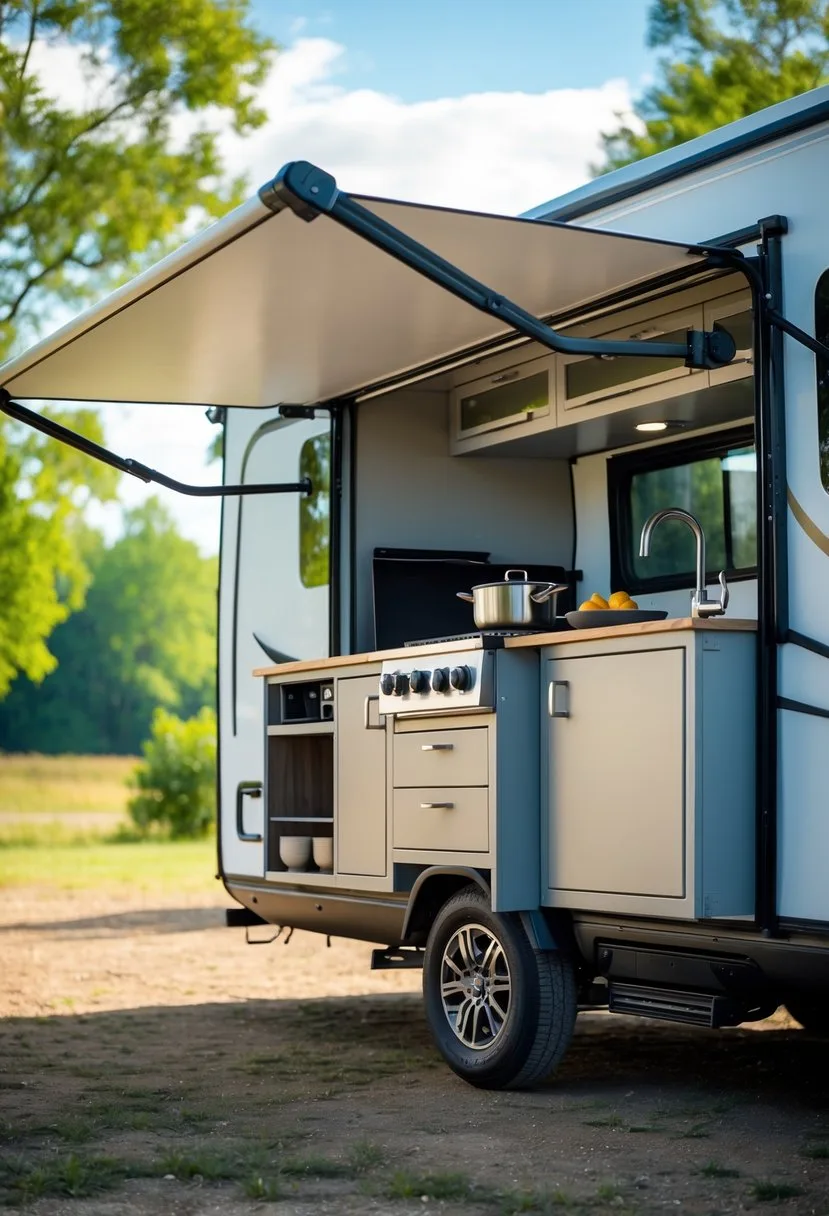
A slide-out kitchen gives you a full cooking station outside and tucks away when you drive. It keeps smells and grease out of your living space too.
Use heavy-duty drawer slides rated for at least 100 pounds. Mount them to the camper’s frame, never to thin outer paneling alone.
Inside the drawer, you can fit a camp stove platform, a cutting board, and even a small sink. Some builds add a mini fridge or a compact grill. Expect to spend about a weekend on the build. This is a more advanced project, so it suits you once you’ve done a few simpler upgrades.
16) Corral Pantry Items in Wicker Baskets
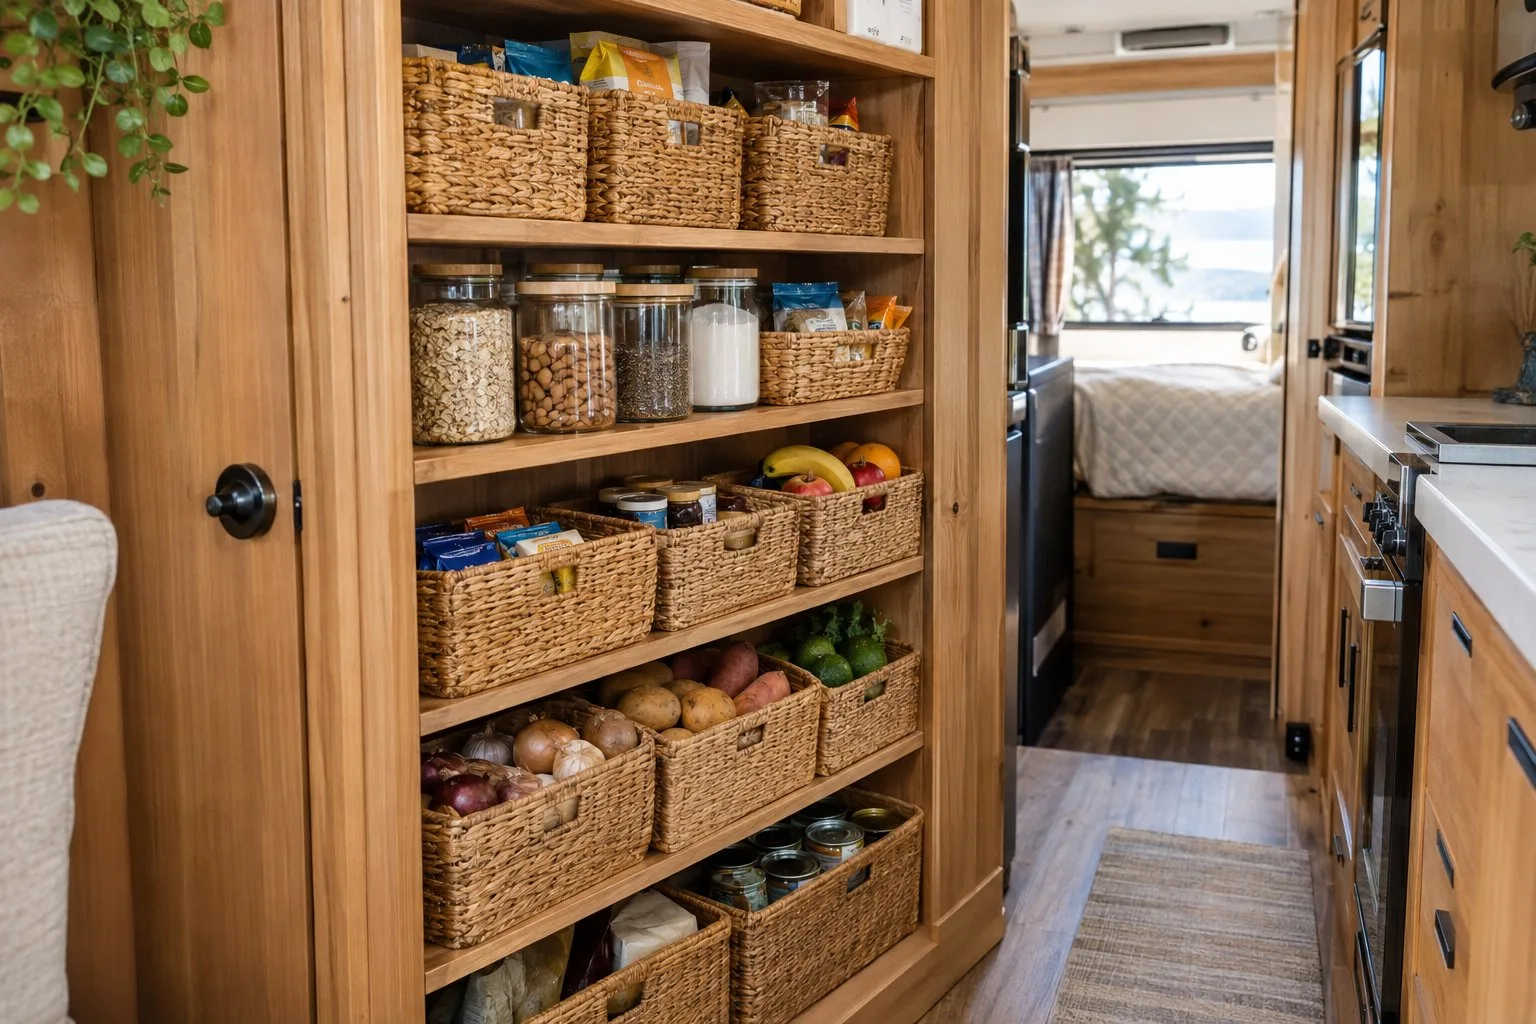
Wicker baskets stop cans and snacks from rolling around and add a warm, rustic look. Thrift stores often sell mixed sizes for under $20.
Use big baskets for cereal boxes and chips. Smaller ones hold tea bags, seasoning packets, and granola bars. Grouping like items means you can grab one basket and see everything.
Wicker breathes, which helps keep moisture away from dry goods. Add simple drawer slides under a shelf to turn baskets into pull-outs. Label each one with a small chalkboard tag so everyone knows where things go.

Set of 4 - 9x12in Woven Organizers w/Chalkboard Label, Chalk Marker
17) Paint a Chalkboard Wall for Notes and Plans
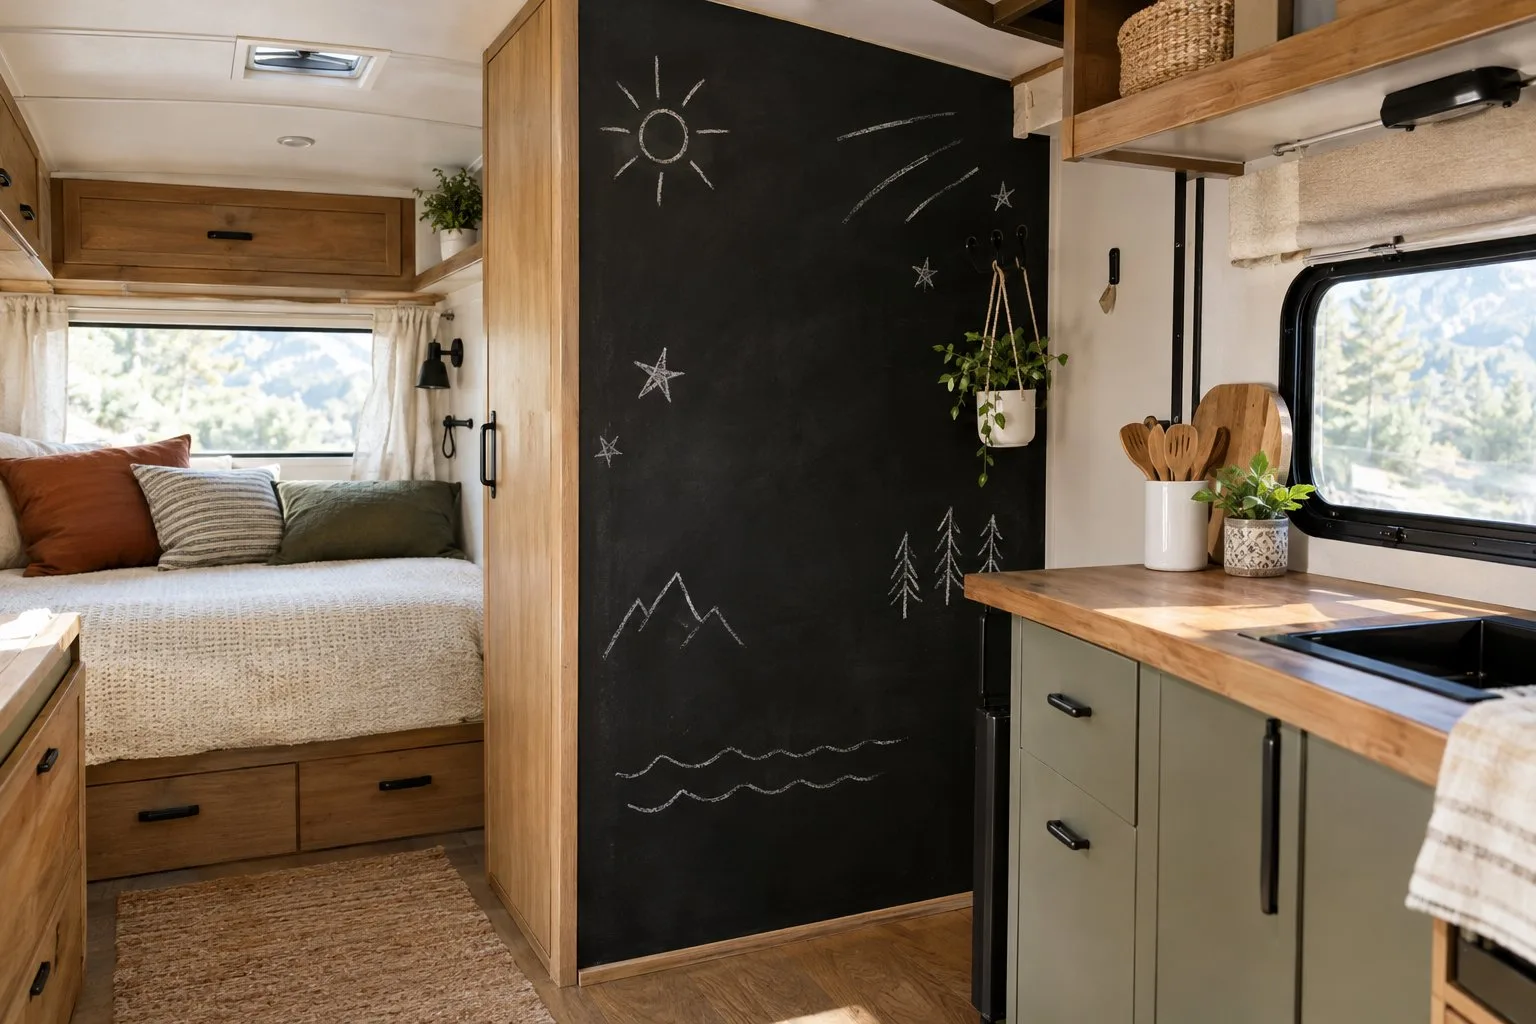
A chalkboard wall gives you a place for lists and plans without using any counter space. A can of chalkboard paint from the hardware store is all you need.
Pick a spot near the dinette. Clean the wall, tape the edges, and roll on two coats, letting each dry about four hours.
Before you write on it, season the surface. Rub the side of a piece of chalk over the whole area, then erase it. This prevents ghost marks that won’t wipe off. After that, use it for grocery lists, trail plans, campfire recipes, or notes for your family.
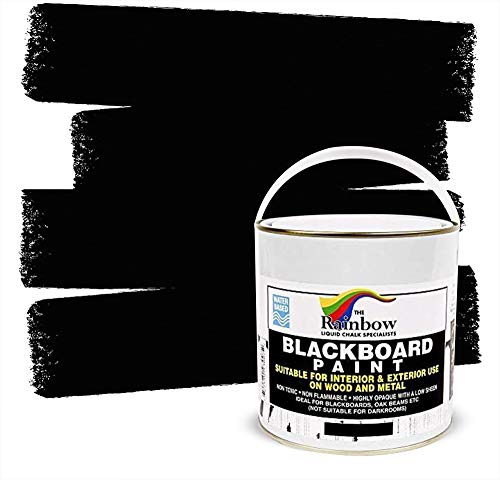
Brush on Wood, Metal, Glass, Wall, Plaster Boards, Sign, Frame, or Any Surface. Use with Chalk Pen Wet Erase, Non-Toxic - Matte Finish (33.8oz Cover 129 sf)
18) Upgrade Outdated Faucets to Modern Fixtures
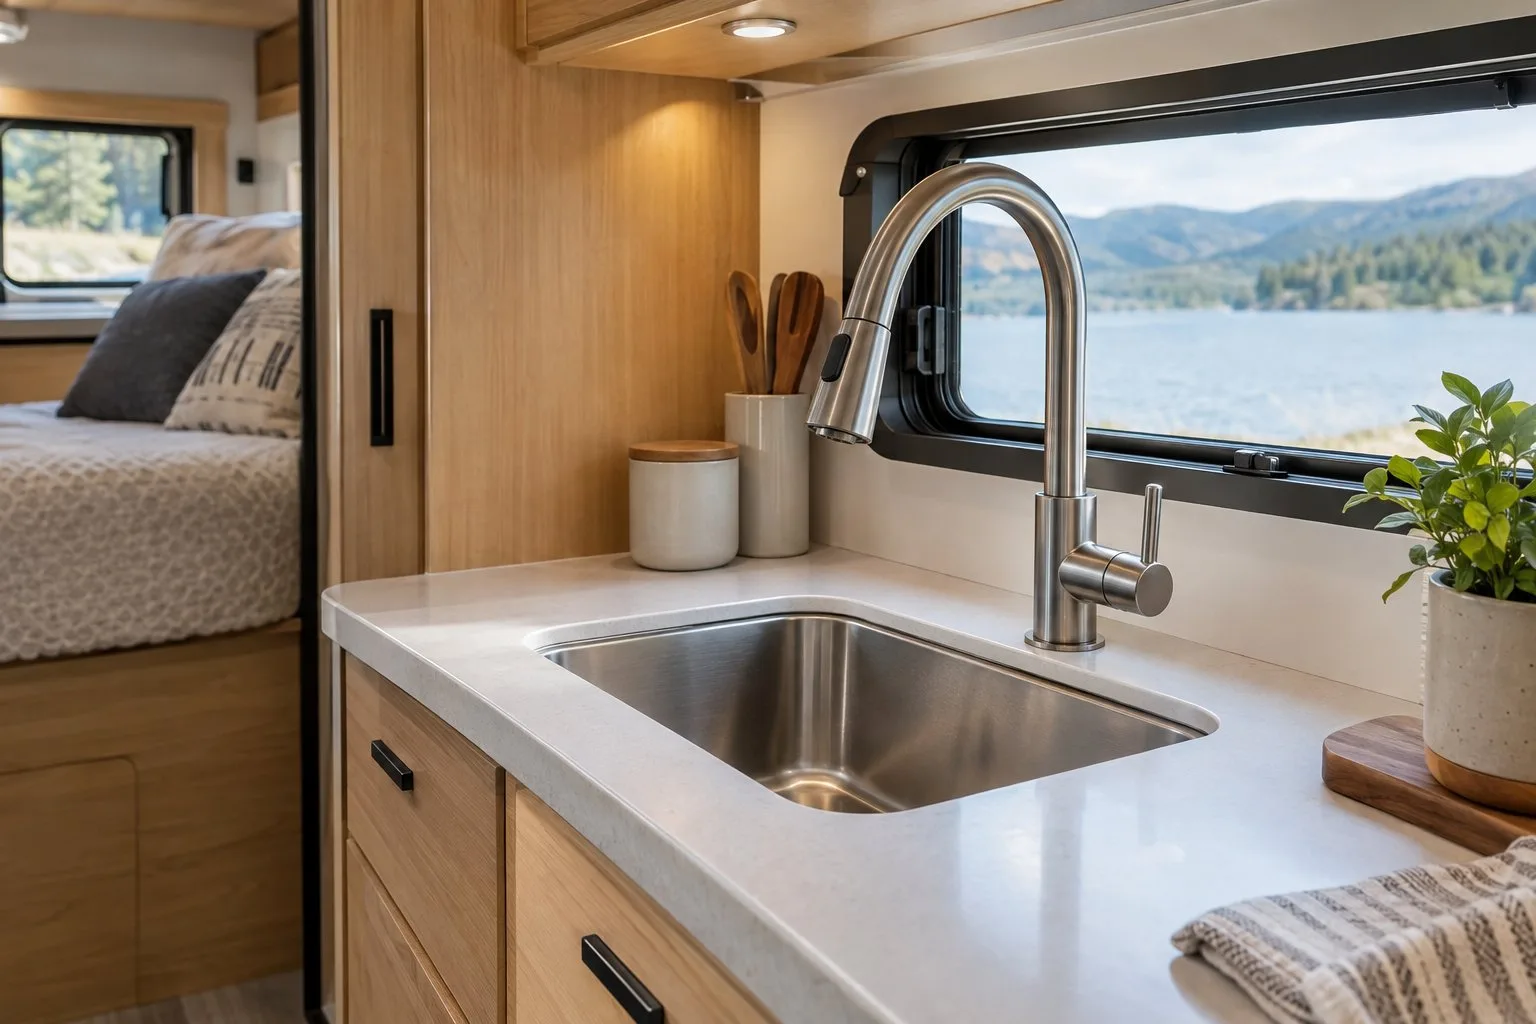
A new faucet is one of the quickest ways to make your kitchen or bathroom look current. Old brass fixtures date a camper instantly.
Matte black and brushed nickel suit almost any color scheme. Check that the new faucet matches your sink’s hole layout and your RV’s plumbing connections before you buy. Most swaps take an afternoon.
Many modern faucets use less water, which helps your fresh tank last longer when you’re off-grid. While you’re at it, replace the showerhead too. If the budget is tight, local buy-and-sell groups often have lightly used fixtures.

Single Handle, High Arc, Sink Faucet with Pull Down Sprayer, Suitable for RV
19) Make a Pull-Out Pantry With Shallow Drawers
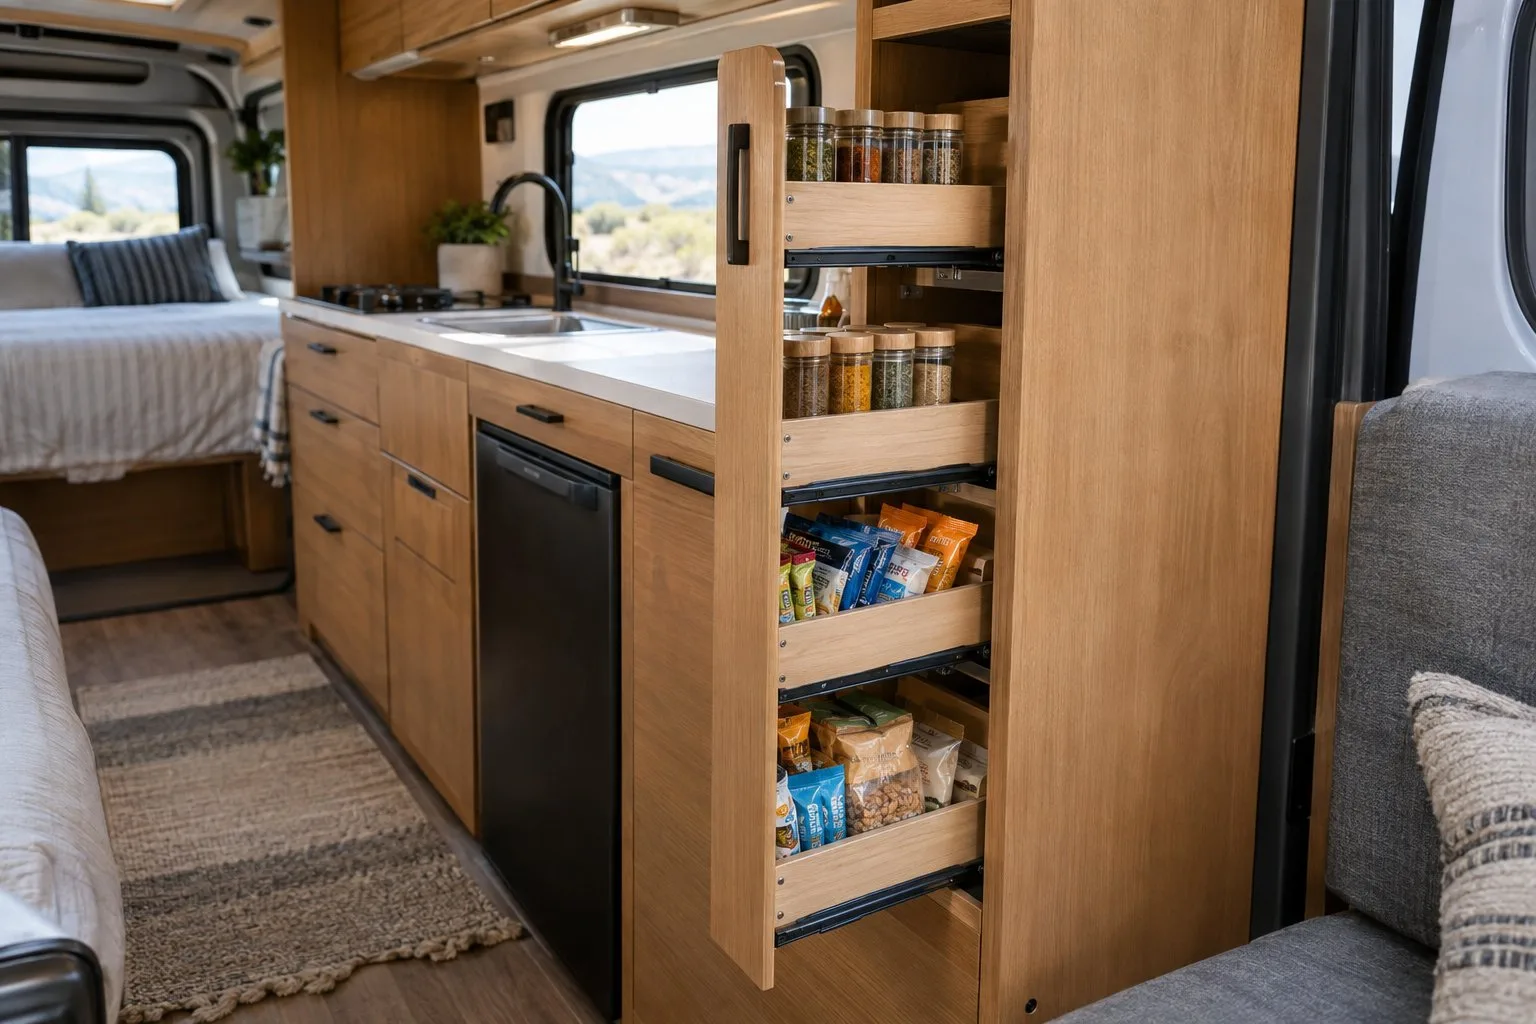
Shallow pull-out drawers let you see every item at once, so nothing gets lost in the back of a deep cabinet. Less forgotten food also means less wasted money.
Measure your cabinet opening first. Drawers about 4 to 6 inches deep fit spice jars and snack packs well. Full-extension slides bring the whole drawer into view.
Build narrow sections to keep spice bottles upright. Give snacks one drawer and cooking basics another. Cardboard dividers are a fine starting point, and you can upgrade to wood later. Ready-made expandable pull-out organizers are a shortcut if you’d prefer not to build.

Expandable(12"-20") Heavy Duty Slide out Drawers
20) Add a Fold-Down Shoe Rack by the Door
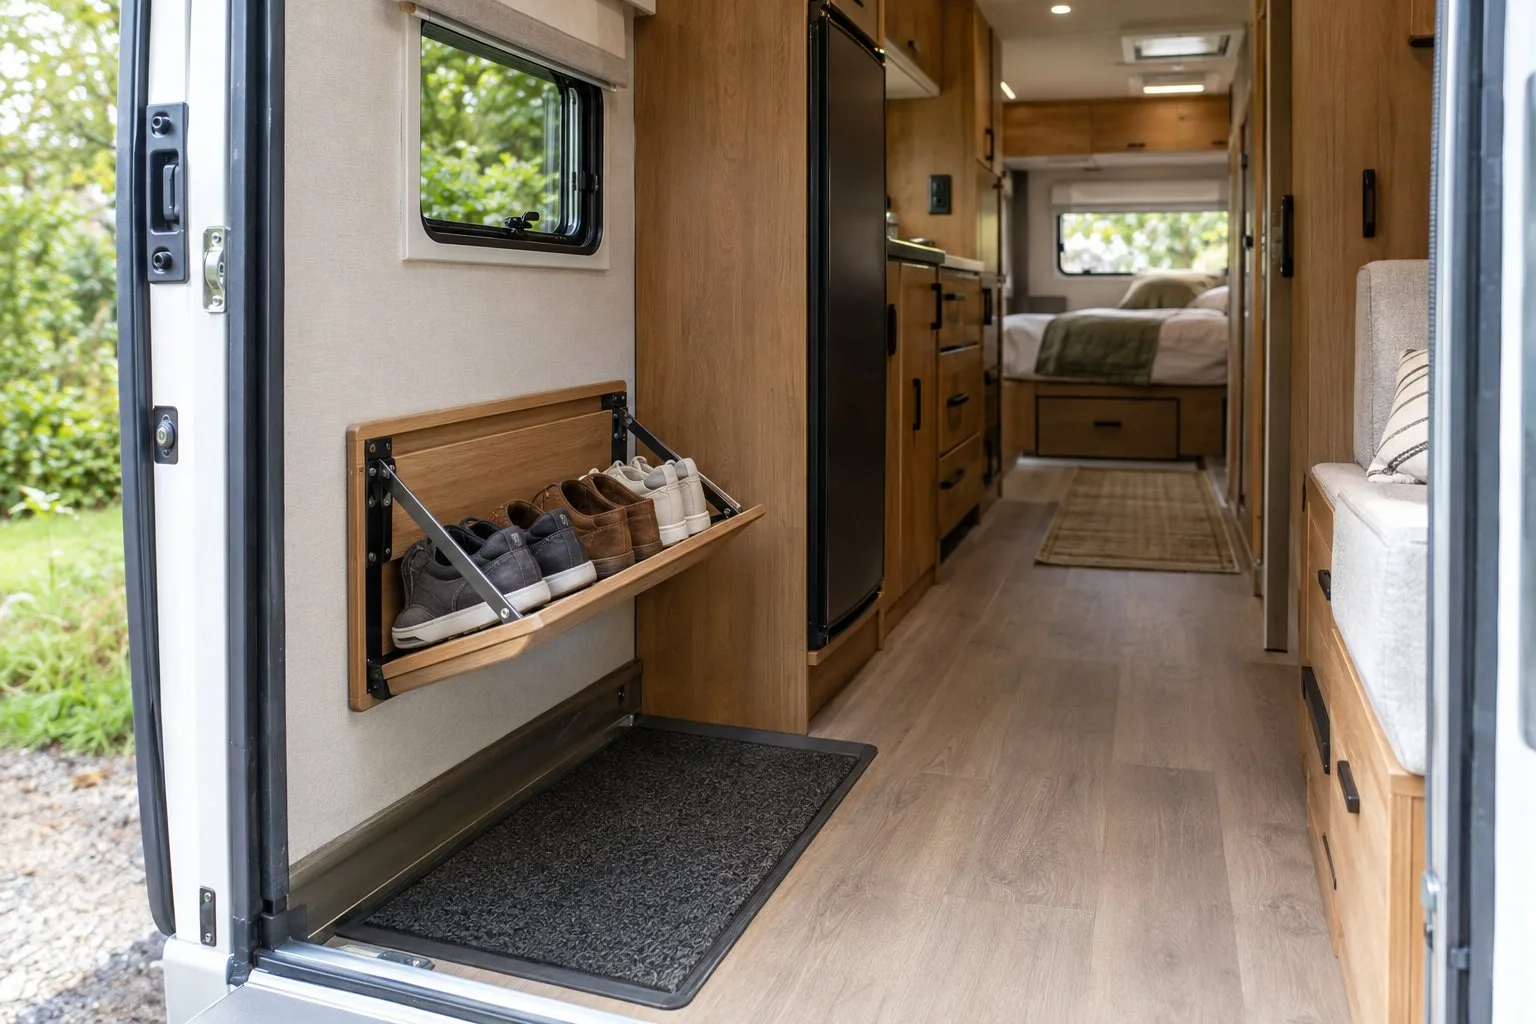
A fold-down shoe rack at the entry keeps mud and sand from spreading through your camper. You kick off your boots at the door and the floors stay cleaner.
These racks lie flat against the wall while you drive and fold out when you park. Weekend campers can set the rack just outside the door, then fold and store it for travel.
Installation needs only basic tools. Look for models that fold fully flat, and consider extra tiers for a bigger family. Many cost under $50, and some two-packs sell for around $20.

Aluminum Camper Shoe Organizer, Wall-Mounted Shelf, Efficient Holder and Storage Rack for Various Shoes, Essential Travel Trailer Organization Accessories- 2 Packs
21) Paint the Ceiling a Light Shade
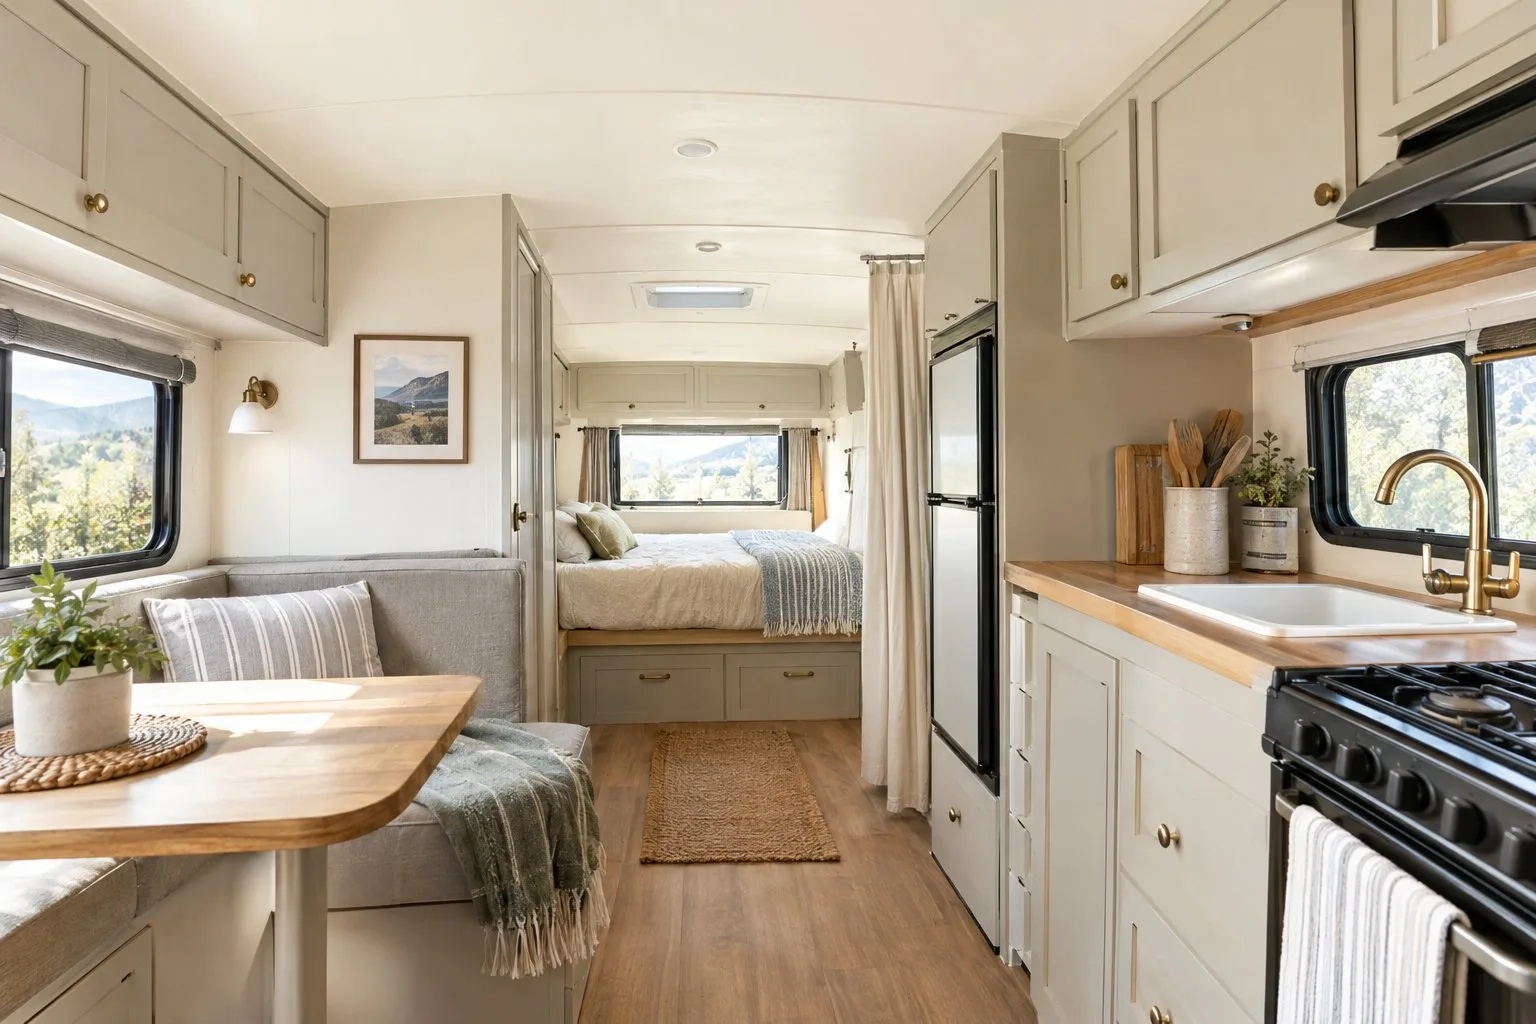
A light ceiling makes your camper feel taller and brighter. Pale colors bounce light around and make the space feel open.
Soft whites and pale grays give an airy look. Crisp white suits a minimalist style. For the biggest effect, paint the walls and ceiling the same shade so the edges blur together.
Use a good primer first. Camper ceilings often have stains that bleed through paint, and skipping primer means extra coats. If your ceiling is vinyl-covered paneling, use a bonding primer made for slick surfaces.
22) Hang Bottles and Tools From Tension Rods
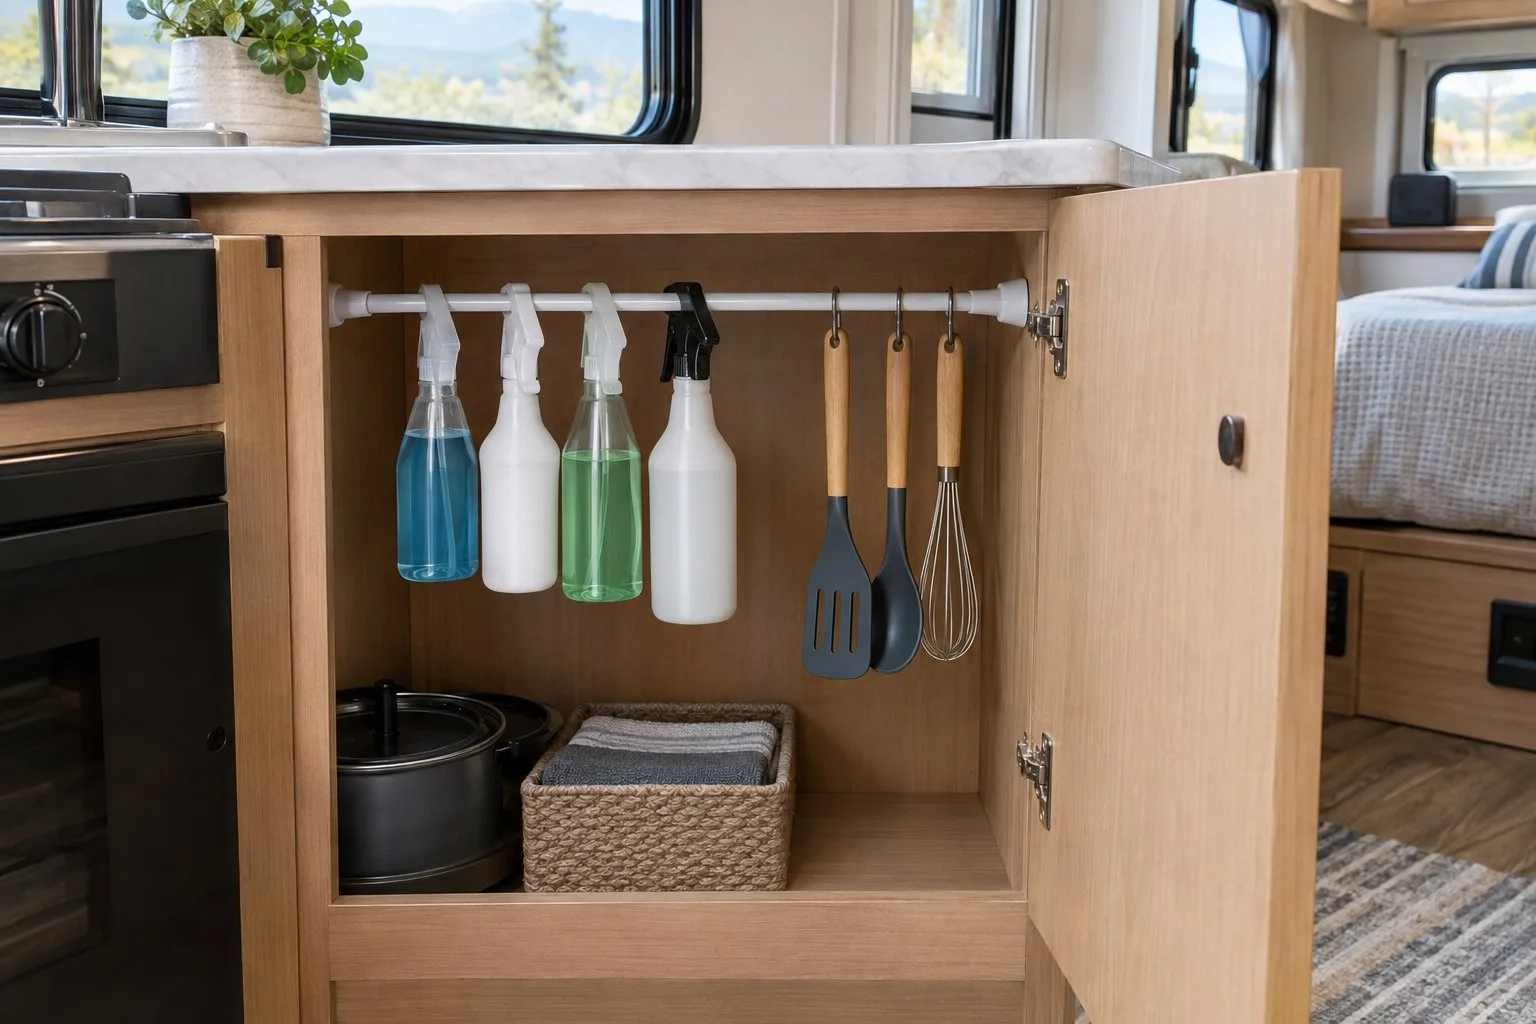
A tension rod inside a cabinet creates hanging storage in seconds with no drilling. Rods cost a few dollars and install in about five minutes.
Under the sink, set a rod near the top and hang spray bottles by their triggers. That frees the cabinet floor for cleaning bins. In kitchen cabinets, hang dish towels and oven mitts, or add S-hooks for light utensils.
Tension rods also stop bottles and boxes from sliding while you drive. Press one against jars in the fridge or cans on a shelf and your next stop won’t start with a cabinet avalanche.

Short Tension Rod (Wood, 16" to 28"-2Pcs, Optimum Scope of Application 16 to 24 inch)
23) Lay Peel-and-Stick Wood-Look Vinyl Planks
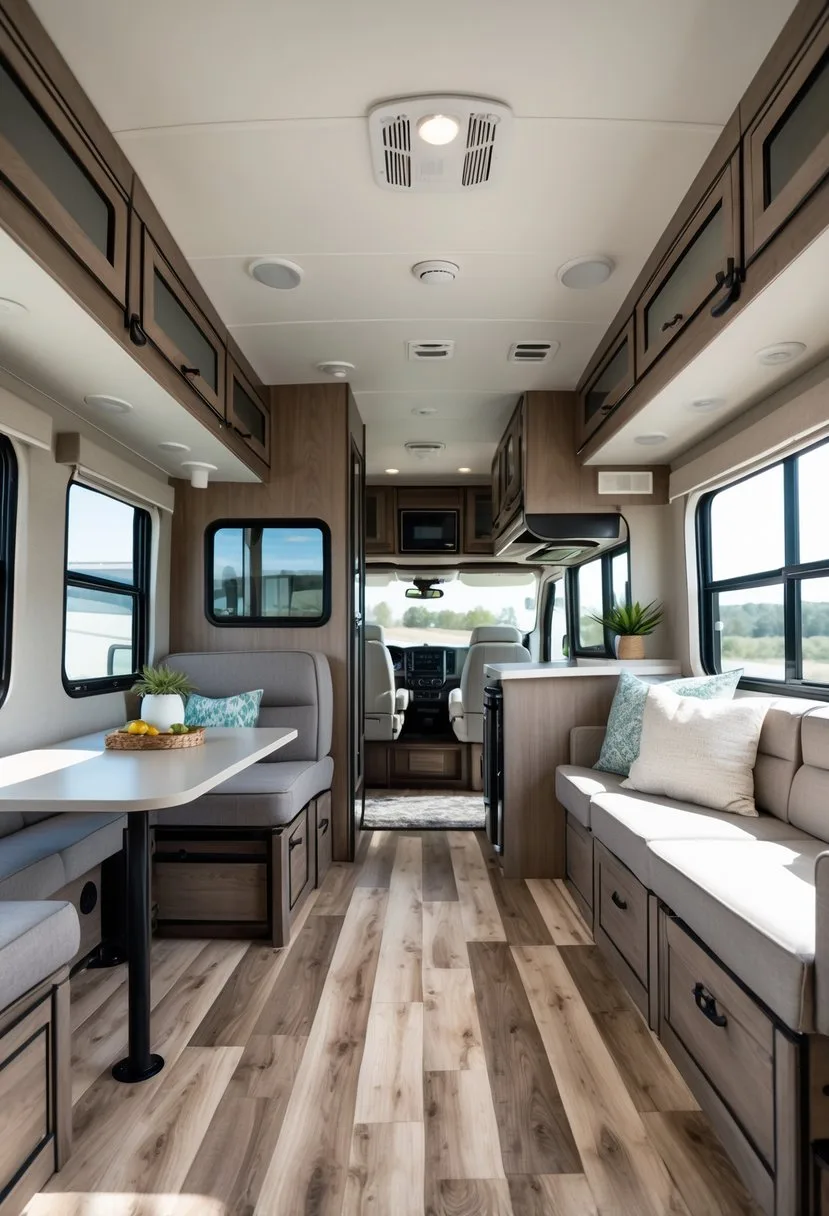
Peel-and-stick vinyl planks are a beginner-friendly RV flooring upgrade that replaces worn carpet with a cabin-style look. They’re light and waterproof, and they handle temperature swings better than real wood.
Prep is the most important step. Clean the subfloor well, because small crumbs or bumps show through. Then:
- Start in a corner.
- Peel the backing and press each plank firmly.
- Stagger the seams like real boards.
- Trim around obstacles with a utility knife, which cuts vinyl easily.
Most campers can be done in a weekend. Pick a weathered oak or mid-tone pattern to hide dirt and scuffs. Some owners report adhesion issues over time with peel-and-stick tiles, so priming the subfloor and rolling the planks firmly helps them stay down.
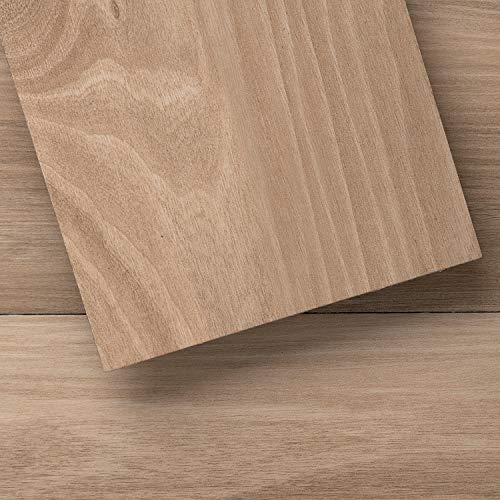
Floor Tile for DIY Installation, 36 Wood-Look Planks, Honey-BaseCore-54 Sq. Feet
24) Build a Window Seat With Hidden Storage
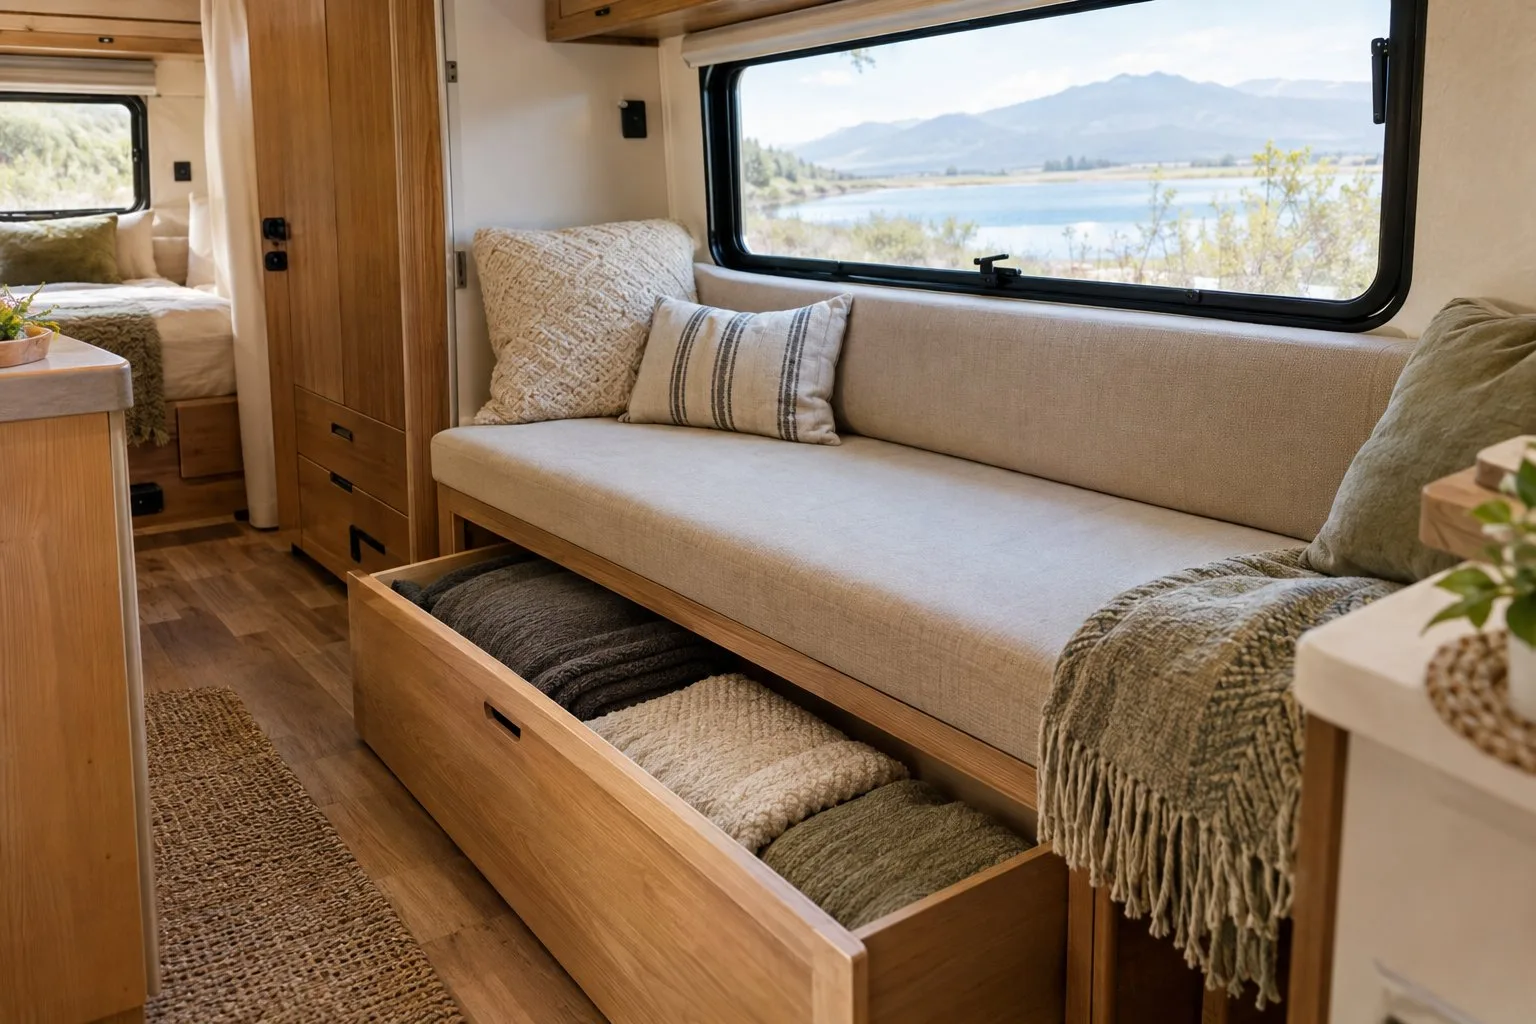
A window seat with a lift-up lid turns dead space into seating and storage at once. Many campers have an empty spot under a main window that just collects clutter.
Build a simple plywood box and attach the top with hinges so it opens. Inside, store spare blankets, pillows, or camping gear.
Top it with a foam cushion wrapped in outdoor fabric. Morning sun makes it a nice coffee spot, and it works for journaling at night. Keep a throw blanket stashed underneath so it’s always within reach. Unlike the reading nook in idea one, this project focuses on built-in bench storage, so it works even if you skip shelves.
25) Hang Blackout Curtains for Sleep and Privacy
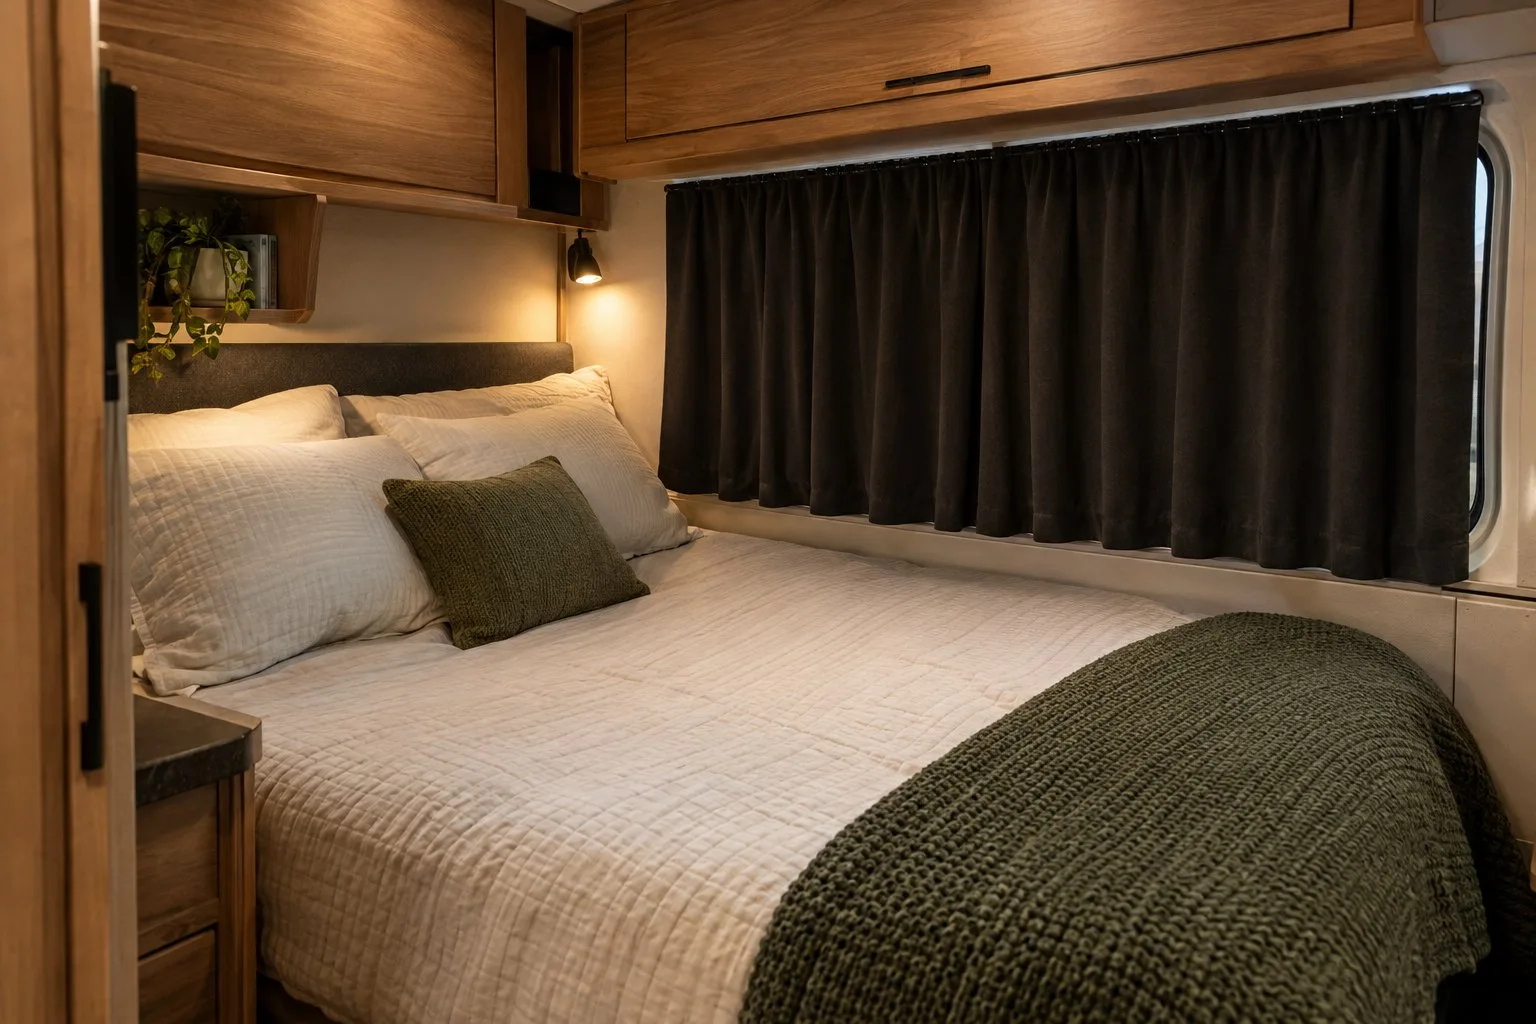
Blackout curtains let you sleep past sunrise and keep neighbors from seeing in. Summer sun can light up a camper before 6 a.m., and thin curtains do little about it.
They also help with temperature. Blocking sunlight keeps your A/C from working as hard in summer, and the thick fabric cuts cold drafts in winter.
No sewing is required. Fabric glue and Velcro strips make a quick no-sew panel. Choose dark colors or fabric with a blackout lining for the best results.

118 x 57 Inch, No Drill, Cut Any Size/Shape, Portable Black Out Shades Curtains for Rv with Magnetic Closure
How to Plan Your Camper Makeover

A clear plan with a budget, a design direction, and a timeline keeps your RV renovation from turning stressful. Whether you’re redoing a travel trailer remodel or a small van, these steps help.
Build a Budget You Can Stick To
Expect surprises behind the walls. Camper renovation budgets often double when hidden water damage shows up.
Use a 70/30 split. Put 70% toward planned upgrades and hold 30% for the unexpected.
A sample breakdown:
| Category | Share of Budget | Examples |
|---|---|---|
| Structural repairs | 30-40% | Flooring, walls, roof leaks |
| Interior updates | 25-35% | Paint, fabric, lighting |
| Kitchen and bathroom | 20-25% | Fixtures, appliances, plumbing |
| Emergency fund | 15-20% | Surprise repairs |
Track every purchase in a simple spreadsheet and photograph receipts. Work in phases if money is tight: fix safety issues one season, then add comfort upgrades the next.
Gather Design Ideas That Work in Small Spaces
Real campers are the best source of ideas. RV shows and campgrounds let you see finished projects up close, and owners are often happy to chat about them.
Facebook remodel groups share honest before-and-after photos. Measure before you fall in love with anything, since a sink or table that won’t fit is wasted money. Favor furniture with two jobs, like storage ottomans. Plan around how you camp: boondockers need different setups than people who stay at full-hookup parks.
Set a Realistic Timeline
Never start major work right before a trip you can’t cancel. Living in a half-built camper is no fun.
Pad your schedule. Most projects take about twice as long as the videos suggest.
Use the off-season. Winter often gives you three to four months to work.
Tackle structure first. Water damage, wiring, and floor repairs come before decor, because they tend to uncover more problems.
Split work into weekends. Focus on one area or system at a time.
Order early. Custom cushions can take six to eight weeks, and shipping delays happen.
Dodging the Most Common Renovation Mistakes
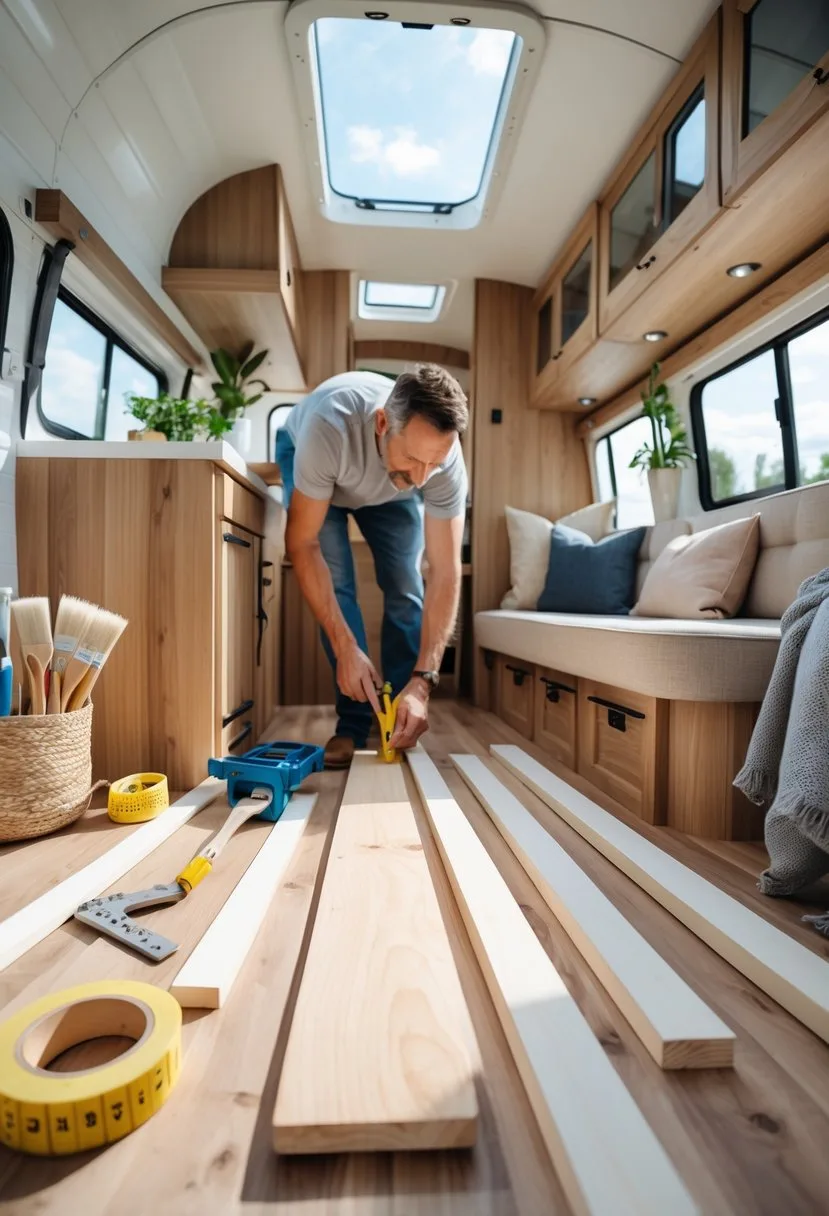
Choosing road-ready materials and planning storage carefully prevents most remodel problems. Mobile living puts stress on a camper that a house never faces.
Pick Materials Built for the Road
RVs go through big swings in heat, cold, and humidity. Standard laminate flooring that works in an apartment can warp after a few months on the road.
| Material | Smart Choice | Why |
|---|---|---|
| Flooring | Luxury vinyl plank | Handles expansion and contraction |
| Fabric | Outdoor or marine grade | Resists fading and mildew |
| Paint | RV-specific or marine paint | Flexes with temperature changes |
| Adhesives | 3M VHB tape | Strong bond that flexes with movement |
Marine-grade plywood costs more but stands up to moisture for shelves and counters. Avoid particle board, which falls apart once it gets wet. Watch weight too: aluminum brackets in place of steel can save several pounds, and every pound affects towing and fuel use.
Squeeze More Out of a Small Floor Plan
Think in three dimensions. Wall-mounted swing arms can hold a coffee maker or cutting board and clear your counters.
Look for hidden storage in these spots:
- Under stair treads
- Inside hollow furniture
- Behind false wall panels
- Under raised floor sections
Sliding cabinet doors save walkway space compared with swinging doors and spare your shins at night. Multi-use pieces, like an ottoman that opens or cushions that become a guest bed, stretch every square foot.
Keep Things Tidy During the Mess
Renovating a space you also sleep in takes discipline. Do a cleanup every night: sweep sawdust, put away tools, and clear the bed.
Work in sections so the camper stays livable. Helpful tools include a rolling tool cart, a magnetic strip for small metal tools, clear bins for hardware, and a shop vacuum. Label bins with tape as you fill them so you never face a pile of mystery screws. Set up a folding table outside for cutting and painting, and take daily photos so you remember how parts fit back together.
Wrapping Up Your Budget RV Remodel
You can transform your camper one small project at a time. Start with cheap, quick wins like peel-and-stick wallpaper, LED strips, painted hardware, tension rods, and command hooks. Move to mid-size jobs like curtains, flooring, and a fold-down table as your skills grow. Save the Murphy bed, solar fan, and slide-out kitchen for when you have time and a solid budget. Set aside 30% for surprises, fix structural issues first, and pick materials built for temperature swings and road vibration.
Frequently Asked Questions
What are some creative, low-cost ways to remodel a small camper?
A window reading nook, peel-and-stick wallpaper, and kitchen magnetic strips are three creative upgrades that cost little. Each one turns unused space into something useful. All are easy enough for a first-time DIYer.
How can I update an older camper’s interior on a tight budget?
Spray painting old cabinet handles is one of the cheapest updates, often under $20. New throw pillows, LED lights, and contact paper on countertops also refresh an older interior. A fold-down table built from plywood adds function for roughly $40 in materials.
How do I add glamour to my camper while keeping it practical?
Choose pieces that look elegant but handle daily use, like metallic handles and washable fabrics. Battery-powered fairy lights add sparkle without draining your main battery. Avoid fragile decor such as glass mirrors that can crack on rough roads.
What should I think about before starting a DIY RV renovation?
Weight comes first, because every added pound counts against your camper’s load limit. Set a realistic budget and timeline with room for delays. Plan around how you camp so you don’t build features you won’t use.
Can renovating my RV hurt its resale value?
Bold, trendy changes can make an RV harder to sell, while neutral colors and classic styles hold value better. Store original parts like cabinet doors so you can put them back. Buyers care most about clean, well-done work.
What unique remodel ideas combine style and function in a small RV?
Multi-use furniture, like an ottoman with storage inside, blends style and function well. A Murphy bed with a desk underneath gives you a hidden office. A sliding barn door separates the bedroom without needing swing space.