How to Clean Camping Water Containers: An Easy Guide
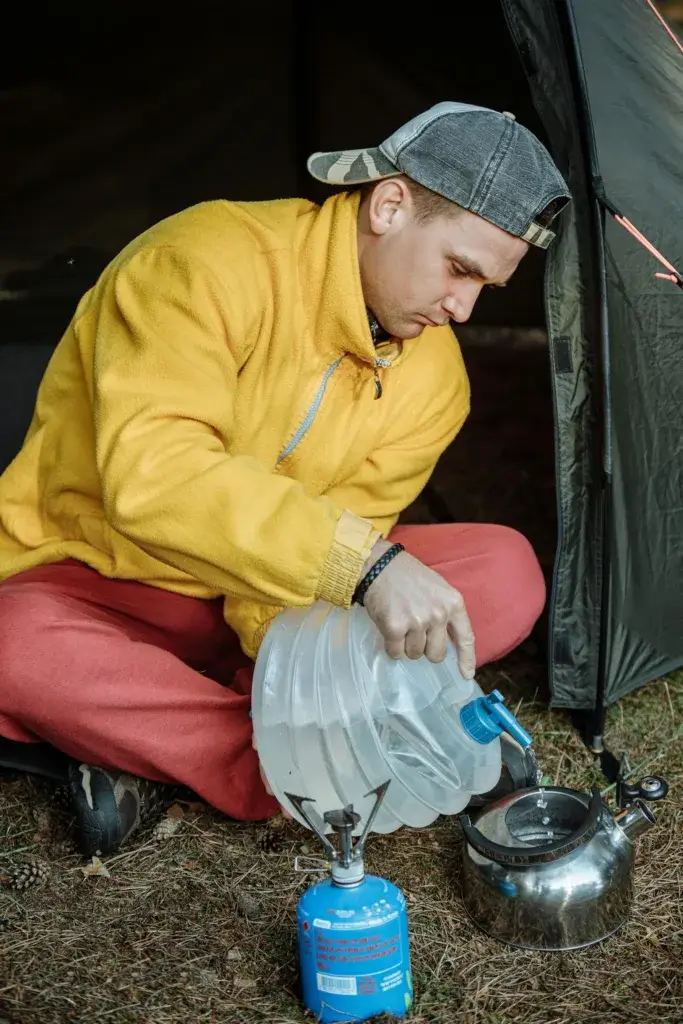
Dirty water containers can wreck your camping trip faster than you’d think. I learned this the hard way after a rough night in my tent, all thanks to a water jug I figured was “clean enough.” Spoiler: it definitely wasn’t.
The upside? Cleaning your camping water containers is actually easy once you know how. It only takes a few minutes.
Whether your container smells weird, looks grimy, or you just want to keep bacteria at bay, I’ll share what actually works. I’ll cover everything from basic cleaning with household stuff to tricks for different types of bottles and jugs.
No fancy gear needed – just some basics and a bit of effort to keep your water fresh on every trip.
Key Takeaways
- Regular cleaning keeps bacteria, mold, and nasty tastes from ruining your camping vibe.
- Vinegar, baking soda, and salt work better than pricey cleaners for most water containers.
- Drying and storing your container right is just as important as washing it.
Why You Should Always Clean Camping Water Containers
Keeping your water containers clean isn’t just about being tidy. It’s about stopping bacteria from growing, making sure your water tastes good, and not getting sick far from help. I’ve definitely paid the price for skipping this step.
Avoiding Bacteria and Contaminants
Bacteria multiply fast in dirty containers. Mold and mildew thrive inside, especially if you leave water sitting around.
Camping water containers can turn into bacteria hotspots if you don’t clean them. Even a little leftover gunk can become a real health risk in just days.
Here’s what you might find in a dirty container:
- E. coli – brings on stomach cramps and diarrhea
- Salmonella – classic food poisoning culprit
- Black mold – can trigger breathing issues
- Algae – leaves everything slimy and gross-tasting
Warm weather makes it worse. I’ve seen a slimy film show up in just two days if a jug sits in the sun. That slime? Not just nasty, but risky too.
Better Taste and Freshness
No one wants water that tastes like plastic or smells off. I once spent a week camping with water so nasty I could barely drink it.
Residue and bacteria mess with flavor, leaving musty smells or weird metallic tastes. Even the cleanest mountain spring water can get ruined by a dirty container.
When I actually clean my containers right, the water tastes fresh for days. It’s worth the tiny bit of effort.
Common taste issues from dirty containers:
- Plastic or chemical flavors
- Musty, stale odors
- Metallic aftertaste
- Bitter or sour notes
Protecting Your Health Outdoors
Getting sick while camping is the worst. You’re far from help, and stomach issues can turn an adventure into a disaster.
Dirty water can cause dehydration, vomiting, and diarrhea – stuff you really don’t want while hiking. I’ve watched friends pack up early because they skipped cleaning their jugs.
Nature already throws enough germs your way. Why risk more from your own water?
Plus, clean containers last longer. Taking care of them keeps plastic from breaking down and saves you money over time.
Types of Camping Water Containers and What That Means for Cleaning
The material and design of your water container totally changes how you clean it. Plastics need a gentle touch, but metal ones can take more scrubbing.
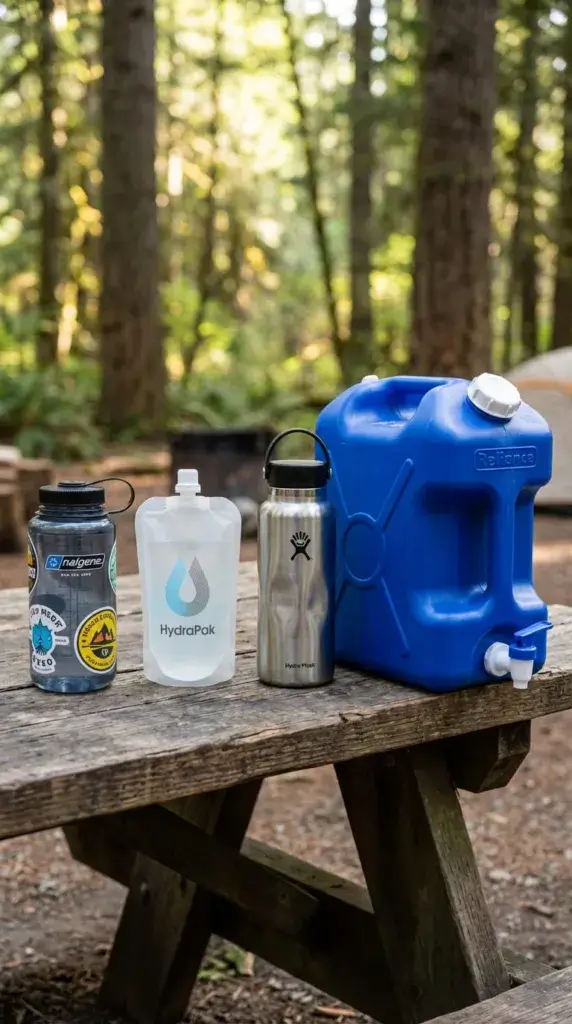
Plastic vs. Stainless Steel vs. Glass
I’ve tried all three, and each one’s a little different when it comes to cleaning.
Plastic containers are everywhere, but honestly, they’re the hardest to keep truly clean. They scratch easily, which gives bacteria places to hide. I skip abrasive scrubbers and stick to vinegar, baking soda, or mild soap.
Biggest plastic problem? They soak up smells and flavors. That weird taste isn’t your imagination.
Stainless steel containers are my go-to. They handle hot water, strong cleaners, and a good brush. I can even use bleach if I have to, and they never absorb flavors.
Glass containers clean up nicely, but are heavy and breakable. If I bring one, I just wash it like any glass at home – soap, water, and a gentle touch.
Hydration Packs and Collapsible Bottles
These need special care because of all their nooks and crannies.
Hydration packs are notorious for getting gross inside their tubes and bite valves. A quick rinse is never enough. The different types of water containers each need their own cleaning approach.
I always take apart every piece – the bite valve, tube, and reservoir. For the tube, I use a brush or thread a cloth through with a string. The reservoir gets the rice-and-water shake when soap can’t reach.
Collapsible bottles fold up, which means grime hides in the creases. I clean them while fully expanded and make sure they’re bone dry before folding.
Both types need extra drying time. Moisture trapped in small spaces is basically an invitation for mold.
Essential Supplies for Cleaning Camping Water Containers
The right cleaning supplies make a huge difference. You’ll want safe cleaners that won’t mess you up or hurt the environment, brushes that reach everywhere, and maybe a few bonus tools for tough jobs.
Choosing Safe Cleaning Agents
I always start with gentle, food-safe options. Regular dish soap works for most cleaning—just pick one that’s antibacterial and biodegradable if you’re dumping water outside.
My go-to cleaners:
- Plain liquid dish soap (unscented)
- White vinegar (kills mold naturally)
- Baking soda (great for smells and stains)
- 3% hydrogen peroxide
I avoid harsh chemicals and anything with heavy fragrances. They can leave weird aftertastes or even make you sick. Bleach is my last resort since it can damage plastic over time.
Natural cleaners are easy to rinse out and safe for the outdoors. Plus, if you spill some, you’re not wrecking the environment.
Best Brushes and Tools for the Job
Getting into those big jugs takes some creativity. The right tools make it way easier than just using your hands.
Essentials I always bring:
- Long-handled bottle brush (at least a foot long)
- Kitchen sponges tied to string
- Microfiber cloths for the outside
- Small brush for caps and spouts
For narrow openings, I tie a string to a sponge, drop it in, and shake the container. Letting scrubbing pads bounce around in soapy water really helps with stubborn spots.
Long-handled brushes work best for rigid bottles. Just don’t use a brush that’s too stiff, or you’ll scratch things up.
Optional Add-Ons: Tablets, Vinegar, and More
Sometimes you need a little extra power. I don’t always use these, but they’re handy when things get gnarly.
Bonus cleaning boosters:
- Bottle-cleaning tablets (fizzing action is magic)
- Coarse salt (with ice for scrubbing)
- Uncooked rice (gentle abrasive)
- Iodine or antiseptic mouthwash (for emergencies)
Bottle cleaning tablets fizz up and clean every corner. For a big 5-gallon jug, I use about 5-8 tablets; for a regular bottle, just one does the trick.
The salt and ice method is my favorite for cloudy containers. Ice scrubs, salt sanitizes. Be ready to shake—it’s a mini workout.
Essential Supplies for Cleaning Camping Water Containers
The right cleaning supplies make a huge difference. You’ll want safe cleaners that won’t mess you up or hurt the environment, brushes that reach everywhere, and maybe a few bonus tools for tough jobs.
Choosing Safe Cleaning Agents
I always start with gentle, food-safe options. Regular dish soap works for most cleaning j- just pick one that’s antibacterial and biodegradable if you’re dumping water outside.
My go-to cleaners:
- Plain liquid dish soap (unscented)
- White vinegar (kills mold naturally)
- Baking soda (great for smells and stains)
- 3% hydrogen peroxide
I avoid harsh chemicals and anything with heavy fragrances. They can leave weird aftertastes or even make you sick. Bleach is my last resort since it can damage plastic over time.
Natural cleaners are easy to rinse out and safe for the outdoors. Plus, if you spill some, you’re not wrecking the environment.
Best Brushes and Tools for the Job
Getting into those big jugs takes some creativity. The right tools make it way easier than just using your hands.
Essentials I always bring:
- Long-handled bottle brush (at least a foot long)
- Kitchen sponges tied to string
- Microfiber cloths for the outside
- Small brush for caps and spouts
For narrow openings, I tie a string to a sponge, drop it in, and shake the container. Letting scrubbing pads bounce around in soapy water really helps with stubborn spots.
Long-handled brushes work best for rigid bottles. Just don’t use a brush that’s too stiff, or you’ll scratch things up.
Optional Add-Ons: Tablets, Vinegar, and More
Sometimes you need a little extra power. I don’t always use these, but they’re handy when things get gnarly.
Bonus cleaning boosters:
- Bottle-cleaning tablets (fizzing action is magic)
- Coarse salt (with ice for scrubbing)
- Uncooked rice (gentle abrasive)
- Iodine or antiseptic mouthwash (for emergencies)
Bottle cleaning tablets fizz up and clean every corner. For a big 5-gallon jug, I use about 5-8 tablets; for a regular bottle, just one does the trick.
The salt and ice method is my favorite for cloudy containers. Ice scrubs, salt sanitizes. Be ready to shake – it’s a mini workout.
Rice works the same way, just less harsh, which is perfect for delicate bottles.
Step-By-Step: How to Clean Camping Water Containers Like a Pro
Start with a good rinse to get rid of dirt and debris. Then wash with soap and scrub every surface you can reach.
If you need a deep clean, use vinegar or a diluted bleach solution. Make sure you dry everything completely – otherwise, you’ll just end up with mold before your next trip.
Initial Rinse and Emptying Residue
I always start by emptying my water container completely and giving it a quick look inside. You’d be surprised what can settle at the bottom after just a few days outdoors.
First, I take off the cap and remove anything else that comes apart, like spouts or filters. I rinse everything with clean water to wash away loose dirt and sediment.
If there’s stubborn gunk, I add a cup of water and shake the container hard for about 30 seconds. That usually loosens up anything stuck inside.
Pro tip: If you spot algae or slimy buildup, don’t scrape it with your fingers. That just pushes bacteria deeper into the plastic and makes things worse later.
I drain out the rinse water and do this rinse twice. The goal is to get rid of all the visible stuff before moving on to soap. Makes the next step way easier.
Washing with Soap and Water
Now for the real cleaning. I fill the container about a quarter full with warm water – not hot, since that can mess up some plastics.
I squeeze in a tablespoon of antibacterial dish soap. Camping soap works too if that’s what you’ve got. Then I put the cap back on and shake it like I’m mixing a giant smoothie.
Key washing steps:
- Shake hard for 2-3 minutes
- Let the soapy water sit for 10 minutes
- Shake again for another minute
- If the opening is wide enough, use a bottle brush
If the container has a narrow opening, I drop in a clean sponge tied to a string before adding soap. The sponge bounces around and scrubs the inside as I shake it.
After washing, I rinse it at least three times with clean water. I keep going until there are no soap bubbles left.
Deep Cleaning and Disinfection Methods
Sometimes a regular wash just doesn’t cut it, especially if the container’s been sitting for months. I use different deep-cleaning tricks depending on what I’ve got handy.
My go-to method is mixing equal parts water and white vinegar until the container is a quarter full, then tossing in two tablespoons of baking soda. The fizzing helps break up gunk in hard-to-reach spots.
I let this sit overnight. Next morning, I shake it well, dump it out, and rinse thoroughly.
Other disinfection options:
- Ice and salt: Add ice cubes and coarse salt, shake for 3-4 minutes
- Bleach solution: Mix 1 tablespoon bleach with 4 cups water, let it sit for an hour
- Rice scrub: Add dry rice and water, shake hard to scrub the inside
The ice-and-salt trick is perfect when I’m out camping and don’t want to deal with chemicals. The ice works like tiny scrubbers inside.
Drying to Prevent Mold and Odors
Drying is critical. I’ve ruined containers by storing them even a little damp. Moldy water jugs are the worst to clean later.
I shake out every drop and leave the container open somewhere breezy for at least a full day. If there’s sun, I let it sit in the sunlight to kill off leftover bacteria.
Drying checklist:
- Take off all caps and removable parts
- Wipe the outside with a clean cloth
- Store with caps off until totally dry
- Double-check for moisture before putting it away
For storage, I sometimes wrap the lid in paper towels to catch stray moisture. If I have a silica gel packet, I’ll toss it in too.
The sniff test never lies. Before every trip, I smell inside the container. If there’s even a hint of musty odor, I clean it again before filling it with water.
Specialty Tips for Different Container Types
Different camping water containers need their own cleaning approach. Big jugs are one thing, narrow bottles are another, and water bladders have their quirks too.
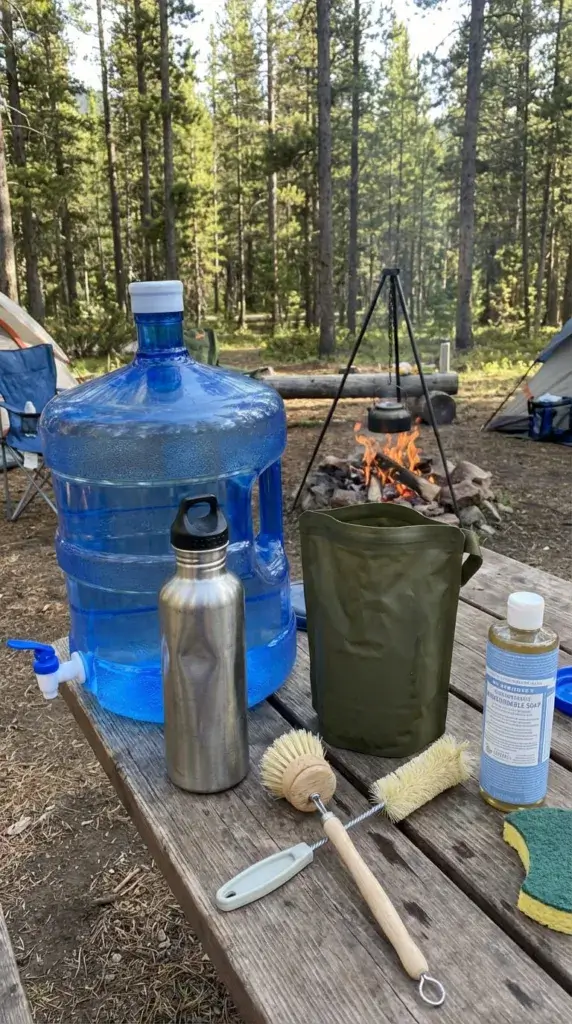
Big Jugs and Narrow-Mouth Bottles
Big jugs are easier to clean than you’d expect. I use ice cubes and salt to scrub the inside walls without ever reaching in.
For those, I add two cups of ice and a handful of coarse salt, then shake for a few minutes. It’s a bit of a workout, but the ice does the scrubbing for me.
Narrow-mouth bottles are more stubborn. I go for the rice method – half a cup of dry rice with some water. When I shake it, the rice scrubs where brushes can’t reach.
Pro tip: I tie a string to little scrubbing pads before dropping them in. That way, I can pull them out easily after shaking.
If the opening’s really tiny, I use bottle-cleaning tablets. For big containers, I throw in five to eight tablets instead of just one.
Caring for Water Bladders and Filters
Water bladders are fragile, so I skip bleach. It can ruin the plastic over time.
I stick with vinegar and baking soda. I fill the bladder with equal parts water and vinegar, then add two tablespoons of baking soda. The fizzing action works its way into the tube and bite valve too.
For the tubes and valves:
- Disconnect every piece you can
- Run the cleaning mix through the whole system
- Use a tiny brush or pipe cleaner on the valve
- Let everything air dry completely
Filters need special care. I just wash the housing with mild soap and swap out the filter cartridges when the manufacturer says. I never use harsh chemicals on the filters themselves.
Storage tip: If I’m not using a bladder for a while, I stash it in the freezer. That stops bacteria from growing in any tricky spots.
Care After Cleaning: Storing and Maintaining Your Containers
Getting your containers totally dry and storing them right keeps them fresh for your next adventure. Regular check-ups help you spot problems before they ruin a trip.
Proper Air Drying and Storage Habits
I’ve learned that rushing the drying process always backfires. Even a little leftover water turns into a playground for bacteria and mold.
After cleaning, I flip my containers upside down on a clean towel. Gravity pulls out the last drops while air does the rest. If the opening is narrow, I prop it at an angle for better airflow.
My drying checklist:
- Take off all caps and lids
- Wipe the outside with a clean cloth
- Leave upside down for at least 4-6 hours
- Check for moisture before storing
Once they’re bone dry, I stash my clean camping water containers on a garage shelf – any cool, dry place works. I leave the lids just a little loose so moisture can’t get trapped and cause weird smells.
Opening a container that smells like a gym sock is something I never want to deal with again.
Routine Inspections and When to Replace
I check my water containers before every trip. Takes two minutes, but it can save a lot of hassle.
Here’s what I look for:
| Check Point | What to Look For | Action Needed |
|---|---|---|
| Interior walls | Dark spots, film, odors | Deep clean or replace |
| Threads/seals | Cracks, warping | Replace immediately |
| Bottom/corners | Discoloration, buildup | Scrub thoroughly |
Red flags—time to replace:
- Cracks that won’t seal
- Stains that never go away
- Bad smells that stick around even after cleaning
- Warped or damaged threads
I usually replace plastic containers every 2-3 years, even if I take care of them. Plastic eventually breaks down and can hide bacteria in tiny scratches. Stainless steel lasts longer, but I still check the seals and caps regularly.
If water starts tasting weird or the container just seems off, I toss it. Not worth risking my health to save a few bucks.
Frequently Asked Questions
I get a lot of questions about cleaning water containers. Most people just want easy, reliable solutions. These are my best answers for everything from natural cleaning to those stubborn 5-gallon jugs that seem impossible to scrub.
What’s a safe and natural way to disinfect my camping water jug?
I always go with vinegar and baking soda. I mix equal parts water and white vinegar until the container’s a quarter full, then add a heaping tablespoon of baking soda.
The mixture fizzes like crazy, which is exactly what you want. That fizz gets into all the corners a sponge can’t reach. I let it soak overnight, shake it again in the morning, then rinse it out well.
It’s totally safe and doesn’t harm the environment when you pour it out. Vinegar naturally kills mold and bacteria, so you don’t have to worry about chemicals leaching into your water later.
Can I get my water containers squeaky clean with just baking soda and a little elbow grease?
Definitely, but using something abrasive with the baking soda works better. My favorite trick is mixing baking soda with coarse salt and some ice cubes.
I add about two cups of ice and a handful of salt, then shake the container hard for a few minutes. The ice and salt bounce around and scrub every surface inside. It’s honestly a better workout than the gym.
The salt helps sterilize, too, since most table salt contains iodine. Just watch where you dump the salty water – plants really don’t like it.
What are the steps to freshen up my bulky plastic water canisters without any hassle?
For those big, awkward containers, I usually go with the rice and water method for cleaning narrow containers. Just toss in half a cup of dry rice and a cup of water into a 5-gallon jug.
Give it a good, hard shake for a few minutes. Let it sit for a bit, then shake it again. The rice scrapes the inside walls in places no brush can reach. When you’re done, pour the rice out and rinse the container twice with fresh water.
If your container’s opening is wide enough, you’ve got another option. Add warm water and a squirt of antibacterial dish soap, then reach in with a scrubbing sponge to tackle any stubborn spots.
Is there a way to spruce up my home’s 20-litre water can without leaving the comfort of my kitchen?
Your kitchen’s the best place for cleaning these. You’ve got hot water and all your cleaning supplies right there. I usually start with hot soapy water and rinse it out well.
For a deeper clean, I use the vinegar soak. Since you’re at home, you can let it sit as long as you want – no worries about running out of water.
If your canister has a removable spout or dispenser, take it apart. Clean each piece separately with a bottle brush. Those little parts are where bacteria like to hide, and it’s way easier when you can actually see what you’re doing.
Got a Coleman water jug that’s looking a bit grim? How do you give it a makeover?
Coleman jugs are tough, so don’t be afraid to put in some elbow grease. I usually start with the ice and salt method and shake it like crazy.
If I spot any buildup or stains, I’ll do a vinegar soak next. The spigot needs extra attention – bacteria love hiding out in those threads.
Take out any rubber gaskets or seals and clean them on their own. They get gross fast, and they’re usually the reason for weird tastes or smells.
Is it possible to clean and sanitize a 5-gallon water bottle without resorting to harsh chemicals?
Absolutely! You don’t need to use harsh chemicals at all. Natural cleaning methods work surprisingly well for big containers like this.
Personally, I like to double up on the rice cleaning trick – just toss in a full cup of rice with two cups of water. Give it a good shake, and you’ll see it scrubs away a lot of grime inside.
If you want something that’s made for the job, you could try bottle cleaning tablets. For a 5-gallon jug, you’ll need about 5-8 tablets, not just one like you’d use for a small bottle.
There’s also hydrogen peroxide, which is kind of an old-school favorite. Hospitals have trusted it for ages. Just pour in a cup of 3% hydrogen peroxide, shake it around, let it sit, then rinse everything out really well.