How to Make Toast Camping: Crispy Campfire Chronicles
Ah, the great outdoors! Camping can bring us closer to nature and give us a chance to enjoy some quality time away from everyday life. But a camping trip wouldn’t be complete without some of the simple pleasures from home – like a perfectly toasted slice of bread!
No need to worry! Making toast while camping is entirely possible with the right equipment and a little know-how. Whether you’re using a camp stove, an open campfire, or even just harnessing the sun’s power, I’m here to guide you through the ins and outs of creating that perfect piece of toast on your next camping trip. Let’s dive into this toasty adventure!
Key Takeaways
- Choose appropriate equipment for making toast while camping, and prep your bread accordingly
- Practice your toasting techniques and adjust cooking times and heat for optimal results
- Keep safety in mind while enjoying creative serving suggestions, and overcome common toasting challenges
Table of Contents
Disclosure: This post contains affiliate links and might earn us a small commission if you make a purchase at absolutely no extra cost to you. Pawsome, right?!
Choosing the Right Equipment
Types of Stoves and Toasters
When I go camping, choosing the right equipment is a key component to making delicious toast. There’s something about enjoying a great piece of toast in the great outdoors. I’ve used several types of stoves and toasters on my outdoor adventures.
- Skillet or Dutch oven – In my experience, a trusty skillet or dutch oven works well for toasting bread on a camp stove.
- Pie Iron – I have to say, the pie iron is quite a nifty invention for making toast while camping. It’s like a little cast iron box attached to metal rods, handy for toasting over a fire.
- Camping Toaster – There are a few camp toasters on the market, like the GSI Outdoors Glacier Stainless Steel Toaster, designed for the great outdoors.
- Solar Oven – If I’m feeling eco-friendly, I use a portable solar oven. It harnesses the sun’s energy and makes toast like a champ!
So many options to choose from, right? Don’t worry; you’ll find the perfect equipment to suit your toast-making needs!
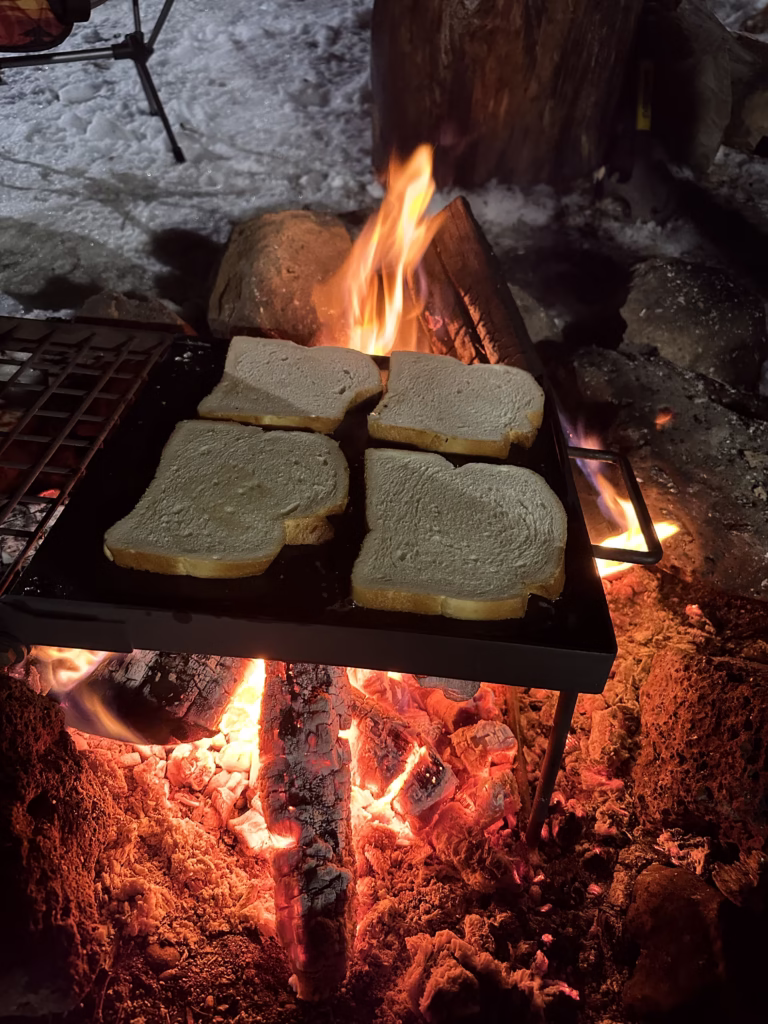
Cooking Over an Open Fire
Now, if you’re like me and love that smoky campfire flavor, you may want to make toast directly over an open fire. There are a few essential tools that I’ve discovered over the years:
- Campfire Grill – This nifty gadget can be placed on top of the campfire and works like a charm for toasting bread evenly.
- Grill Pan or Aluminum Pans – I like using a heat-resistant grill pan or aluminum pan when toasting over an open fire. The trick is finding a stable spot for the pan to rest on top of the fire.
- Campfire Sticks – Sometimes, I like to go old-school and use a long, sturdy stick to toast my bread. It’s like making s’mores but with toast instead!
That’s it, folks! Now you have a solid idea of the right equipment for making perfect toast on your camping adventures. Have fun and happy toasting!
Prepping Your Bread
When it comes to making toast while camping, the bread and added flavors are just as important as the toasting techniques. In this section, I’ll share my secrets for choosing the right bread and adding some mouthwatering flavors.
Bread Type Selection
First things first, let’s talk bread. I’ve tried all sorts of bread while camping, and I’ve found that sourdough is the winner when it comes to toasting over an open fire. Its crispy crust and tangy flavor make for a fantastic toast experience. However, if you don’t have sourdough, fret not! Most types of bread work just fine for camping toast.
| Bread Type | Why It’s Great for Camping Toast |
|---|---|
| Sourdough | Sturdy, crisp crust, tangy flavor |
| Whole grain | Nutty flavor, retains shape |
| White bread | Soft texture, toasts evenly |
Mind the tip: Stale bread is actually great for making toast. It holds its shape better and doesn’t get soggy. So, don’t be afraid to pack that slightly older loaf for your camping trip.
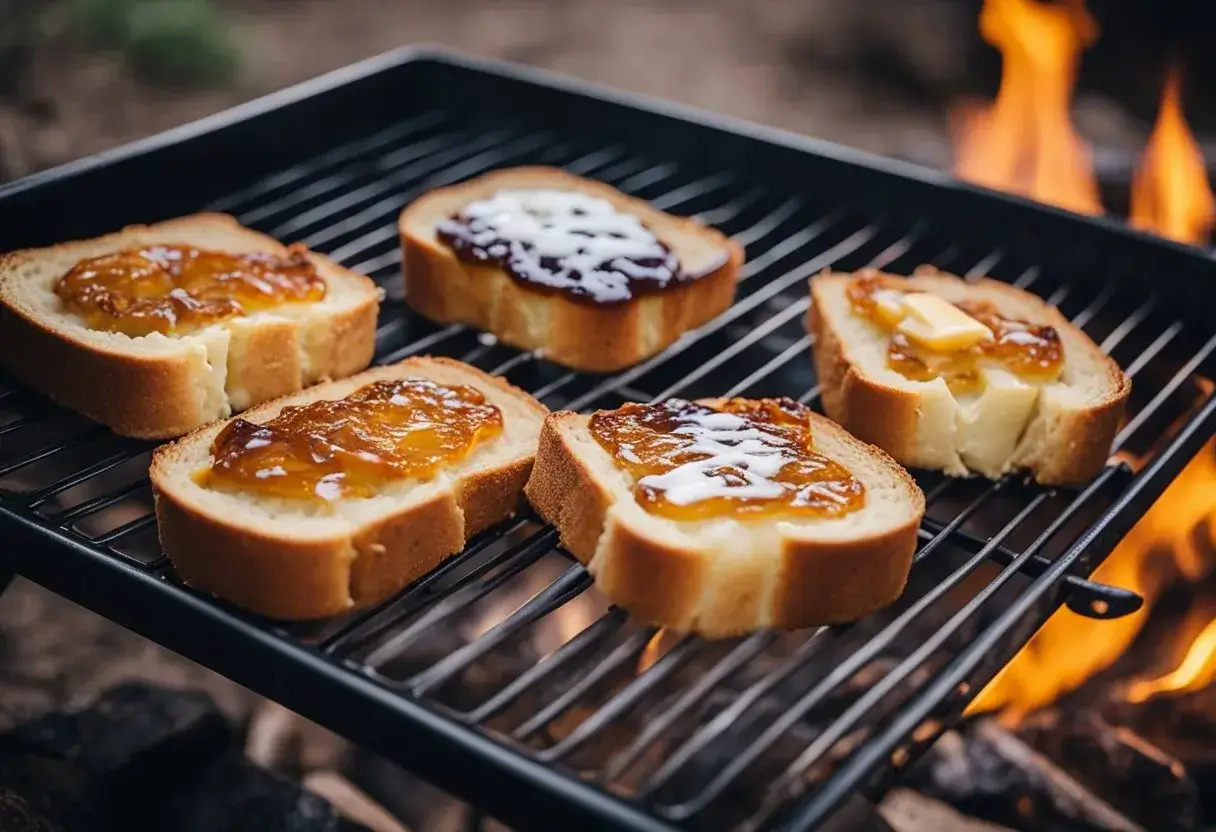
Adding Flavor
Now, let’s chat about adding some pizzazz to your toast. Sure, you can go with the classic butter or oil, but why not try something different? Here are a few of my favorite toast spreads and toppings:
- Sweet: Sprinkle some sugar and cinnamon over your buttered toast, drizzle with maple syrup, or spread a layer of your favorite fruit jam. Trust me, nothing beats waking up to the smell of cinnamon toast in the wilderness.
- Savory: For an extra kick, you can whip up some garlic bread by combining melted butter, minced garlic, and a pinch of salt. Slap that on your bread and toast to perfection. It’s campfire gold, I tell ya.
- Experimental: Feeling bold? Mix a little vanilla extract or nutmeg into your butter or oil for a flavor-packed surprise that will leave you wanting more.
When it comes to camping toast, it’s all about finding that perfect balance between taste and simplicity. With the right bread and added flavors, your mornings at the campsite will never be the same. And remember, when in doubt, just add more butter. Happy toasting!
Mastering the Toasting Techniques
I love waking up to the smell of fresh toast when I go camping. So, I thought I’d share some of my favorite techniques to make perfect camp toast. Let’s explore three different methods: Skillet Toasting, Grill and Campfire Methods, and Foil Packet Toasting.
Skillet Toasting
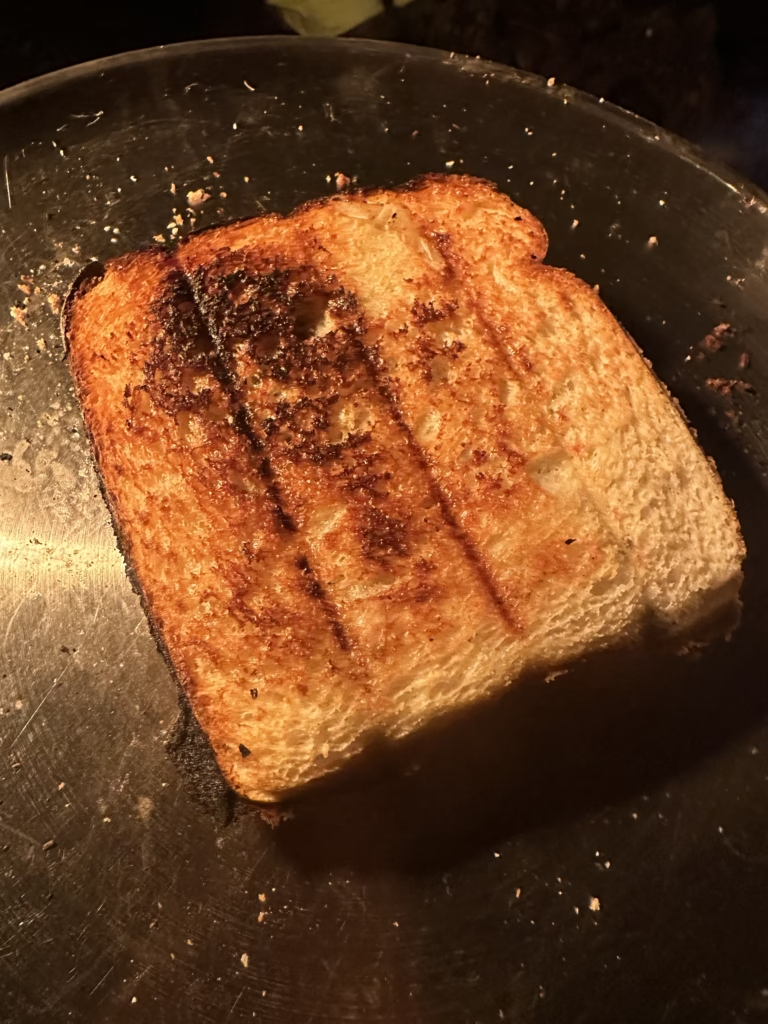
Skillet toasting is perfect if you’ve got a trusty cast iron skillet or a nonstick pan. Just place the skillet on your camp stove or atop some hot coals. Preheat the skillet for a minute or so, and then throw in your slices of bread. Now, keep an eye on those golden beauties, and don’t forget to flip ’em. I like to shuffle the bread around the skillet for an even crisp – it’s like a bread dance party in there!
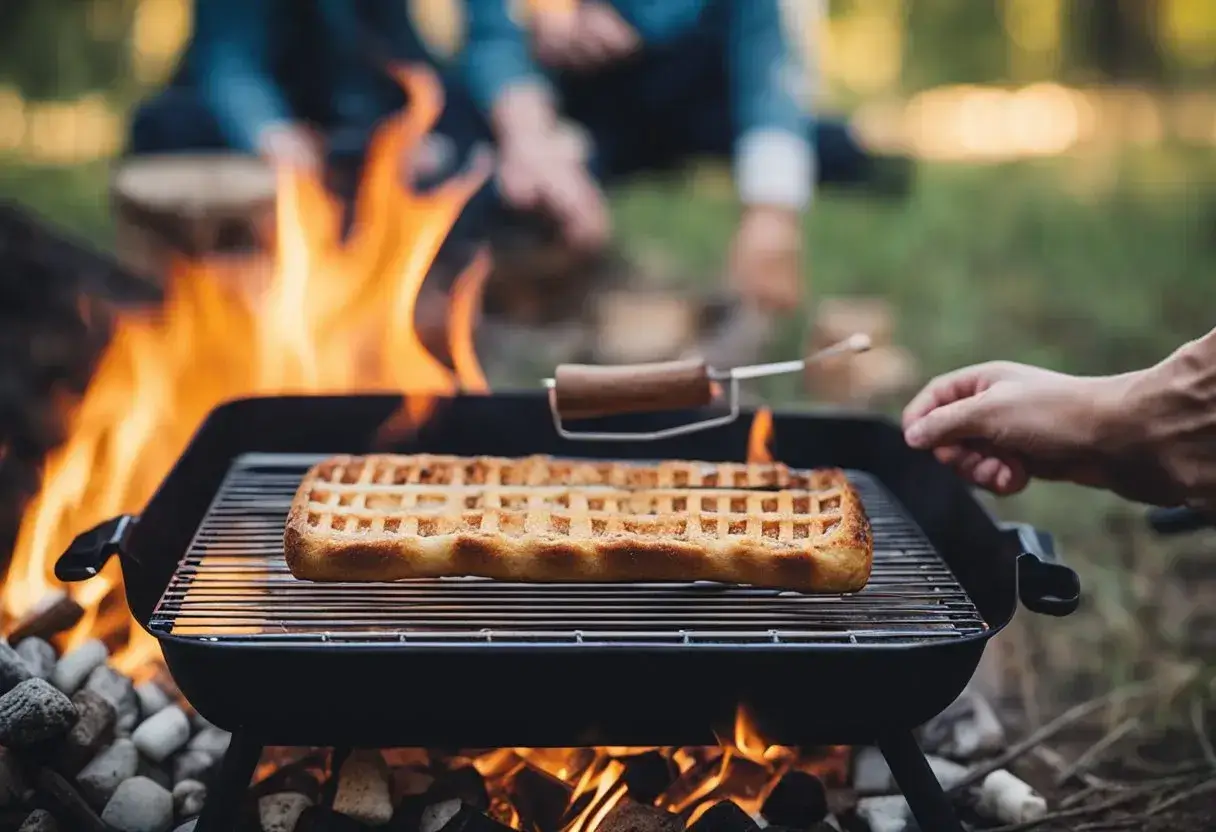
Grill and Campfire Methods
Ah, the classic campfire toast. Imagine sitting around a crackling fire and making toast with an open flame – it’s almost poetic!
You’ll need a grill pan or a simple toasting fork for this method. Secure the bread on your utensil of choice and hold it over the fire at an angle. Keep the bread safe from the flames to avoid burning while still feeling the heat. Finishing touches? Flip the bread occasionally so both sides get that perfect golden-brown crisp.
Alternatively, you can use a camp stove if you’ve brought one. Just follow the same steps as with the campfire, and you’ve got yourself the perfect toast.
Foil Packet Toasting
Last but not least, let’s talk about the versatile aluminum foil. Foil packet toasting is perfect for those who want minimal mess and a more even toast. Plus, it’s super easy to do! Just follow these simple steps:
- Tear off a piece of foil large enough to wrap your bread slice.
- Fold the bread on the foil to create a snug packet.
- Pop the foil packet onto a hot grill grate or directly onto hot coals.
- Cook for a couple of minutes on each side, flipping occasionally.
And voilà! You’ve got yourself a deliciously even and mess-free toast.
In conclusion, mastering these toasting techniques will make your camping breakfasts the talk of the campsite. After all, who doesn’t love waking up to the smell and taste of warm, golden-brown toast? And remember, practice makes perfect – so the more you toast, the better you’ll get! Cheers to great camp toast!
Tweaking Cook Times and Heat
Adjusting for the Perfect Crunch
Let me tell you a little secret of mine: achieving that perfect golden brown, crispy, and evenly toasted bread always makes me feel like a master camper. Now, let’s break down how you can become a toast virtuoso in no time.
- Fire: When toasting bread over a fire, find a spot where the flames aren’t too high and the heat isn’t too intense. You don’t want your toast to burn to a crisp like mine did that one time (oops…). A suitable method is to hold the bread near the fire for about 30 seconds to a minute, then flip it to the other side and repeat.
- Camping Stove: If you’re using a camping stove, preheat your pan (preferably cast iron) for a couple of minutes over medium heat. Then, place your bread in the pan and let it toast for 2-3 minutes on each side. Keep an eye on it, though; I’ve also learned the hard way that stoves can be quite unpredictable.
- Gas Stove: Toasting on a gas stove is similar to using a camping stove. Preheat your pan over medium heat and give each side of the bread about 2-3 minutes to reach that crunchy perfection.
- Induction Cooktop: If you have access to an induction cooktop during your outdoor cooking adventure, lucky you! Set the heat to medium and toast the bread for 2-4 minutes on each side, adjusting the time based on your preferred level of crunchiness.
Understanding Heat Sources
Now that we’ve mastered the cook times for each method let’s talk about the different heat sources we can use while camping.
- Direct Fire: Cooking directly over the fire is the most primitive yet satisfying method. It provides an authentic camping experience and adds a smoky flavor to your toast. However, it can also be a bit tricky to control the heat.
- Camping Stove: A camping stove offers better control over the heat, making it easier to achieve that perfectly toasted bread. Plus, it’s a convenient option when you don’t have a fire pit.
- Gas Stove: Like camping stoves, gas stoves provide reasonable temperature control and are easy to use. Though not very “outdoorsy,” if your campsite has built-in gas stoves, why not take advantage of them?
- Induction Cooktop: although rare on campsites, induction cooktops offer the ultimate temperature-control luxury. If you somehow have access to one, you can practically become a toast-making wizard.
So there you have it! With these tips and tricks, you’ll be well on your way to mastering the art of making toast while camping. Now go forth and show off your skills!
Safety Tips and Maintenance
Preventing Burns and Fire Hazards
When I’m out in the great outdoors – that’s right, nature and I have a pretty strong bond – I always prioritize safety when making toast for my fellow campers. Making toast while camping can be trickier than roasting marshmallows on a stick. Some might even say it’s smore difficult (pun intended).
First off, let me dig into my bag of camping wisdom to find my heat-resistant tongs – can’t be having burnt fingertips for breakfast! These trusty tongs help prevent any “ouch!” moments by keeping our hands a safe distance from the toasting surface. I’d highly recommend getting yourself a pair of stainless steel tongs; they’re not just for barbecues!
Now, we all love a good campfire, but we don’t want to go overboard with a fire hazard. It’s like my Mom always says: “Safety first, and toast second.” To avoid any potential mishaps, always use fire-proof or heat-resistant equipment, like an aluminum or stainless steel camping stove or pie iron setup. Following these basic tips, we can enjoy our toasty treats without any unwanted incidents with our best friend, Mother Nature.
Cleaning and Storing Your Gear
Gear maintenance is key to keeping the outdoor fun going. That’s where my neat freak side takes the stage. Drumroll, please.
For the most part, cleaning our toasting tools is as easy as wiping down any surfaces or mesh areas with a damp cloth. Avoid using harsh chemicals or abrasive sponges; we don’t want to scrape off that non-stick goodness or bring unwanted fumes to our nature retreat. Just some good ol’ fashioned elbow grease will do the trick!
Before packing away our trusty toasting gear, you’ll want to ensure it is completely dry. Take it from me; discovering moldy equipment on your next camping adventure is not fun. My favorite method is to leave everything out to air-dry, embracing that fresh and crisp outdoor breeze. Then, store it all in a protective bag or container to keep it safe and, most importantly, ready for your next camping toast mission.
All in all, remember, guys, a happy camper keeps their gear happy, too! We can enjoy making our toast and eating it, too, as long as we prioritize safety, gear care, and, of course, a little humor along the way.
Serving Suggestions and Recipes

Camping Breakfast Ideas
Let me tell you, there’s nothing quite like starting your day with a delicious camping breakfast. When I’m out in the great outdoors, I love to experiment with various toast options. Here are some of my favorite breakfast ideas that involve the humble yet versatile, toast:
- Classic camping toast: Spread butter or jam on your toast, and you’re good to go.
- French toast: Soak your bread in an egg-milk mixture, cook it over the campfire, and top it off with a sprinkle of cinnamon and sugar, maple syrup, or berries.
- Bannock: Also known as campfire bread, this Canadian favorite can be toasted on a camp stove, wrapped around a stick, and cooked over open flames. Trust me, it’s a game-changer.
Creative Toast Toppings
Getting creative with your toast toppings can elevate your camping breakfast game. I’ve tried various spreads and toppings on my toast, and here are a few ideas to get your taste buds tingling:
- Sweet spreads: Nutella, peanut butter, nut butter, honey, and jam make crave-worthy combinations. Don’t be afraid to mix and match!
- Savory options: Melted cheese, avocado, and tomato make a mouth-watering ensemble.
- Protein-packed: Add some scrambled eggs or bacon to get that extra energy boost for your day’s adventures.
PIN IT FOR LATER!
Camping Recipes Beyond Toast
While toast is a camping staple, don’t forget there are many other delicious campfire recipes to explore. Here are some of my tried-and-true favorites:
- Campfire potatoes: Wrap sliced potatoes, onions, and cheese into foil packets and cook over the campfire until tender and melty.
- Skillet omelets: Whip up a tasty omelet filled with your favorite veggies and cheese, then cook it on a camping skillet.
- Breakfast burritos: Fill a warm tortilla with eggs, cheese, and your choice of meat or beans, roll it up and enjoy a hearty breakfast on the go.
- Grilled Cheese Sandwich: Put some butter on the outside of each slice of bread and add cheese slices in the middle. Cook each side to crunchy perfection.
- Avocado Toast: Toast your bread perfectly, slice up an avocado, and smash it on your toast! Add a little salt and pepper. So good!
I hope these ideas inspire you to up your campfire cooking game. It’s all about making your mornings in the great outdoors more exciting and delicious. Happy camping (and toasting)!
Overcoming Common Toasting Challenges
Avoiding Soggy Bread or Burnt Results
Ah, toast while camping – a timeless treat that reminds me of mornings in the wilderness where nature serves as my alarm clock. It took me a few tries to perfect the crispy and golden brown slices many crave. Here’s what I’ve learned:
- Experiment with cooking methods: I’ve tried camp stove toast and other techniques, and each has advantages and disadvantages. Keep a close eye on your bread and adjust the heat accordingly; you’ll find the sweet spot in no time.
- Camp stove toast: It can be a bit finicky, but it’s a reliable method with some practice. One pro is its compatibility with camp toasters.
- Layer up: I like to use a bit of oil or butter on both sides of the bread, which not only enhances flavor but also promotes a crispy texture. Just a thin layer, though; we don’t want to make things soggy!
Dealing With Environmental Factors
Cooking in the great outdoors is, well, outdoors. Sun, wind, rain, and other elements of Mother Nature may not always cooperate with our toasting ambitions. But fear not, I’ve faced these challenges, too:
- Sun and warmth: Camping in hot weather can make things tricky. Naturally, you’ll need to adjust your cooking time and temperature accordingly. In really sunny conditions, seek shade or an improvised windscreen to keep your precious toast from turning into charcoal.
- Wind: A gusty day can be a double-edged sword. On one hand, it helps dry out your bread for that nice, crunchy bite. Conversely, it can fan the flames, leading to uneven or burnt results. To tackle this, I like to position my camp stove or other cooking equipment in a sheltered area, like near a rock or vehicle, or even use my trusty backpack as a windbreak.
Practice makes perfect, my friends. And with perseverance, anyone can master the art of campfire toast. Remember to be patient, keep an eye on nature’s whims, and most importantly – enjoy the process!
Closing Thoughts
I have to admit, there’s something magical about making toast while camping. It’s like having the comfort of a cozy breakfast in the great outdoors. Of course, doing so can be a bit of an adventure on its own, but don’t worry, here are some some tips and tricks.
Firstly, the trusty camp toaster is a simple yet effective method. All you need is a stove burner, and you’re ready to go. Just remember to keep an eye on it while your bread turns that perfect golden brown.
Now, if you want to add more excitement to your outdoor cooking, why not try toasting over an open fire? Using tongs and a healthy dose of patience is key. Just keep some distance from the flames, as we don’t want anyone to become a human marshmallow, do we?
Another fantastic option is a pie iron. This handy gadget can turn your regular toast into a full-blown camping delicacy. Pro tip: add some cheese or your favorite filling and take your toast game to the next level.
Now, if you’re looking for a more versatile option, the camp oven is where it’s at. Not only can you make toast, but you can also bake practically anything your heart desires. Who doesn’t enjoy a hearty pizza after a long day of hiking?
Lastly, I just wanted to impart my Grandma’s wisdom: “A perfect toast isn’t measured by its golden crust but by the memories shared around the campfire.” So, no matter which method you choose, always remember to have fun while making toast, enjoy the company you’re with, and create unforgettable memories.
Happy camping to you all, and may the toast be ever in your favor!
What’s the best way to make toast on a campfire without singeing your eyebrows?
Ah, the eternal struggle of toasting bread over an open flame. I’ve been there, and it can be a challenge. But fear not! My personal go-to is using tongs or a long fork to hold the bread while toasting it over the campfire. It keeps the toast at a safe distance from both your face and those pesky flames. Some folks swear by pie irons too, which can make campfire toasting less eyebrow-risky.
Got any nifty tricks for using a camping toaster on a gas stove?
Using a camping toaster on a gas stove can be a breeze if you follow some simple tips. First, make sure your stove has a stable and level surface. Then, keep the flame low and place the toaster on the burner. Many camp toasters have handle slots for easy placement and removal. Be patient, as it takes time for the toast to brown evenly, and keep an eye on it to avoid burning.
Is there a secret to perfect toast in a campervan, or am I doomed to eat burnt bread?
Fear not, fellow toast lover – there’s hope for you yet! In a campervan, your best bet is to use a trusty camping toaster or a small toaster oven. Both options help control the temperature, which means less burnt toast. Just make sure to monitor your toast closely and keep an even eye on toasting both sides.
Can you recommend a camping toaster that doesn’t take up more space than my sleeping bag?
I feel your pain when it comes to packing light while camping. There are collapsible camp toasters available, like the Coghlan’s Camp Stove Toaster, which lays flat when not in use. It’s a great space-saving option that can still toast up to four slices of bread at a time.
Does a Primus camping toaster really make a difference, or is it just another gadget?
I’ve tried the Primus camping toaster, and while it’s definitely a handy little gadget, it isn’t an essential piece of camping gear. It can make toasting bread more convenient, but there are other alternatives like using tongs over a campfire or a simple camping toaster on a gas stove that can get the job done just as well.
Is it even possible to make decent toast on an induction cooktop while camping, or should I just eat granola?
Don’t give up on your toast dreams just yet! While it may not be as straightforward as using a gas stove or a campfire, you can still make toast on an induction cooktop. Try using a small skillet or frying pan to toast your bread. Keep the heat low and flip the bread frequently to achieve that perfect golden brown we all crave. Sure, granola has its merits, but sometimes you just need toast!