
Best Hiking Dog Leash: Hands-Free, 6-Foot & Budget Options
Some of my favorite hikes are the ones where our German Shepherds can take in all the new smells, and I’m not spending the whole trail wrestling with a leash. For most beginners, I’d start with a sturdy 6-foot leash that feels comfortable in your hand, then consider hands-free once you and your dog are confident around other hikers and wildlife.

I earn a small commissionif you buy through my links, at no extra cost to you.
Safety for You and Your Dog
A hiking leash is safety equipment first. On uneven ground, a leash that snaps or slips out of your hand puts your dog near cliffs, roads, wildlife, and other hikers before you can react.
On a rocky trail, an unexpected lunge toward wildlife can throw a hiker off balance. Look for secure hardware, reinforced stitching, and a handle you can grip comfortably, then keep your dog close where footing is uncertain.
The stakes go up with a big dog. A 75-pound dog hitting the end of a thin leash generates real force. Cheap hardware is where things fail first, usually a bent snap hook or a stitched loop that pulls apart. I check my clips before every hike, the same way I check my boot laces.
| Leash option | Best use | Control trade-off |
|---|---|---|
| Sturdy 6-foot handheld leash | Beginner hikes, narrow or busy trails | Close control; hands stay occupied |
| Convertible hands-free leash | Open trails with a dog that walks calmly | Frees your hands; a sudden lunge can affect your balance |
| Longer line, where permitted | Open areas and recall practice | More roaming room; needs more space and active handling |
Comfort and Control on the Trail

Comfort on a leash means your hand doesn’t ache at mile four and your dog isn’t getting jerked around by your movement. Those two things go together more than people expect.
My dog walks on a loose leash most of the time, but she still pulls on downhills and anywhere the smells get interesting. Before I switched gear, I spent whole hikes half-jogging with my arm stretched out. A bungee section fixed that. It soaks up the sudden tugs so neither of us gets yanked.
The hands-free option changed how I hike more than anything else. With the leash clipped around my waist, I can use trekking poles on a steep section, dig out my water bottle, or take a photo without tucking a handle under my armpit. On narrow trails, I unclip it and go handheld for tighter control. Being able to switch between the two in about five seconds is worth more than any single feature on a spec sheet.
If you’re new to trail hiking with a dog, start handheld. Get a feel for how your dog reacts to bikes, horses, and other dogs first. Then move to hands-free once you trust the response.

For running, biking, or hiking, can be used handheld or Hands-Free
At a Glance: My Leash Picks by Scenario
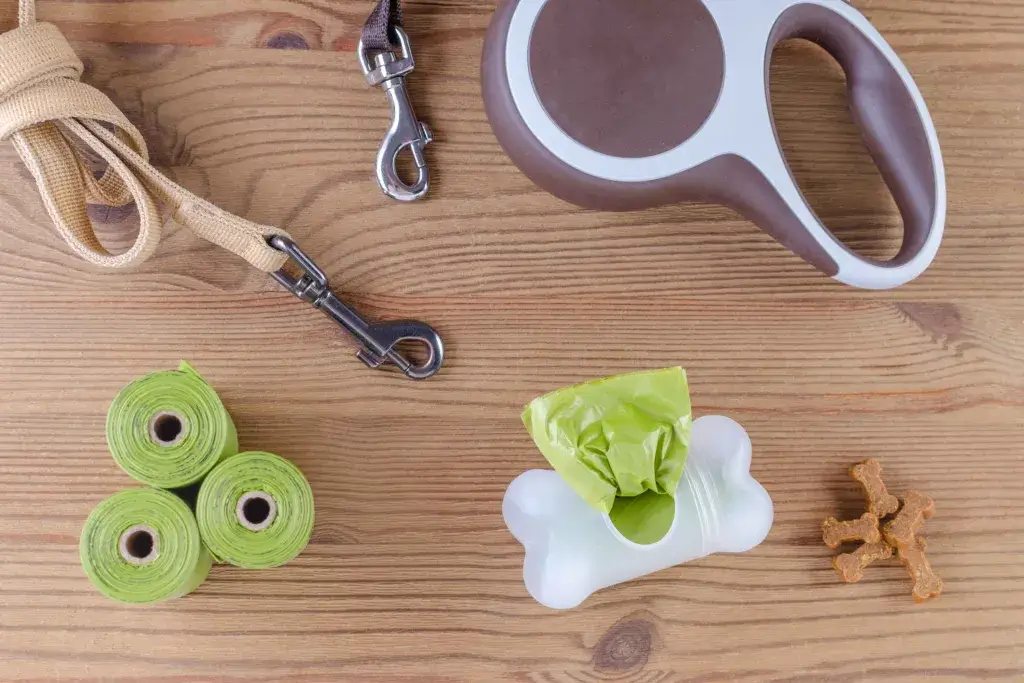
Here’s how I’d match a leash to your situation without overthinking it.
A quick note on money: my full setup (leash plus harness) ran well over $100, and you don’t need that to start. A solid hands-free leash under $30 paired with a $35 harness covers a beginner’s first season just fine.
Essential Features of a Hiking Leash
Four features separate a trail leash from a sidewalk leash: durability, adjustability, comfort, and hardware you can trust when wet. Everything else is a bonus.
Durability for the Demanding Outdoors
Durability starts with the webbing and ends with the metal. You don’t want to have your discount leash give out on a switchback… and spend your afternoon chasing after your dog.
Look for tubular nylon webbing or dynamic climbing rope. Both handle abrasion against rock and roots without shredding. Climbing rope has a bit of natural stretch built in, which softens sudden pulls. Nylon dries faster after creek crossings.
Check the clip. Stainless or coated aluminum resists rust; plain steel seizes up after a few wet hikes. Give the stitching a hard look too, since bar-tacked seams at stress points last far longer than a straight line of thread. Weight matters on long days, so I’d skip anything with heavy chunky hardware you don’t need.

Reflective Rope Lead with Carabiner
Adjustability for Varied Terrains
Adjustable length is the feature I use most and think about least when buying. Trail conditions shift constantly, and being able to shorten your leash in two seconds is what keeps things calm when a mountain biker comes around a blind corner.
I run mine long on open stretches so my dog can sniff and swing wide. When we pass other hikers or hit a section with a drop-off, I choke up to about three feet and keep her at my hip. Some leashes do this with a sliding adjuster; others let you clip the leash back onto itself. Either works.
The other trick I use constantly: a leash long enough to loop around a tree or a picnic table at a rest stop. That’s how I eat lunch with both hands. Check out more dog hiking gear that pulls double duty like this.
Comfort Enhancements
Padded handles are cheap insurance against a raw, sore hand.
What to look for:
- Padded, breathable handle: Neoprene or foam lining, wide enough that the pressure spreads across your whole palm.
- Bungee or shock-absorbing section: Takes the sting out of sudden lunges. Worth it for any dog over 40 pounds.
- Waist belt padding (hands-free models): A thin nylon strap digs in after a few miles. A 2-inch padded belt sits much better.
- A traffic handle: A second short loop near the clip that lets you grab your dog fast without reeling in the whole leash.
That traffic handle is the underrated one. I use mine every single hike.
Types of Hiking Leashes Explained
There are three main leash styles worth considering for trails, and each one solves a different problem. I own all three and pick based on where I’m going.
Standard Leashes – The Trusty Classics
A standard fixed-length leash gives you the most predictable control, which is exactly what you want on tight, technical, or busy trails. Nothing extends, nothing retracts, and you always know where your dog is.
The Ruffwear Knot-a-Leash uses kernmantle rope with a padded handle and a locking carabiner. I like the locking clip specifically because I’ve had a standard bolt snap pop open on a branch before. Rope leashes also shed mud and water better than flat webbing, which matters after a stream crossing.
Nylon flat leashes are the budget version and work perfectly well. A basic 6-foot nylon leash with reinforced stitching costs under $15 and will get a beginner through plenty of miles. Leather is the most durable long-term, but it’s heavy and needs conditioning, so I leave mine at home for hikes.
Retractable Leashes – Freedom with Control
Retractable leashes belong on wide, open, low-traffic paths and almost nowhere else on a real trail. I’ll say that plainly because a lot of beginners buy one first.
The problem is control. The thin cord or tape gives you almost no braking power if your dog bolts; the locking button is slow under stress, and the cord can wrap around your legs (or your dog’s) hard enough to cause a burn. On rocky ground where you need both feet planted, that’s a bad trade.
Where a Flexi Giant Tape Leash does earn its spot: flat fire roads, beach walks, and open meadows where you can see 50 yards in every direction and your dog isn’t reactive. Even then, I hold the handle with both hands when someone approaches. If you want extra roaming room on real trails, a 20- or 30-foot-long line gives you more room and far better control for less money.

For Medium Dogs Up to 55 lbs. 26 ft.
Hands-Free Leashes – For the Multi-Taskers
A hands-free leash frees up your arms for balance, poles, and everything else you carry, which makes a real difference on steep or scrambly ground.
The setup is simple: a padded belt around your waist or hips, connected to a bungee leash section that clips to your dog’s harness. When my dog surges ahead, the pull goes through my core instead of my shoulder. That’s easier on the body over several miles.
On the budget side, the SparklyPets Hands Free Dog Leash is a reasonable place to start. It’s built for medium and large breeds, has reflective stitching, and includes a bungee segment. The belt padding isn’t as plush as pricier options, and I noticed it more on longer days, but for the price, it does the job.
One caution: don’t go hands-free with a dog who lunges hard at wildlife until you’ve done some training a trail dog work first. Being pulled off balance while tethered at the waist is worse than losing your grip.

Reflective Stitches - Waist Leash for Dog Walking, Hiking, Training, Jogging, Canicross, Running - for Medium and Large Breeds
Matching Your Pooch to the Perfect Leash
Leash choice should follow your dog’s size, strength, and how they behave when something exciting appears. Get those three right, and the rest is preference.
By Breed and Size
Match the leash width and hardware to the force your dog can generate. A 10-pound dog and a 90-pound dog need completely different builds.
- Small dogs (Chihuahuas, Pomeranians, Jack Russells): A narrow, lightweight leash around 5/8 inch wide with a small clip. Heavy hardware drags on their necks. Pair with a harness rather than a collar for anything with elevation. If you’re picking a trail companion, the best small dog breeds for hiking handle more mileage than people assume.
- Medium dogs (Beagles, Border Collies, Aussies): A 3/4-inch to 1-inch leash with a padded handle. These dogs cover ground fast, so an adjustable length helps you rein them in near other hikers.
- Large dogs (Labs, German Shepherds, Malinois): A 1-inch wide leash with heavy-duty stitching and a locking clip. This is where a bungee section pays for itself. My experience hiking with German Shepherds has taught me that the leash is only as strong as its weakest clip.
For strong pullers still learning manners, a padded slip lead used under supervision gives you more immediate feedback on short training hikes. I don’t leave one on a dog unattended, and I don’t use one for all-day treks.

No-Pull Slip Leash and Collar, Heavy Duty& Durable, Padded Handle for All Breeds (Multicolor, 5FT)
By Activity Level
Match the leash to how hard you plan to work, not just to your dog’s breed.
Low activity (easy trails, short loops): A basic 6-foot nylon or rope leash with a comfortable handle. No bungee needed. This is the cheapest and most beginner-friendly setup.
Moderate activity (longer day hikes, rolling elevation): A bungee leash, handheld or hands-free. The shock absorption keeps repeated small tugs from wearing out your arm over 8 or 10 miles.
High activity (steep scrambles, water crossings, trail running): A waterproof or quick-drying leash with reflective stitching, paired with a well-fitted harness. Webbing that soaks up water gets heavy and stays cold. I switch to a rope leash for anything involving swimming.
Before any of it, be realistic about conditioning. A dog who walks two blocks a day is not ready for a 10-mile hike. Build up over a few weeks.
Extra Features That Make a Difference
Small design details separate a leash you tolerate from one you reach for every weekend. Reflectivity and built-in storage are the two I’d pay extra for.
Getting Noticed with Reflective Features
Reflective stitching keeps you and your dog visible when light drops, which happens fast in fall and winter. I’ve finished more hikes in the dark than I planned to.
Look for reflective thread woven along the full length of the leash and around the waist belt, not just a small logo patch. Headlights and headlamps pick it up from a good distance. I also clip a small LED light to my dog’s harness for anything after sunset. It costs about $8 and makes her easy to track when she’s 10 feet off-trail. Cold-season outings come with their own list of concerns, and winter hiking safety for dogs is worth reading before your first snowy trailhead.

For evening dog walks and nighttime hikes, the Faxins Clip-On Flashlight is a lightweight way to improve visibility without holding a traditional flashlight. Its rechargeable LED delivers up to 450 lumens on high mode and offers several settings, including steady, flashing, and SOS modes. The built-in clip can attach to clothing, a hat, bag, or even a dog harness, while its IPX6 water-resistant design makes it suitable for rainy or damp conditions. At just 0.6 ounces, it’s small enough to carry comfortably while keeping your hands free for the leash.
Added Functions for Convenience
Extras earn their place when they replace something else in your pack.
Cargo loops and small pouches: The Ruffwear Hitch Hiker has a loop for waste bags, which means I stop digging through my pack every time. It also works as a hitching system at camp, which is why it lives in my overnight kit.
Minimalist builds: I’ve gone the other direction too, running a plain lightweight leash on hot summer days when every ounce counts. Less bulk, fewer things to snag on brush.
Two clip points: Some leashes attach at both a front and back harness ring, which gives you steering control on a strong dog without any pressure on the neck.
Skip built-in water bottle holders and phone pockets on a leash. They swing, they add weight, and your pack does the job better.
Training Tips for Leash Manners on the Trail

Good leash manners matter more than the leash itself, and they’re free. Loose-leash walking is the foundation. Reward your dog every time the line goes slack beside you, and stop moving the second it goes tight. Dogs learn fast that pulling ends the hike.
Practice these before you hit a real trail:
- Loose leash walking on sidewalks and in your yard.
- “Wait” at doors and car doors, so your dog doesn’t bolt out at the trailhead.
- “Leave it” for wildlife, trash, and mystery snacks on the ground.
- Recall on a long line in a fenced area, then in gradually more distracting spots.
The American Kennel Club promotes a simple set of trail rules under the acronym B.A.R.K.:
- Bag your dog’s waste and pack it out
- Always keep your dog leashed where required
- Respect wildlife by keeping your distance
- Know where dogs are allowed before you go
That last one saves trips. Plenty of federal land restricts dogs to paved areas or bans them outright, so check before you drive. My guide to dogs in national parks covers which parks welcome them.
Socialization is part of it too. I spent weeks taking my Shepherd to a busy park just to sit and watch people, bikes, and other dogs go by, rewarding calm behavior. That work shows up on the trail when a group of hikers rounds a corner. Good trail manners for dogs also cover yielding to horses and stepping aside on narrow paths.
Buying Guide: What to Check Before You Order
Nine things decide whether a leash works on a trail. Go through them in order.
Leash length. A 6-foot leash is the default for good reason: enough slack to let your dog move naturally, short enough to control. Adjustable models that run from about 3 to 7 feet cover more situations.
Hands-free or handheld. Hands-free helps on steep, technical, or long routes. Handheld gives faster reactions on crowded or narrow trails. Buy something that converts if you can.
Bungee section. Worth it for dogs over 40 pounds or any dog that lunges. Look for a short elastic panel, not a leash that stretches its whole length, since too much stretch means too little control.
Handle comfort. Padded and at least 1 inch wide. Test that your gloved hand fits through in winter.
Durability. Tubular nylon or climbing rope, bar-tacked stitching at every stress point, and reinforced attachment loops.
Visibility. Full-length reflective thread beats a logo patch.
Hardware. Stainless steel or anodized aluminum. A locking carabiner or a screw-gate clip if your dog is strong.
Harness compatibility. Make sure the clip actually fits your harness’s ring. Some heavy-duty clips won’t pass through smaller D-rings.
Local rules. Leash length limits are real. Many parks cap leashes at 6 feet, which makes long lines and retractables non-compliant.
Is a 4-Foot or 6-Foot Leash Better for Hiking?
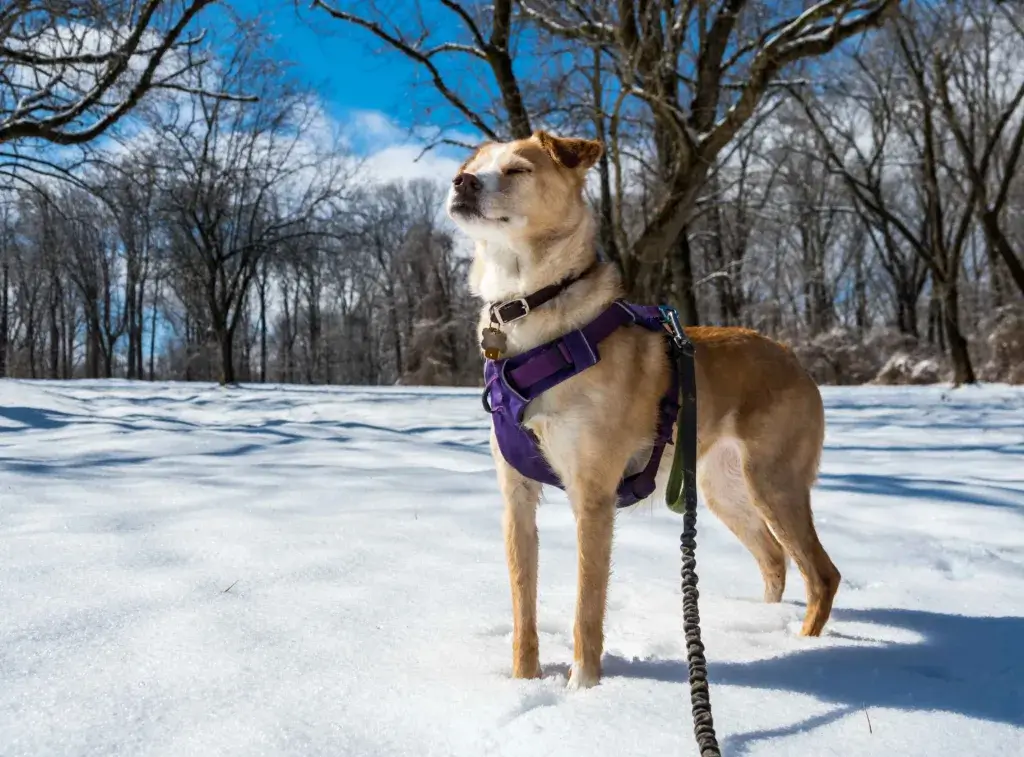
Six feet is the better all-around choice for hiking, and a 4-foot leash is the specialist you switch to for close control. If you only buy one, buy the 6-foot.
Six feet gives your dog room to sniff, adjust footing, and move around obstacles without constantly hitting the end of the line. It also lets you loop the leash back for a shorter hold when you need it, so you get both lengths from one piece of gear.
Switch to a 4-foot leash (or choke way up on your 6-footer) in these spots:
- Passing other hikers, bikes, or horses on singletrack where there’s no room to spread out
- Near drop-offs, ledges, or steep switchbacks where a lunge could pull you both off balance
- When wildlife is nearby, including deer, snakes, and anything with a burrow
- Trailheads, parking lots, and road crossings where cars are moving
- Rocky scrambles where you need your dog directly beside you, not below or above you
I keep my leash long on 80% of a typical hike and short for the other 20%. That’s why the adjustment feature beats owning two separate leashes.
Accessorize Your Adventure
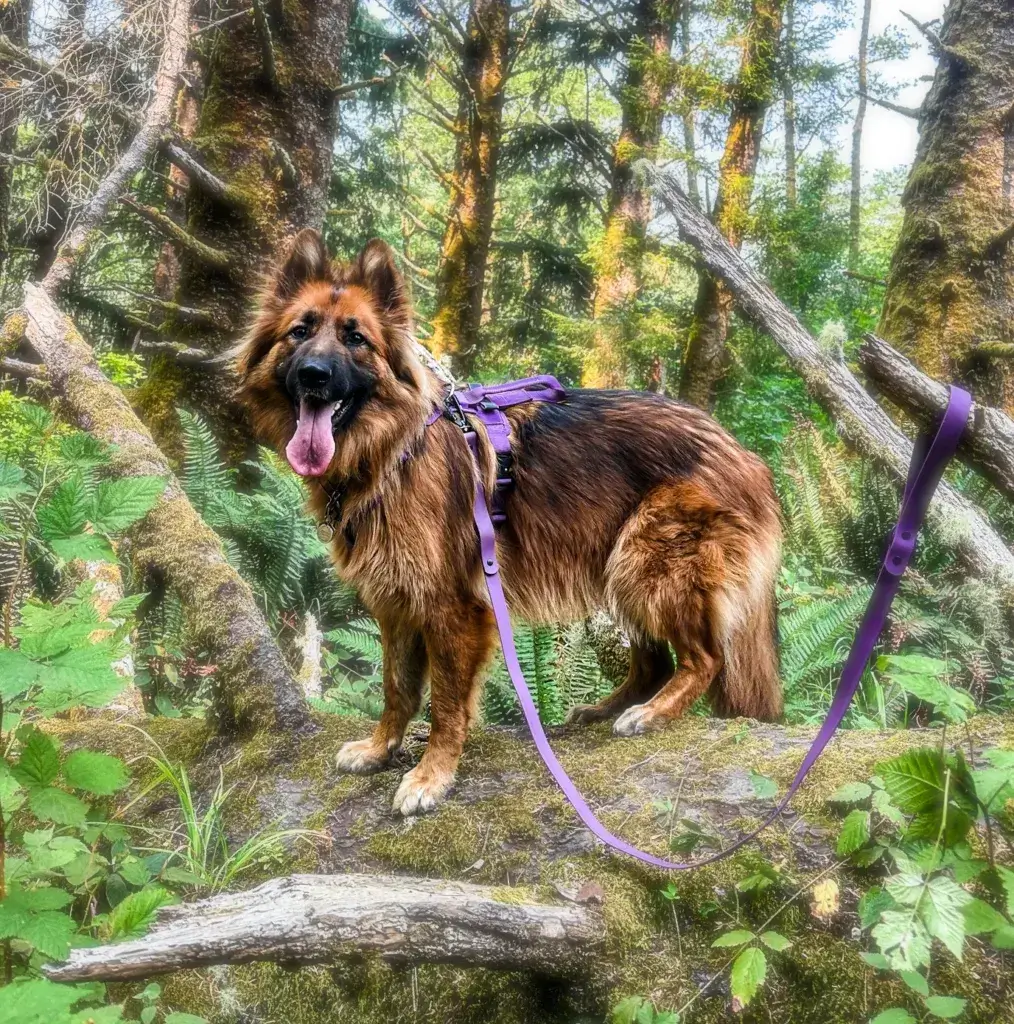
The leash is one piece of a system. What it connects to and what you carry alongside it decide how the day actually goes.
Harnesses and Collars
A harness spreads pull across your dog’s chest and shoulders instead of concentrating it on the throat, which is why I use one for every hike.
The Ruffwear Hi & Light is my lightweight pick for warm weather and long days. It’s minimal, dries fast, and doesn’t trap heat under thick fur. For bigger, stronger dogs, I’ve had good results with padded harnesses that have both a front and back attachment point, and the Saker canine harness is one I’ve looked at closely for that build.
Fit is the whole ballgame. You should be able to slide two fingers under any strap, and the chest piece should sit below the throat, not on it. Check for rubbing behind the front legs after your first long hike, since that’s where chafing shows up first.
A sturdy flat collar still has a job: holding ID tags and a rabies tag. I clip the leash to the harness and leave the collar for identification. Add a tag with your cell number, not just your home address.

Everyday Lightweight, Trail Running, Walking, Hiking, All-Day Wear Harness
Leash Add-ons for the Extra Mile
A few small additions have made my hikes noticeably smoother.
A long line for open spaces. A 20 to 30-foot line lets your dog explore meadows and beaches with real freedom while you keep a connection. Great for practicing recall. If you’d rather find somewhere your dog can move freely, the best off leash hiking trails are worth planning a trip around.
A cargo loop or clip-on pouch. For waste bags and a few treats within reach.
A hitching system at camp. The Ruffwear Hitch Hiker adjusts and can tether your dog at a campsite, which is exactly what I want on an overnight. For extended tethering at a base camp, a Ruffwear Knot-a-Hitch setup gives more freedom of movement.
A dog pack. Once your dog is conditioned, a properly fitted dog back pack lets them carry their own water and bowl.
Material choice comes down to preference. Nylon is light, cheap, and easy to rinse. Climbing rope is more comfortable in the hand and takes abuse well. Leather lasts the longest but adds weight.

Adjustable Leash & Hitching System for Camping & Hiking
Your Hiking-With-a-Dog Checklist
Run through this before you leave the driveway.
- Water for both of you, roughly 8 ounces per dog per hour on a warm day
- Collapsible bowl that packs flat
- ID tags and microchip info current, with your cell number
- Waste bags plus a sealable outer bag for packing them out
- Dog first aid kit with tweezers, gauze, vet wrap, and a tick remover
- Harness fit check before you start walking
- Paw protection in heat, snow, or on sharp rock
- Weather gear for your dog if it’s cold or wet
- Trail rules confirmed, including leash length limits and whether dogs are allowed at all
- Snacks for your dog on hikes over two hours
I keep most of this in a dedicated pouch so I’m not repacking every weekend.
Wrapping Up
The right hiking leash for you depends on trail rules, your dog’s size and pulling habits, the terrain, and whether you want your hands free. For most beginners, an adjustable 6-foot leash with a padded handle, a bungee section, and reflective stitching covers nearly everything, and you can find a workable version well under $30.
I’d start handheld, learn how your dog responds to trail distractions, then move to a hands-free setup once you trust that response. Pair it with a properly fitted harness, check your clip before every hike, and confirm local leash rules before you drive out. If you want more ideas for where to go, browse my hiking with dogs posts.
Frequently Asked Questions
What is the best hands-free dog leash for hiking?
Look for a comfortable waist belt, a secure clip, and enough control to shorten the leash when needed. Start with a handheld leash if your dog still lunges or pulls unexpectedly.
What harness should I pair with a hiking leash?
Choose a well-fitting harness that lets your dog move freely without rubbing. Check the fit after a short walk before relying on it for a longer hike.
When can my dog hike off leash?
Only where trail rules allow it and your dog has reliable recall around people, other dogs, and wildlife. Check the specific trail’s rules before you go.
What hiking leash works best for a dog that pulls?
A sturdy handheld leash gives you more direct control while you work on loose-leash walking. Don’t rely on a bungee section or hands-free belt to solve pulling by itself.
What should I do if my dog gets too tired to finish a hike?
Stop, offer water and rest, and turn back rather than pushing onward. If your dog cannot walk normally or seems unwell, seek veterinary advice.