
Customizing Small Camper Interiors: Easy DIY Decor & Functional Upgrades
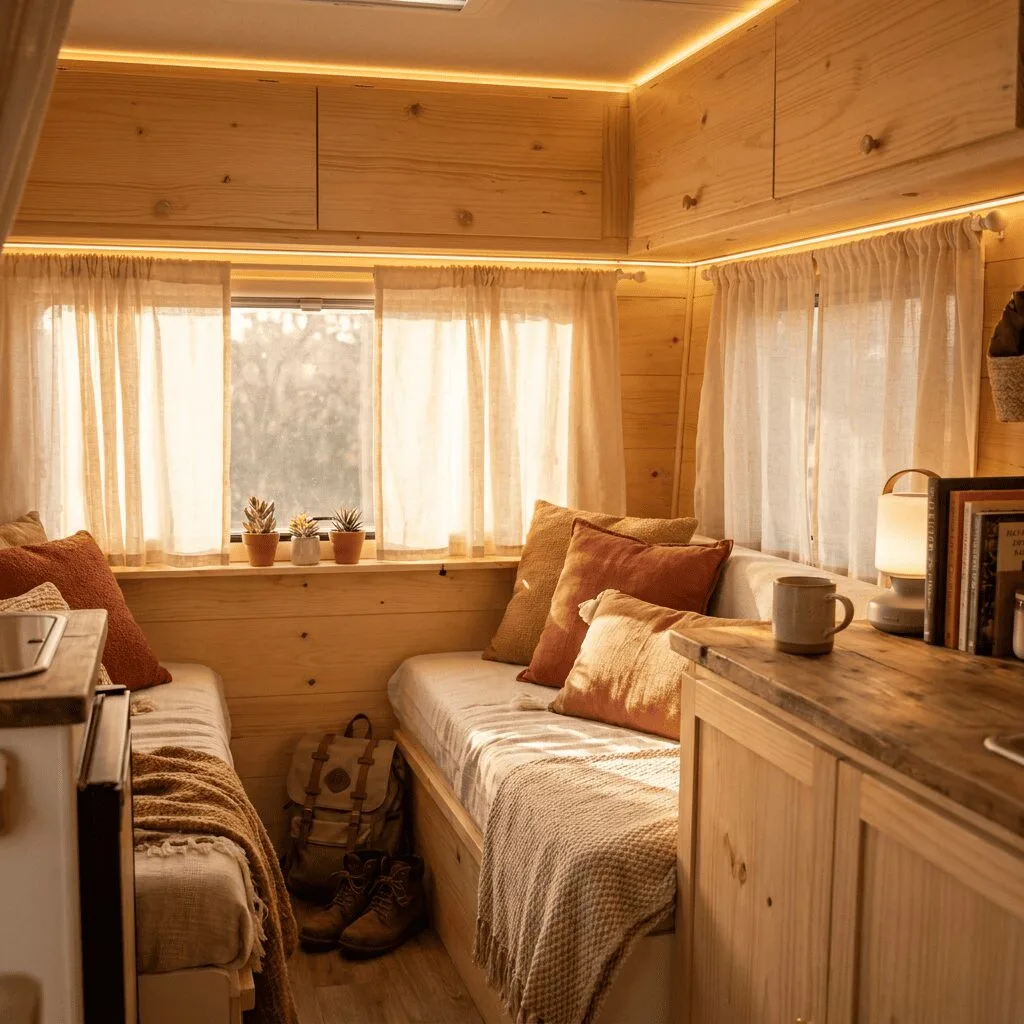
Small campers can take you almost anywhere, but a cramped, bare interior wears thin fast. You don’t need a big budget or professional skills to fix that. For beginners, the best way to customize a small camper interior is to start with cheap, multi-purpose upgrades: storage furniture that doubles as seating, light paint and mirrors to make the space feel bigger, and warm LED lighting that makes it feel like home. A few weekend projects can turn a tight rig into a comfortable tiny home on wheels that fits the way you travel.
In a small camper interior, every item should do at least two jobs. A bench that hides blankets, a table that folds flat, a mirror that spreads light: these small choices add up quickly. The ideas below can help you plan, decorate, organize, and light your space on a beginner’s budget, whether you take weekend trips or long road trips.
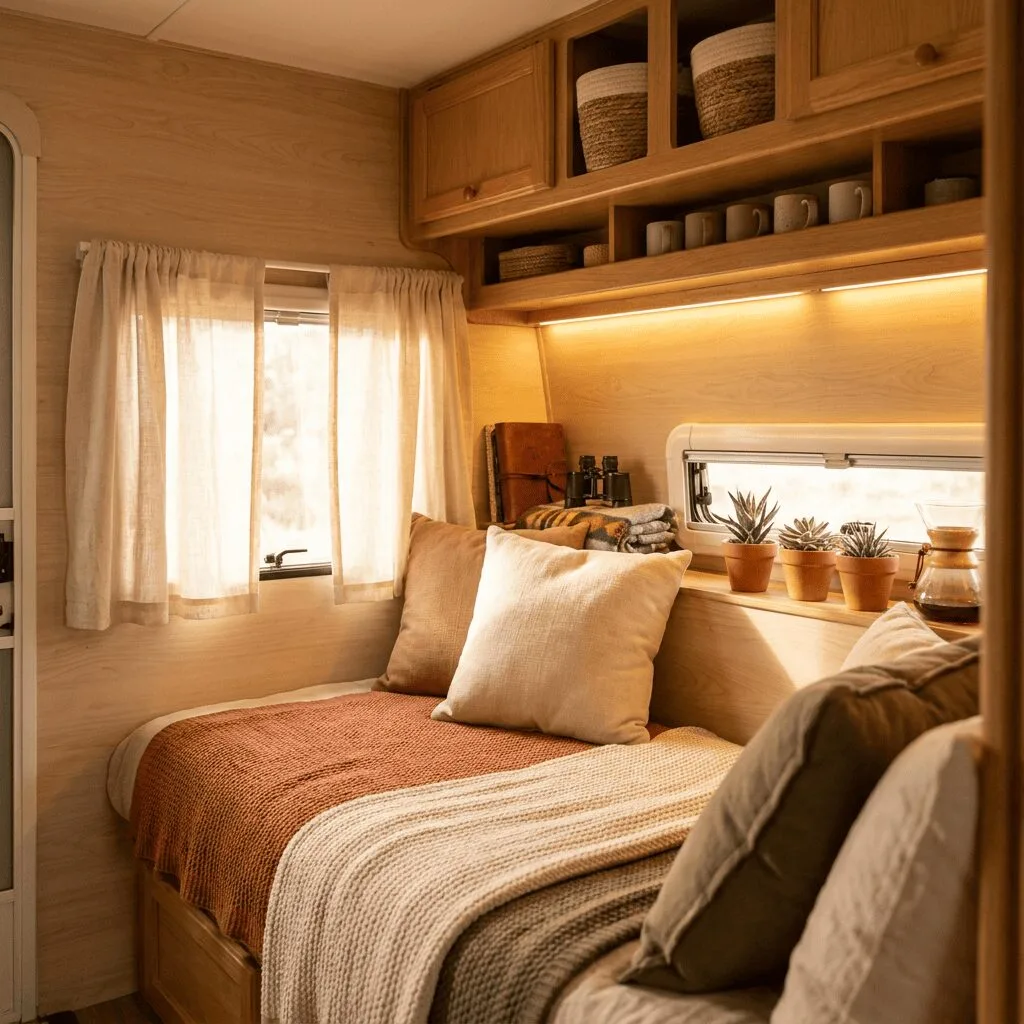
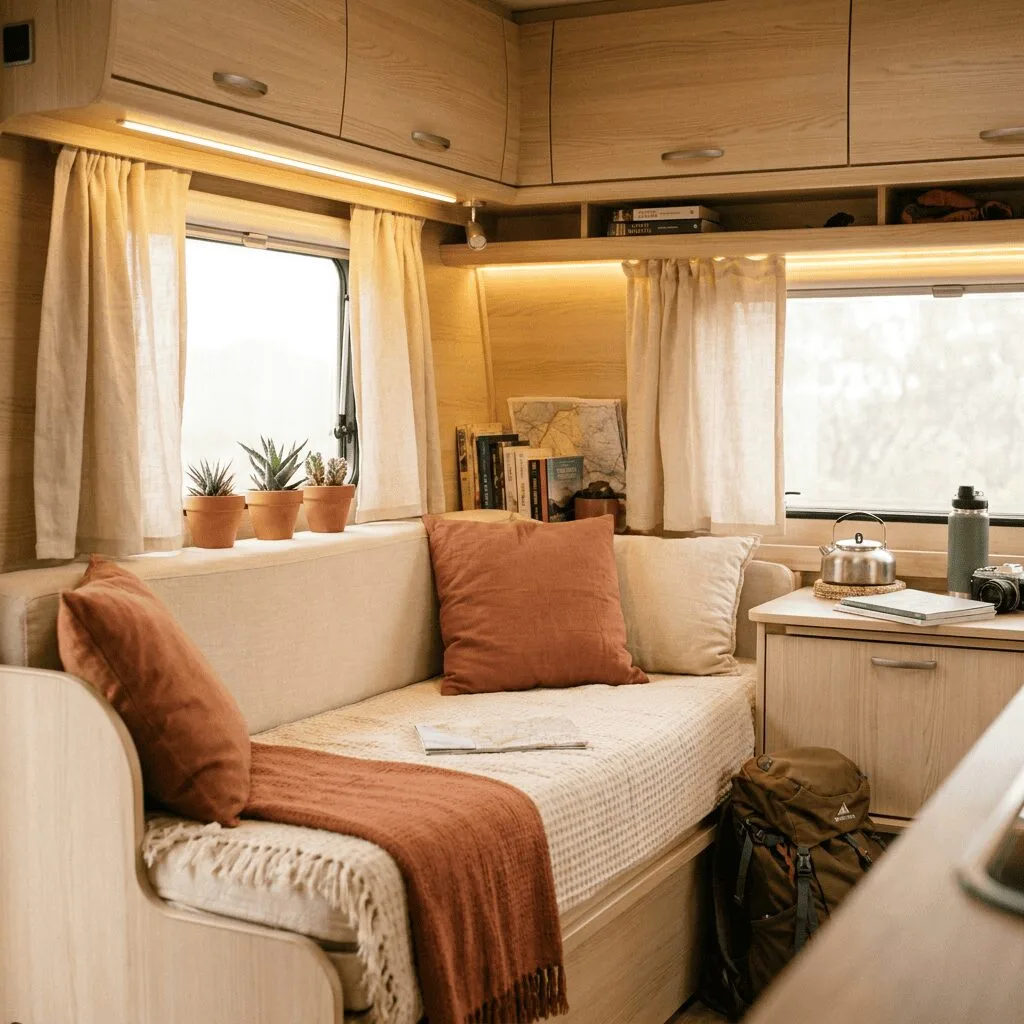
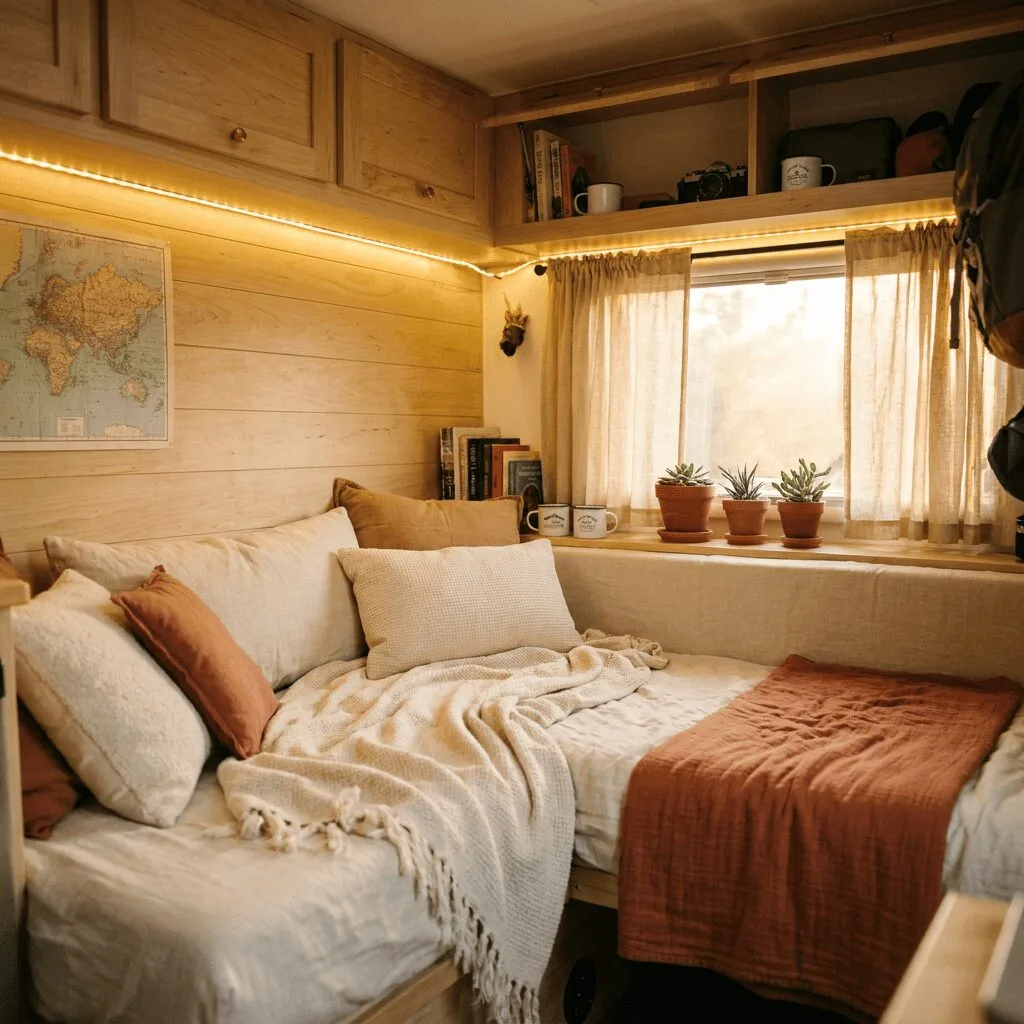
Key Takeaways
- Measure your space, list what you need, and set a budget before you buy anything.
- Choose pieces that combine storage, seating, and style so every item earns its spot.
- Use layered lighting, soft fabrics, and personal touches to make a plain camper feel like home.
Getting Started: Assessing Your Small Camper Interior
Planning comes first in any camper renovation. A clear look at your space can save you money and prevent do-overs later. Before you build or buy, learn your rig inside and out, decide what matters most, and gather ideas that fit your camper and your wallet. If money’s tight, this guide to camper renovation on a budget pairs well with this step.
Take Stock of Your Layout and Must-Haves
Spend a full day living in your camper before you change anything. Cook a meal, take a nap, read, and walk from one end to the other a few times. You’ll notice problems that photos and floor plans miss.
Space Inventory Checklist:
- Measure every wall, the ceiling height, and each odd nook
- Note where each electrical outlet sits
- Check weight limits for shelves and wall mounts
- Find dead zones that could hold gear
Pay attention to how you move around. Can you reach the stove without squeezing past the bed? Where do you set your phone or coffee mug without thinking?
Most people settle on three must-haves: a good bed, a working kitchen area, and enough clothes storage. Everything else is a bonus. Be honest about how you use the space now, and skip the fantasy version of camper life. The best small camper design projects you see online start with this kind of reality check.
Set Your Goals and Your Spending Limit
Clear goals keep you from chasing every trendy camper makeover idea on social media. Sort your priorities into comfort, function, and style, then assign a share of your budget to each one.
A simple budget split:
| Category | Share of Budget | Examples |
|---|---|---|
| Storage Solutions | 40% | Bins, hooks, organizers |
| Comfort Items | 30% | Bedding, cushions, lighting |
| Decorative Touches | 20% | Paint, wallpaper, art |
| Emergency Buffer | 10% | Surprise costs |
Choose a total you can spend without stress. You can pull together many small camper interior designs with basic tools, patience, and a tight budget.
For style, choose three words that describe how you want the finished space to feel, such as “warm,” “simple,” and “bright.” When a cute accessory tempts you, check it against those words. If it doesn’t fit, leave it on the shelf. This habit helps keep your small camper makeover from becoming a pile of impulse buys.
Collect Ideas for Your DIY Projects
Save only inspiration that solves a problem you have. If a vertical storage idea catches your eye, take a screenshot and add a quick note about why it works for your rig.
Good places to look:
- Instagram hashtags: #smallcamperlife, #vanlifeinterior, #tinyhomeDIY
- Pinterest boards: Sort them by need, like “camper kitchen storage”
- YouTube walkthroughs: Real owners showing real camper interior design
- Facebook groups: Honest feedback on what works and what flops
Keep a cheap notebook for rough sketches, with measurements written beside each idea. Some of the best camper interior ideas come from combining two separate concepts.
Let other rigs inspire you, but don’t use them as blueprints. Your small camper renovation should match your needs, your budget, and the quirks of your layout.
Creating a Cozy and Personalized Atmosphere
Color, natural touches, and soft fabrics do most of the work when you’re making a small space feel warm. These upgrades don’t cost much, and most take an afternoon or less.
Pick Colors and Materials That Open Up the Room
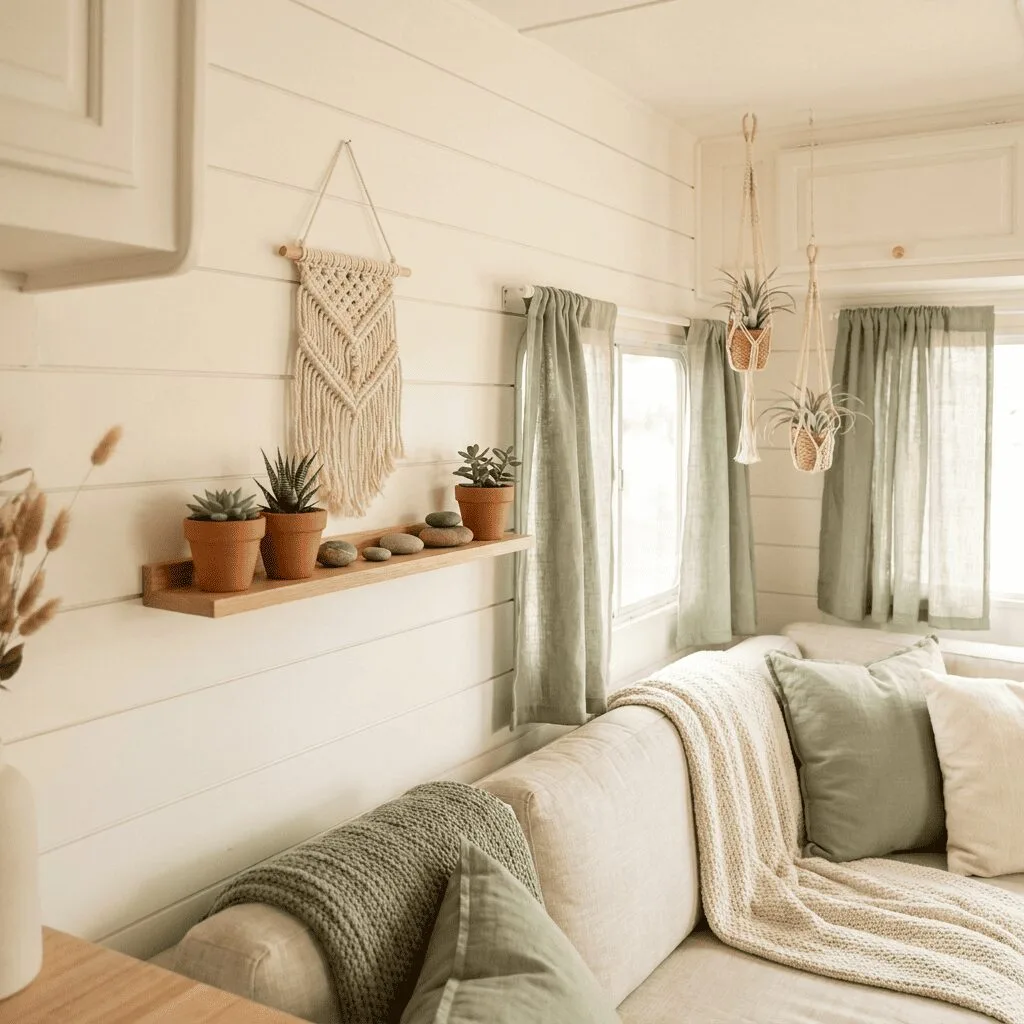
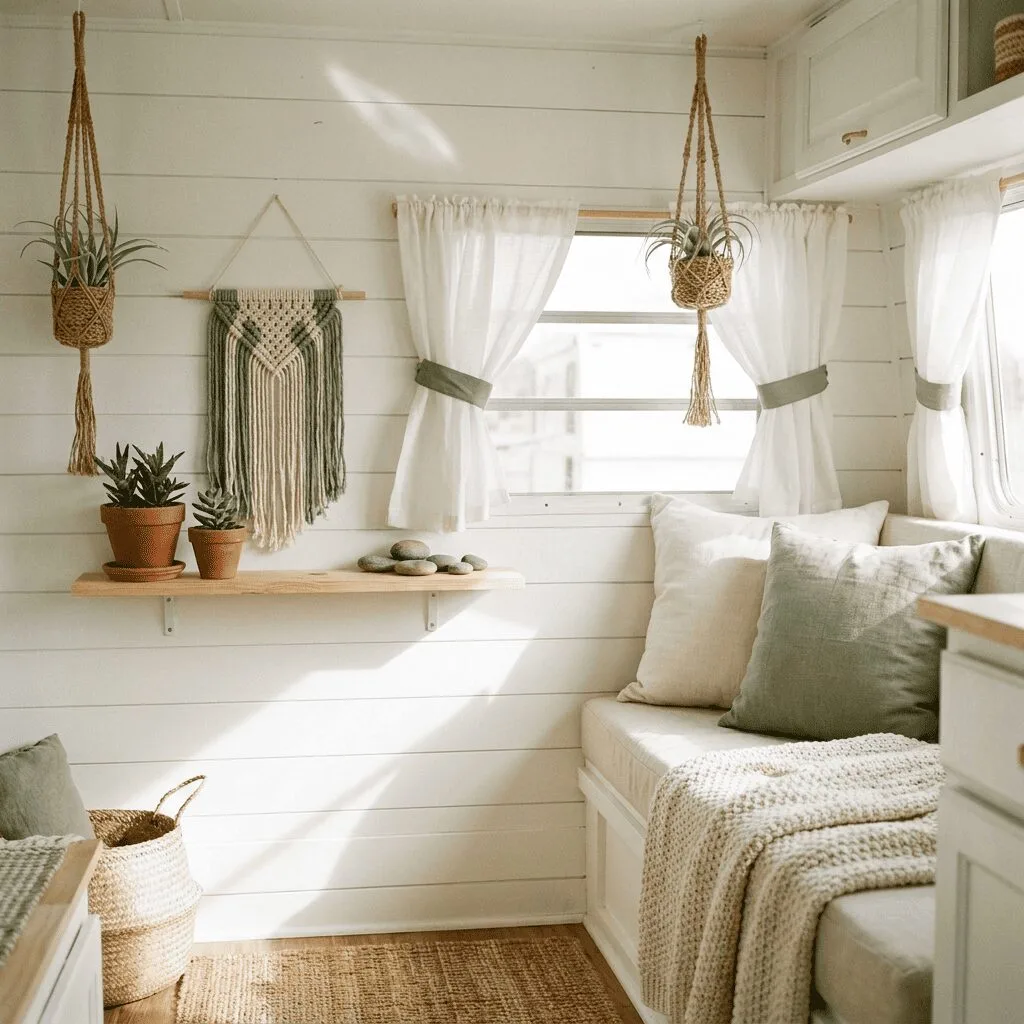
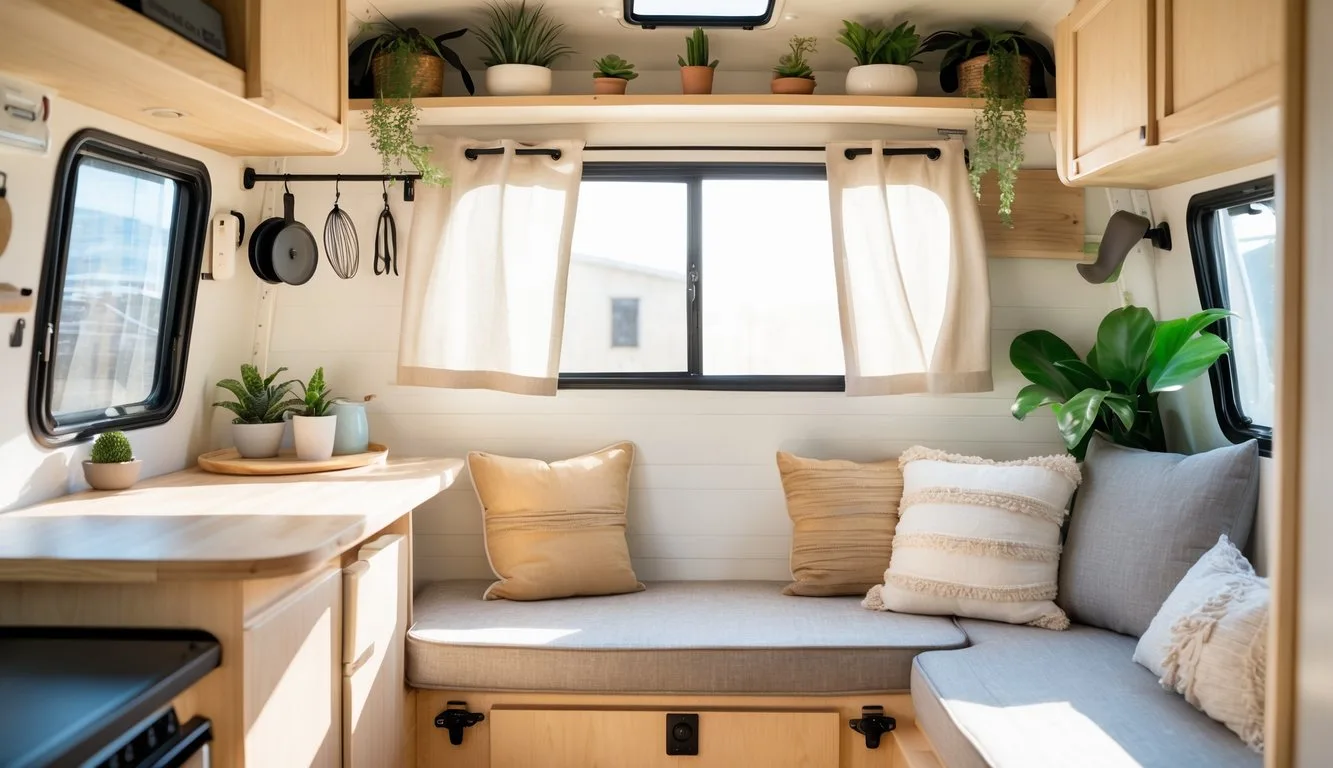
Light, neutral colors are an easy way to make a small camper feel bigger. Warm whites, soft creams, and gentle pastels reflect light around the room and open it up.
A warm off-white with a hint of beige works well on camper walls. Pure white can feel cold, while a softer tone adds depth without closing the room in. A gallon of paint costs about twenty dollars, making it one of the cheapest big changes you can make. For more palette ideas, see these color schemes that work in small campers.
Shiny surfaces boost the effect. Hang a large mirror across from your main window to make the room look wider. Swap dark cabinet pulls for brushed nickel or chrome to scatter more light.
| Surface | Best Picks | Why It Works |
|---|---|---|
| Walls | Soft whites, light grays | Reflects daylight |
| Countertops | Light laminate | Lightweight and easy to clean |
| Flooring | Light vinyl planks | Durable and water-resistant |
Choose lightweight materials for floors and counters. Wood-look vinyl planks add a rustic feel without extra weight. Marble-look laminate gives the space a polished touch for little money. Small brass hooks or stainless-steel hardware can tie the look together.
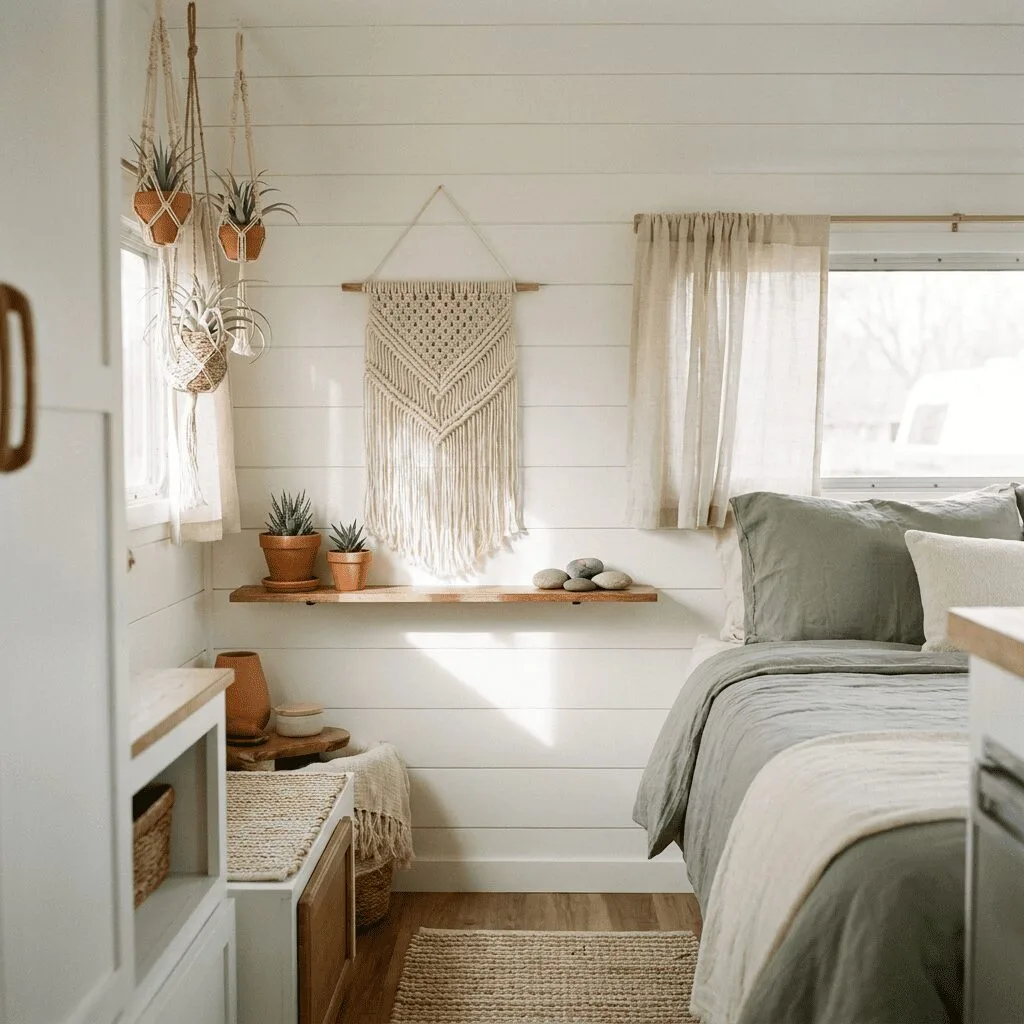
Bring the Outdoors In with Plants
A little greenery makes a tiny space feel alive, even when you’re parked in a lot.
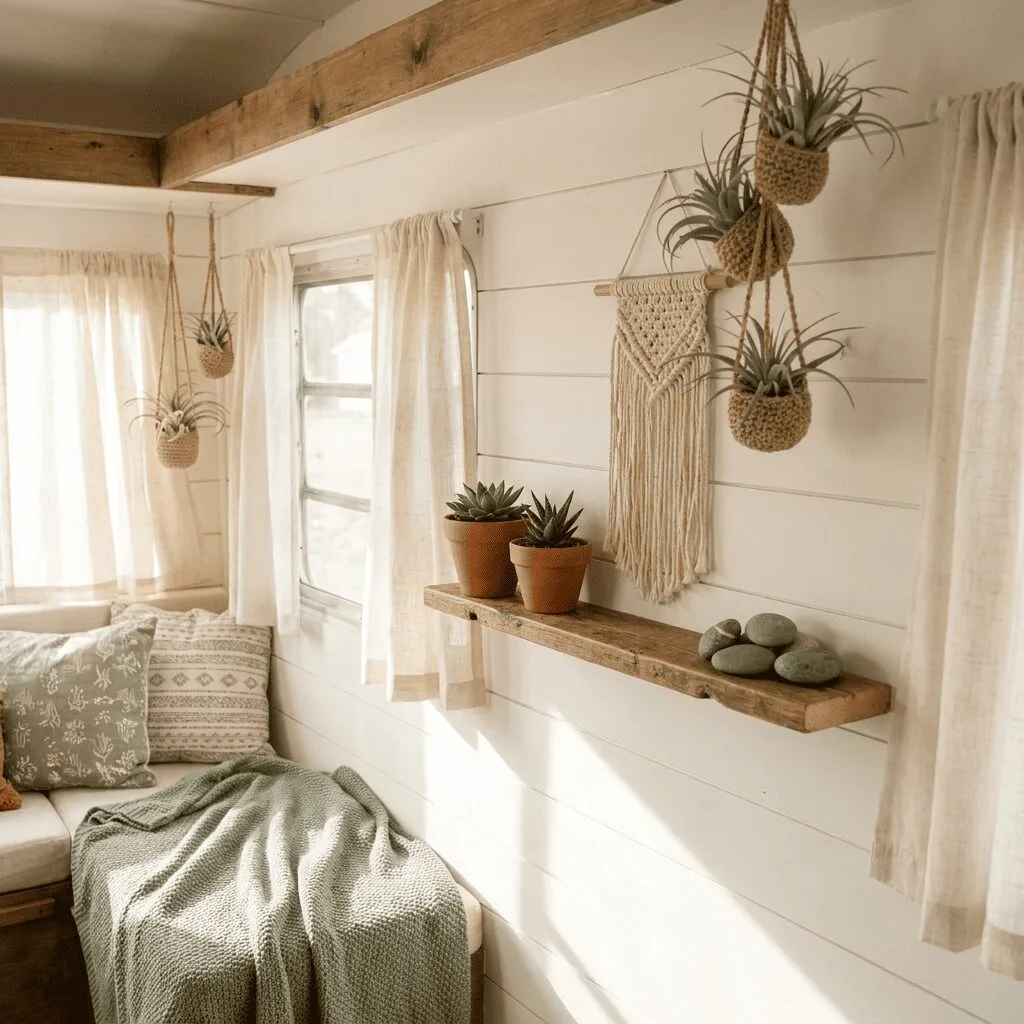
Succulents suit camper life well. They handle bumpy roads and changing light, and they can survive if you miss a watering. Line a few small pots along a windowsill.
Air plants need no soil and look great in hanging macrame holders. They sway as you drive and cast fun shadows on the ceiling.
Fresh herbs earn their place in the kitchen. Basil, mint, and rosemary smell great and give you free ingredients. Mason jars work well on a window ledge.
If you’re worried about keeping plants alive on the road, one or two realistic faux plants add warmth without any watering. A small wooden bowl of pinecones or river rocks from your campsites adds an outdoorsy feel for free.
Layer Fabrics for Comfort and Personality
Fabrics show off your personality and offer one of the cheapest ways to change your camper’s mood.
Mix textures throughout the space: add a chunky knit throw to the dinette, linen curtains to the windows, and a small rug to the main living area. Custom cushions on the seating make the whole space look planned.
Throw pillows make seasonal swaps easy. Keep a warm-toned set for fall and a lighter set for spring. Switching them takes five minutes and makes the space feel new.
Give your bedding extra care, since the bed often doubles as a couch. Soft sheets and a light quilt that matches your other fabrics go a long way. Tuck a plush pillow into one corner to create a small reading nook.
A fabric-covered storage ottoman gives you a seat and a hidden bin in one piece. It’s a handy spot for extra blankets on cold nights.

30 Inches, Ottoman Foot Rest, End of Bed Bench, Storage Chest, Load 660 lb
DIY Decor Projects for Visual Impact
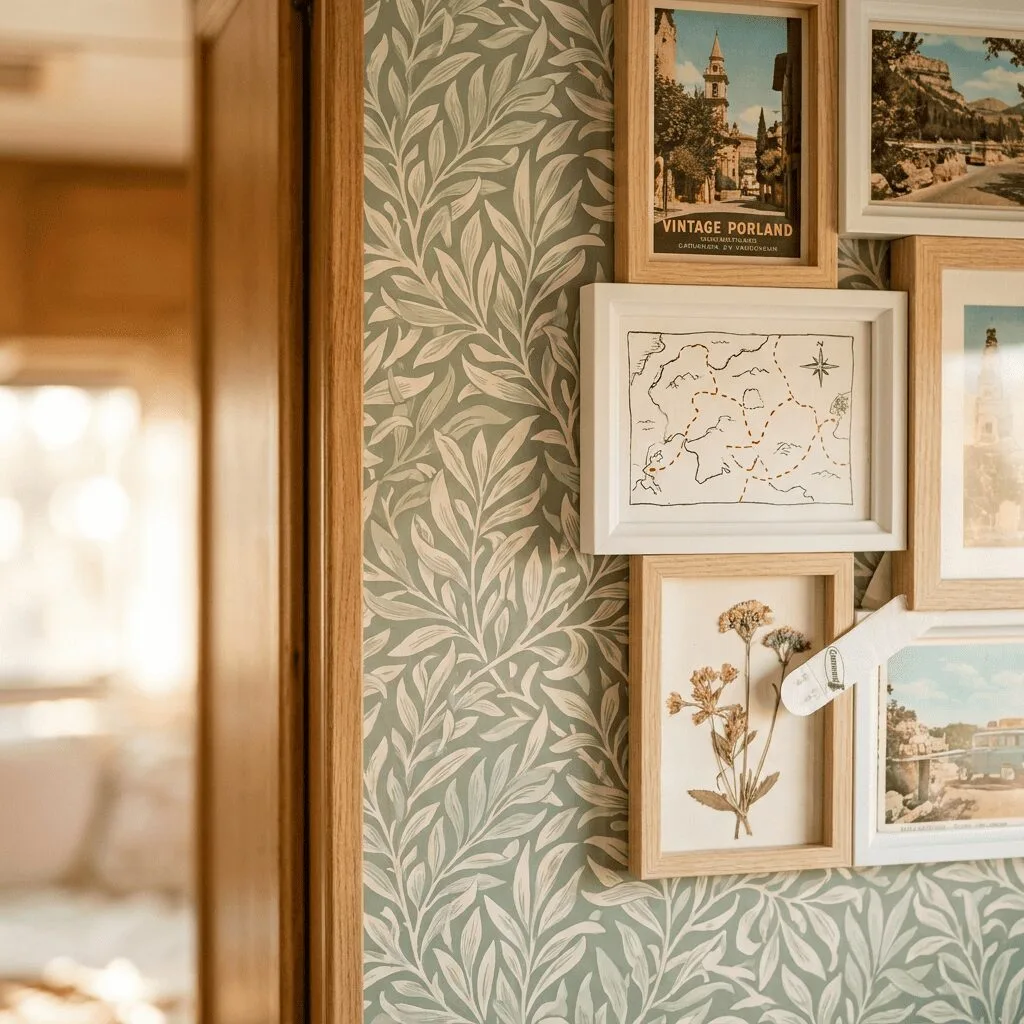
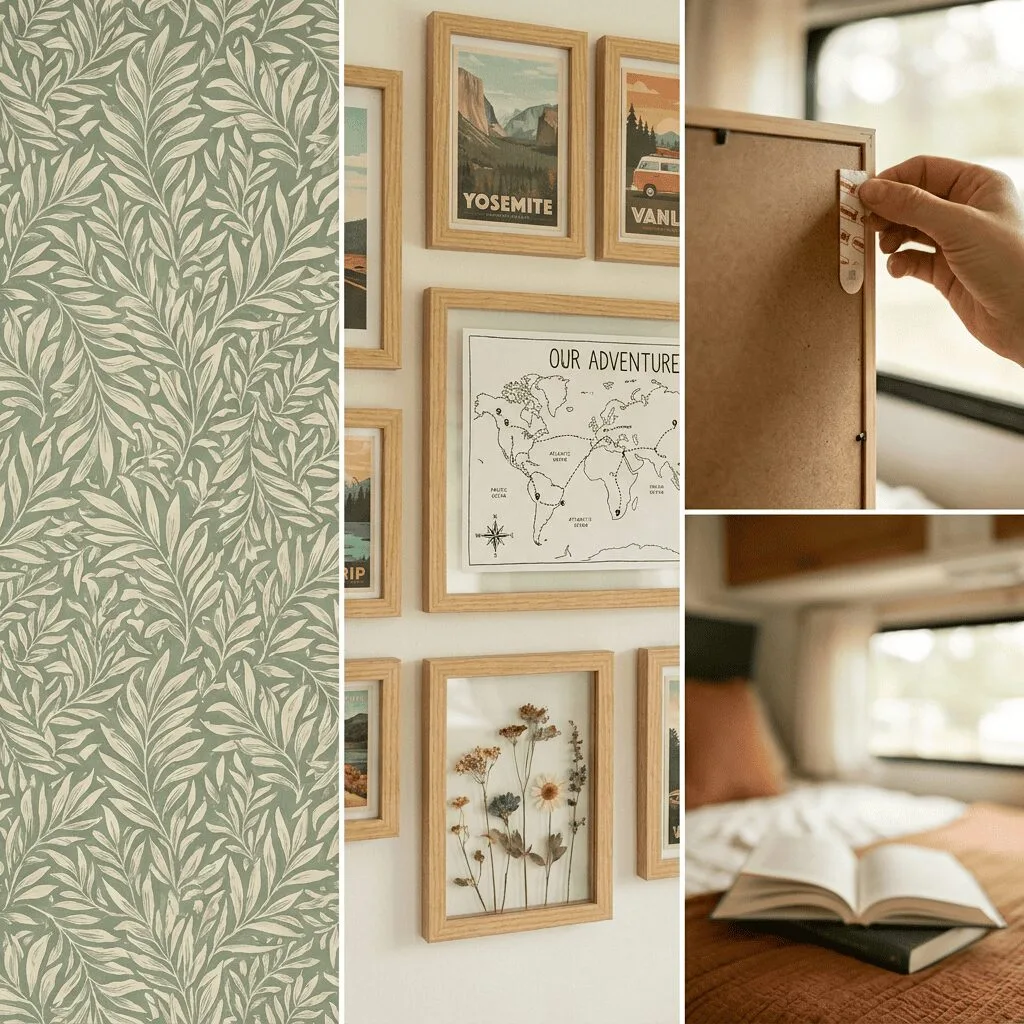
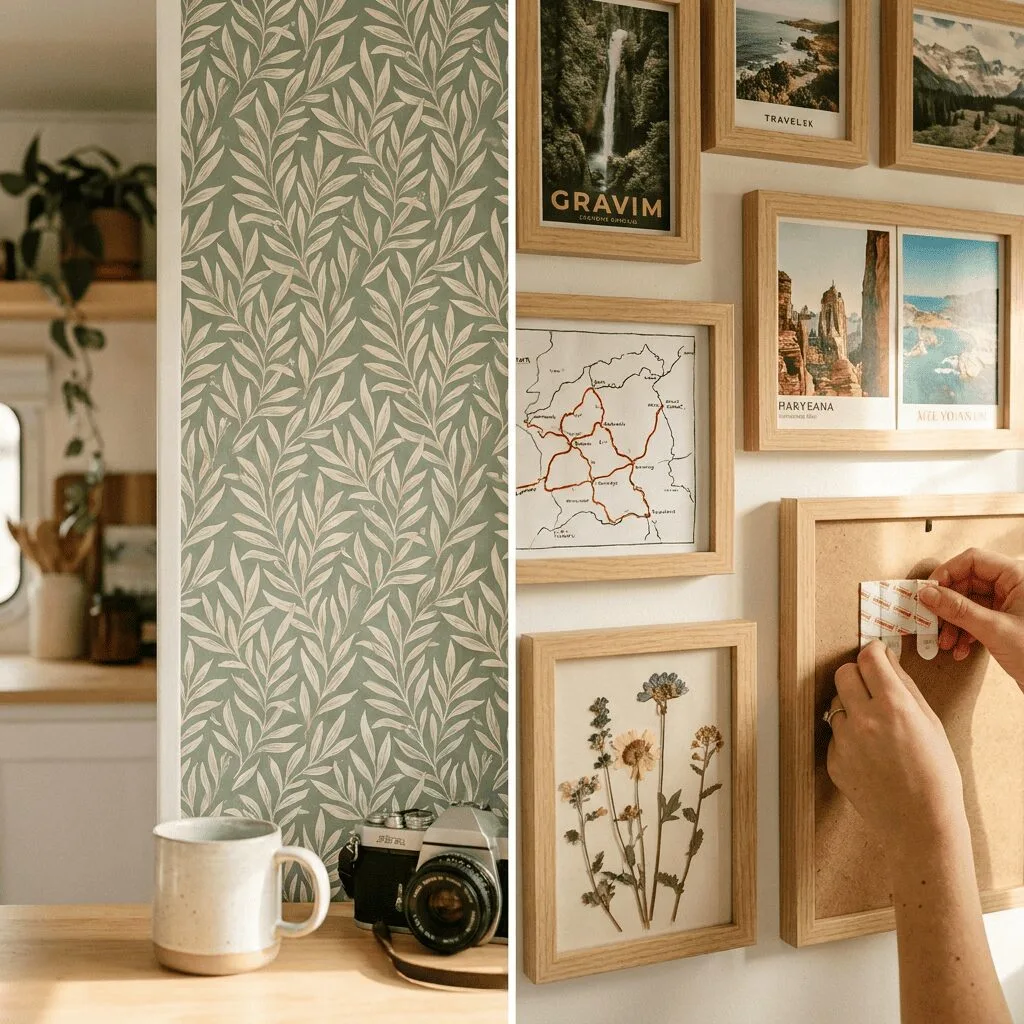
Simple decorating projects can change your camper’s whole look in an afternoon. Removable materials keep your options open, while personal items make the space feel like yours.
Add an Accent Wall with Removable Wallpaper
Peel-and-stick wallpaper gives you a big visual upgrade without a long-term commitment. You can remove it later without damage, making it a good fit for renters and anyone who likes to change things up.
Start with a single accent wall behind the bed or dinette. One focal wall adds interest without crowding a small room.
Application tips:
- Wipe the wall with rubbing alcohol first, since grease and dust weaken the bond
- Use a smoothing tool and work top to bottom in small sections
- Trim edges with a sharp craft knife for a clean finish
- Choose light patterns or wood grain to keep the room feeling open
Try it inside cabinet doors or on the ceiling above the bed, too. These unexpected spots add charm without using floor space. A roll often costs under twenty dollars.

Wood Grain Contact Paper for Cabinets Countertop Waterproof Removable Wallpaper Self Adhesive
Make Your Own Window Coverings
Factory RV curtains rarely fit well or match your style. Making your own is easier than it looks, even if you’ve never sewn.
Measure each window carefully because camper windows come in odd sizes. Add about four inches to the width and six inches to the length for full coverage.
No-sew options:
- Iron-on hem tape to finish fabric edges
- Clip-on curtain rings with plain fabric panels
- Tension rods with lightweight scarves or fabric
Make two layers for each window. A sheer panel lets in daylight while providing privacy, and blackout curtains block light for sleeping. This setup costs far less than fancy double-track systems.
Add Velcro strips or fabric ties to hold curtains open while you drive. Flapping fabric on the highway can be distracting. Cotton blends wash well and handle the humidity and temperature swings of the road.
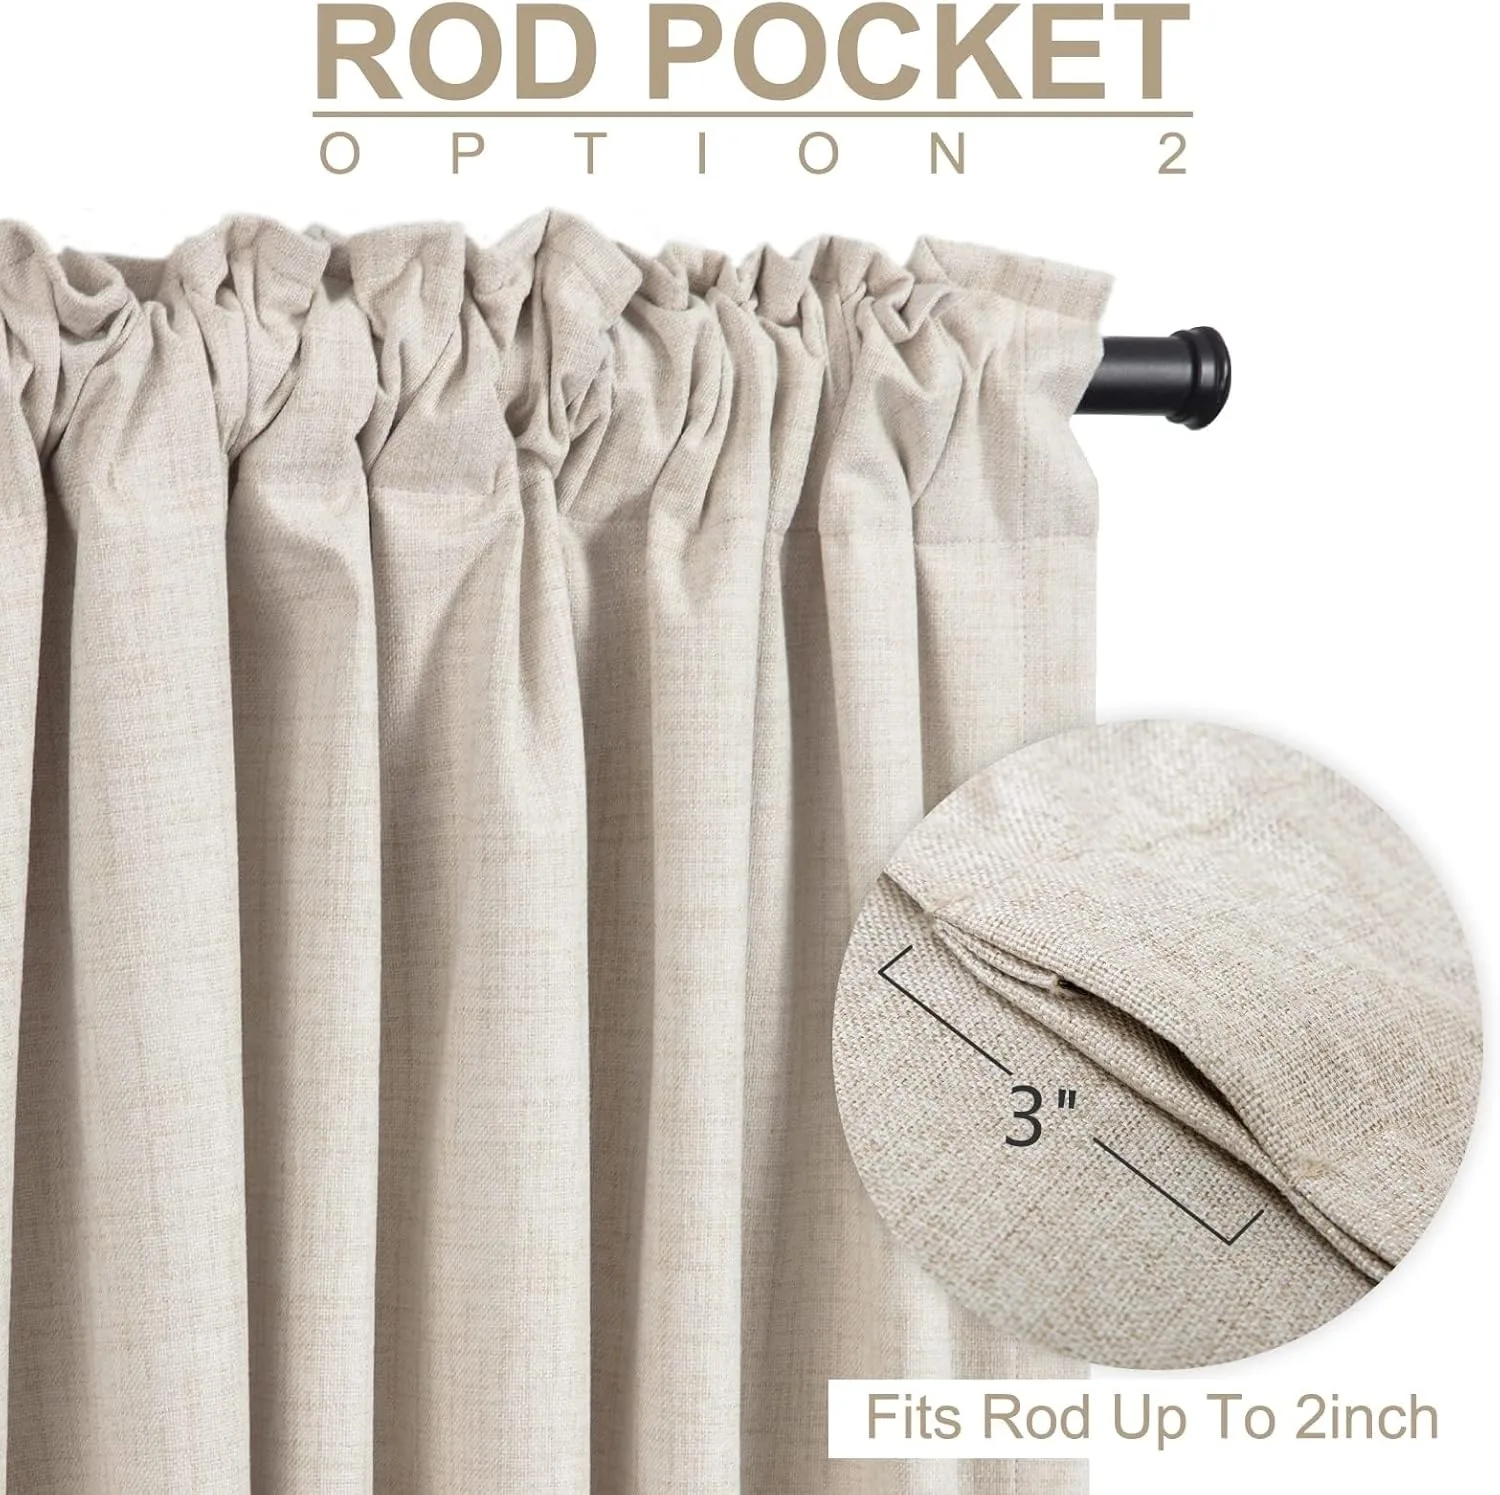
100% Blackout, Linen, Thermal Insulated, 2 Panels Set
Display Art, Photos, and Travel Memories
Your walls should tell your story. Road memories can make a camper feel like home wherever you park.
Lightweight display ideas:
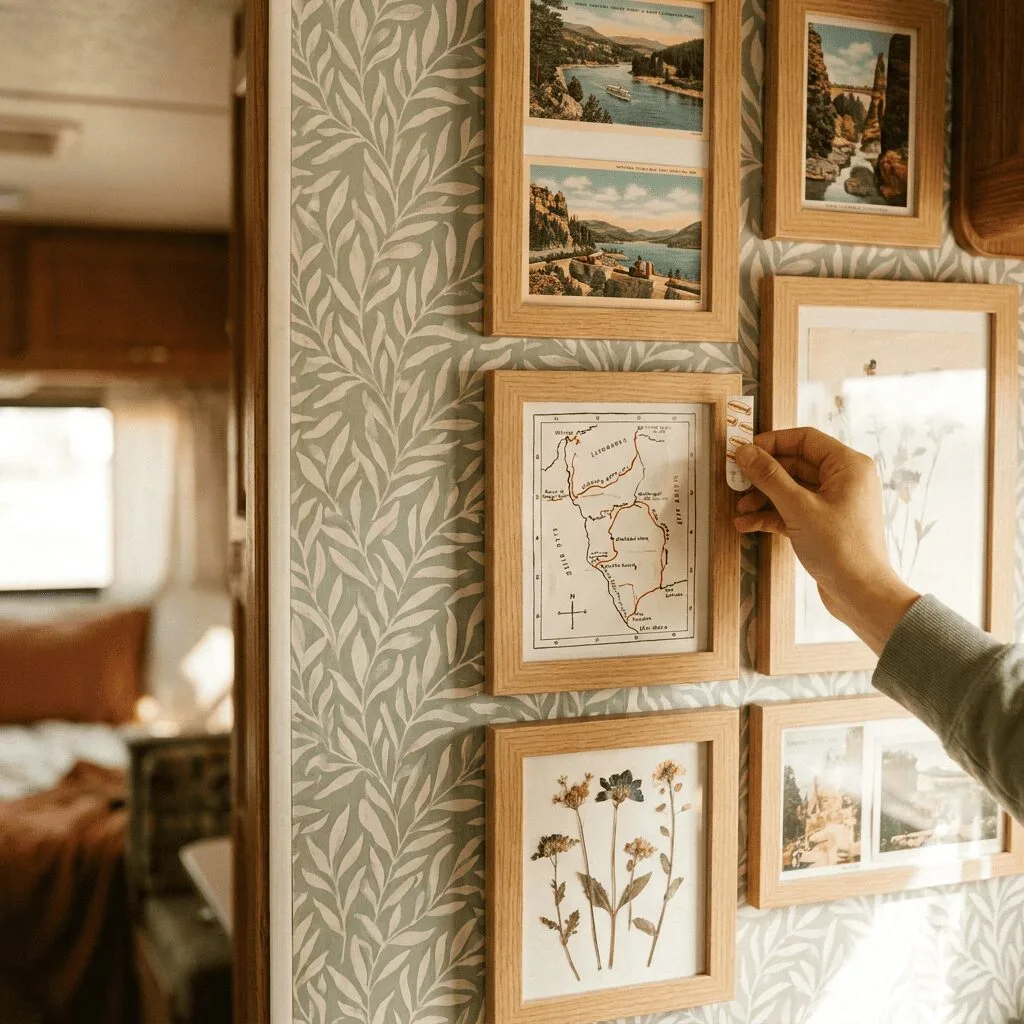
- Campsite postcards in small floating frames
- Photo strips hung on string with mini clothespins
- Pressed wildflowers from your trips
- Maps with your routes marked in color
Damage-free adhesive strips hold firmly and peel off cleanly. Group a few small pieces together to give the wall a planned look. A gallery wall above the dinette or bed works well, and a small mirror in the mix can bounce extra light around. You’ll find more options in these 20 wall decor ideas for camper interiors.
Rotate displays with the seasons: beach photos in summer and pressed leaves in fall. It keeps things fresh for free. Magnetic frames stick to the fridge door or steel cabinet panels, and you can move them in seconds.

16 Pairs (32 Command Strips), Damage-Free Hanging Picture Hangers, Heavy Duty Wall Hanging Strips for Home Decor, White Adhesive Strips
Space Maximization: Clever Storage Solutions
Smart storage turns a cramped rig into a comfortable one by putting forgotten inches to work. Build your plan around vertical storage, hidden compartments, and flexible hooks.
Utilizing Vertical Wall Space
Look Up: Put Your Walls to Work
Walls are the most wasted space in many small campers. Beginners often focus on the floor, but looking up can give you more room. These DIY vertical storage projects for small campers offer step-by-step builds.
Light shelves made from aluminum or thin plywood hold books, spices, and toiletries without adding much weight. Mount them at staggered heights for a layered, open-shelf look.
Magnetic knife strips work for any metal item. Put one near the kitchen for knives and scissors, and another by your workspace for small tools. They cost a few dollars and go up in minutes.
Hanging organizers turn the backs of doors into storage for:
- Toiletries and cleaning supplies
- Shoes and small clothing items
- Chargers, cables, and electronics
- Snacks and dry goods
Corner shelves make use of awkward triangle-shaped dead zones. Cut triangles from lightweight board and mount them with basic L-brackets.
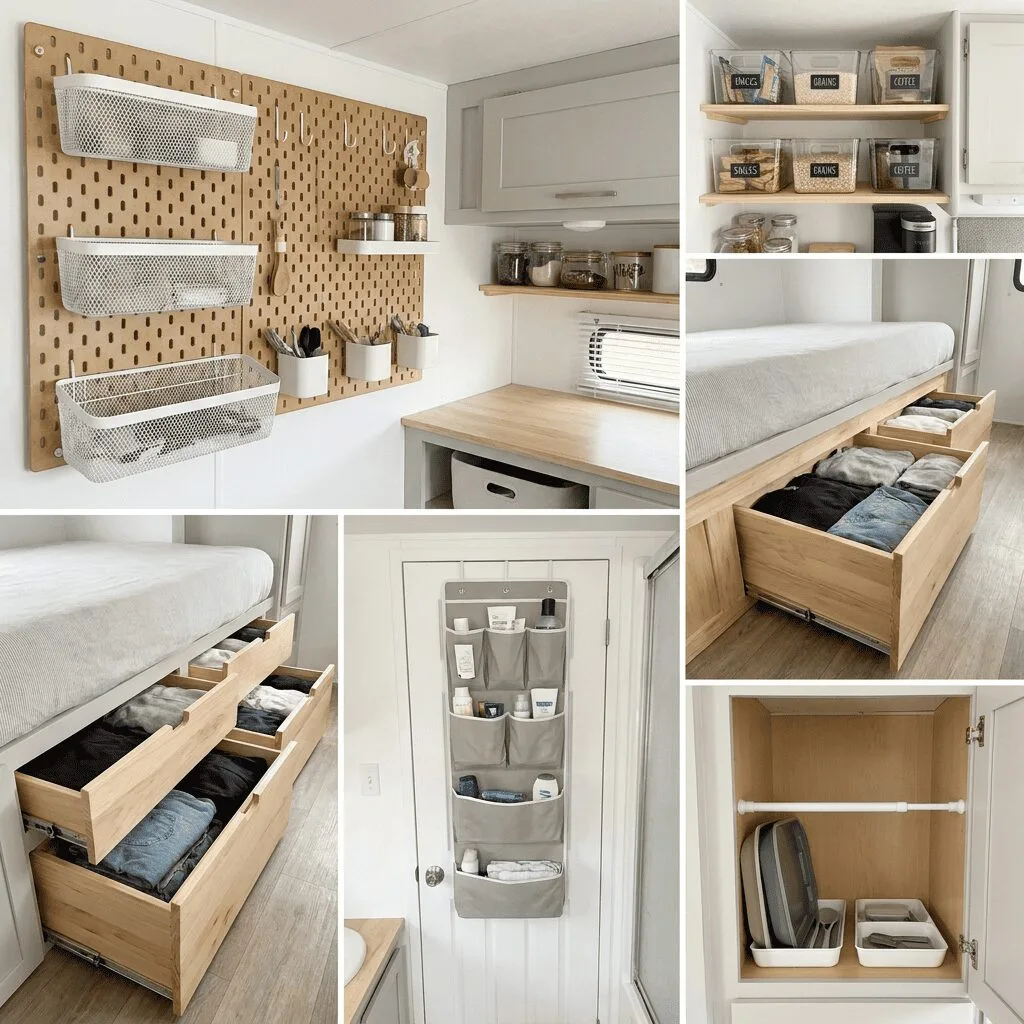
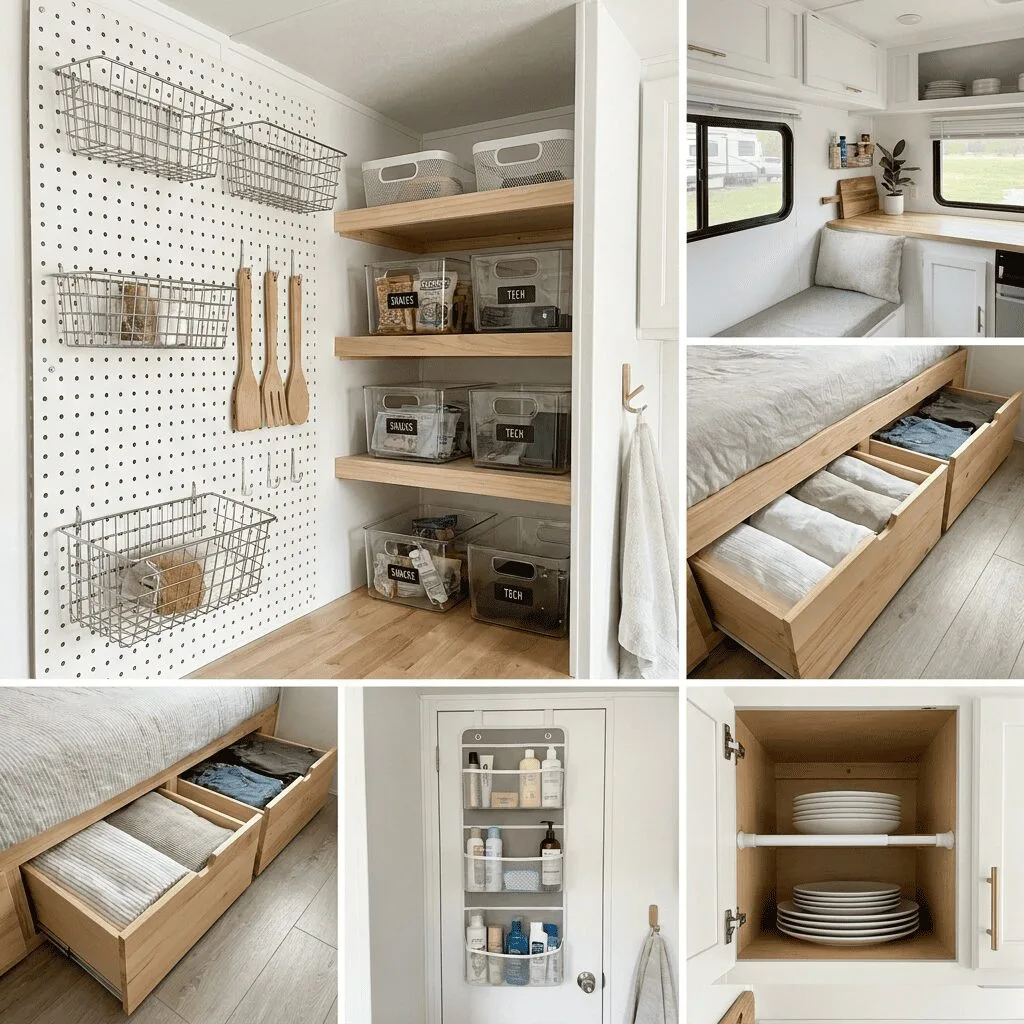
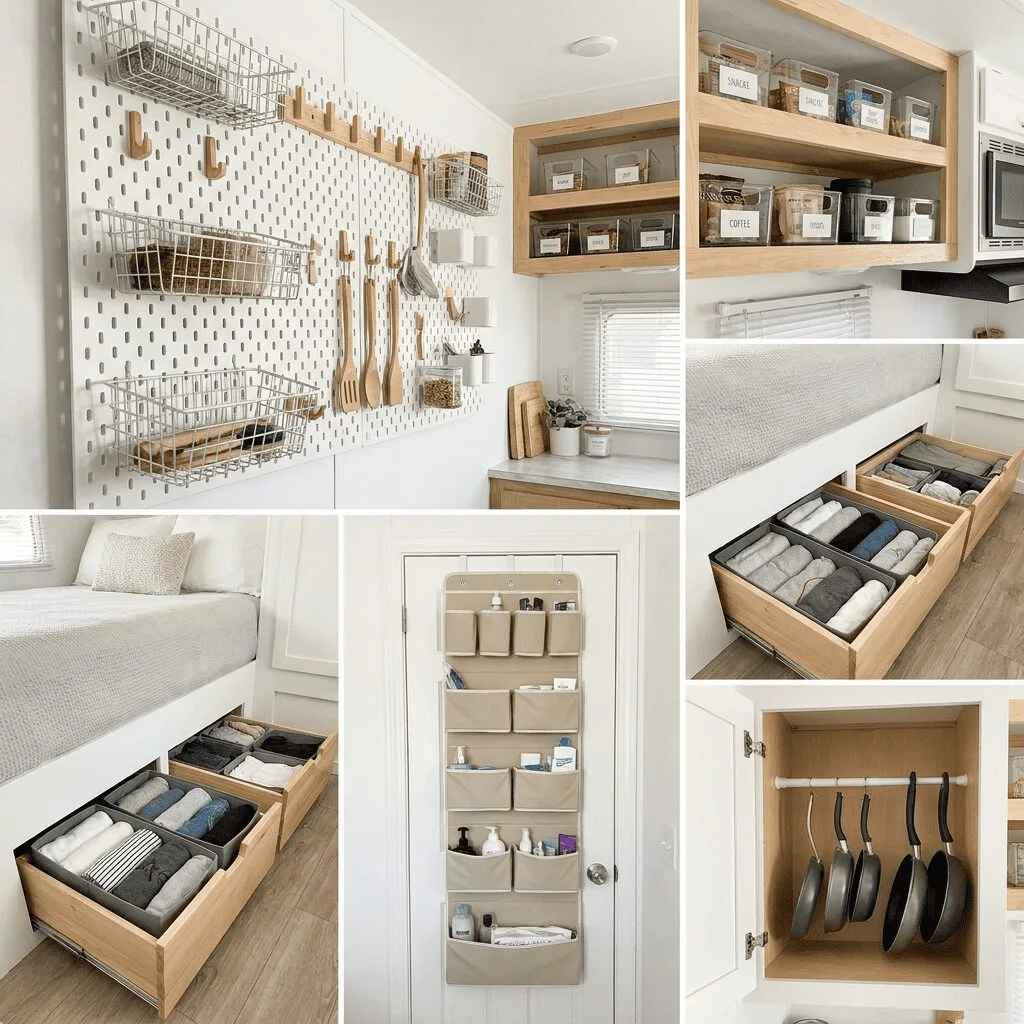
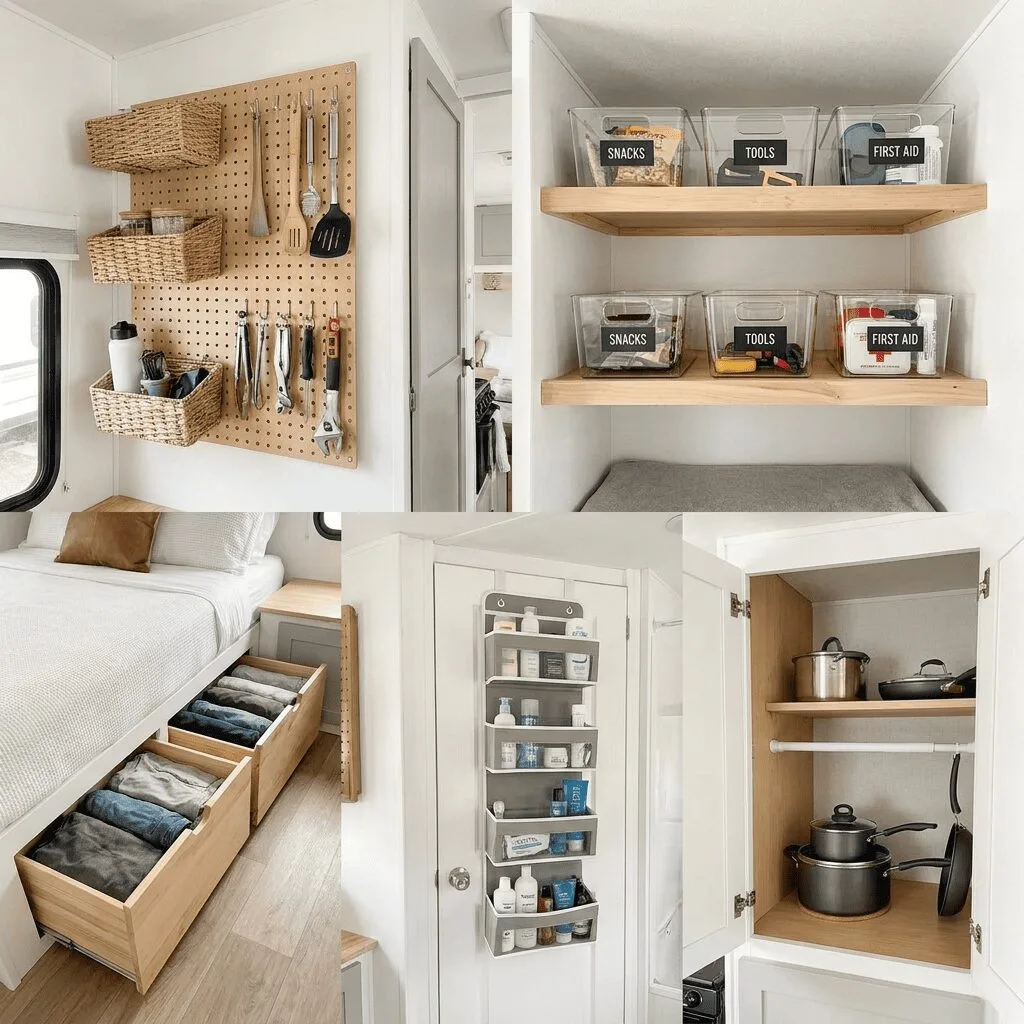
Hidden Storage Under Beds and Benches
The space under your bed and benches offers some of the best storage in the whole camper. Under-bed storage can swallow bulky gear that would otherwise crowd your floor.
Wooden crates with small caster wheels make easy slide-out drawers. Roll them under the bed frame to store blankets, clothes, or camping gear. You can build a set for under thirty dollars.

90 L Storage Bags, Foldable Closet Organizers Storage Containers with Reinforced Handle for Clothing, Blanket, Comforters, Bed Sheets, Pillows
Slide-out drawers in deep cabinets bring pots, pans, and supplies within reach, so you don’t have to dig blindly in a dark hole. Basic drawer slides from the hardware store work for kitchen and bathroom cabinets. For the bathroom specifically, browse these RV bathroom storage ideas.
Benches with lift-up lids give you under-seat storage for board games, first-aid kits, and emergency supplies. Put labeled clear bins inside each compartment to find things fast.
A pull-out pantry in the narrow gap beside the fridge holds cans and spices in tight rows, then slides out of sight.
Flexible Shelves, Rails, and Hooks
Mix fixed storage with movable pieces so your setup can change along with your trips.
Tension rods are cheap and versatile. Use them as cabinet dividers to keep plates upright, or as mini closet rods for dish towels and light jackets. You can put them in and take them out without tools.
Ceiling-mounted pot racks free up whole cabinets. A rail with S-hooks keeps cookware close and off the counter.
Wall-mounted hooks, adhesive hooks, and over-the-door racks add storage spots in seconds. Place them on:
- Bathroom doors for towels and robes
- Bedroom doors for jackets and hats
- Cabinet doors for cleaning supplies and bags
Pegboard panels are perfect for beginners. Mount a small section on any wall, then move hooks, little shelves, and baskets whenever you like. A basic kit runs about fifteen dollars. Modular storage units, such as stackable cubes, work the same way and let you reconfigure your setup without new hardware. For clothing, these RV closet storage ideas help you squeeze more out of a tiny wardrobe.
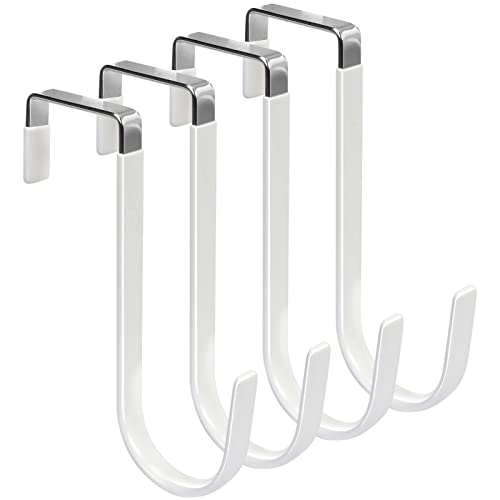
4 Pack Hangers Hooks with Rubber Prevent Scratches
Furniture Upgrades: Multi-Functional and Modular Pieces
Every piece of furniture in a tiny rig must earn its footprint. Multifunctional furniture lets you eat, sleep, work, and relax in the same few square feet. For more designs, browse these space saving furniture ideas for small campers.
A storage ottoman ranks among the most useful pieces you can buy. Use it as a footrest after a hike, a spare seat for guests, or a coffee table with a tray on top. It also hides books, chargers, and snacks.
Easy ways to customize one:
- Add a thick cushion top for comfort
- Fit small dividers inside for organization
- Choose fabric that matches your other textiles
- Attach caster wheels so you can roll it around
Storage benches do a similar job by the door or at the table, hiding boots, rain gear, and off-season clothes. For families, bunk beds with built-in shelves stack sleeping spots and free up floor space during the day.
A murphy bed with built-in shelving suits solo travelers and couples who want a full-size mattress without giving up the living area. It folds against the wall in seconds to reveal a desk or lounge space. Modular space-saving furniture like this often costs less than factory RV pieces and offers more flexibility.

Vertical
Fold-Down Tables and Surfaces That Expand
A wall-mounted fold-down table is one of the best budget upgrades you can make. Flip it down for meals or laptop work, then fold it up to open the floor again. Installation takes about an hour with a drill and basic hardware.
Expandable surface options:
- Drop-leaf tables that open one or both sides
- Pull-out counters hidden under existing countertops
- Wall-mounted flip desks for a small home office
- Telescoping side tables that adjust height and fold flat
Drop-leaf tables work well on long trips. Open one leaf for a solo dinner, and both when friends visit. Some include a small drawer for napkins and utensils, which helps in a space where every inch counts.
A single fold-down table can serve as a dining spot, desk, or TV stand at different times of day.

6 Wheels and 2-Layer Storage Shelf, Space Saving Dining Table for Small Spaces (Natural Wood, 47.2" D x 23.6" W x 29.5" H)
Smart Lighting and Ambience Enhancements
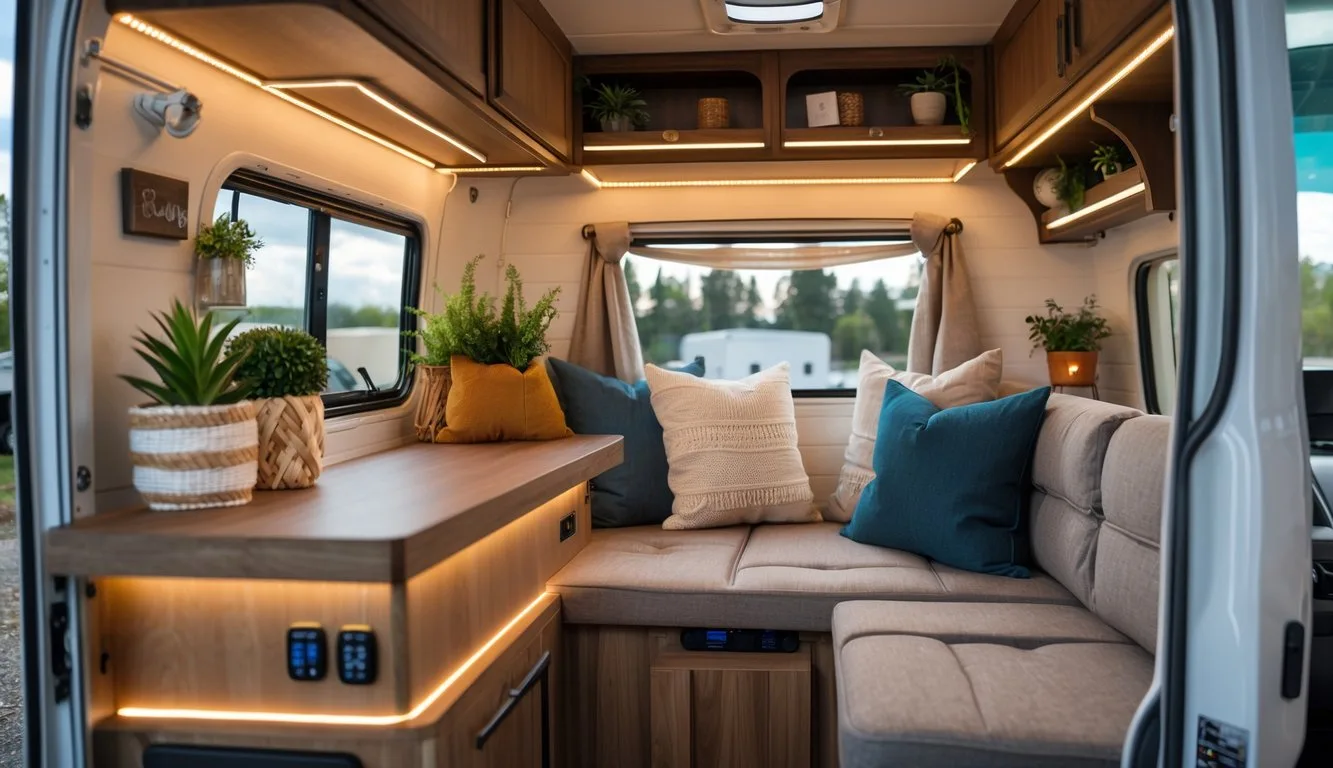
Good lighting makes a cramped camper feel larger and much cozier. Warm LEDs, natural light tricks, and modern fixtures work together to create layers of light.
Use LED Strips to Set the Mood
LED strip lighting gives you one of the biggest visual payoffs for the least money. The strips stay out of sight and cast a warm glow that softens harsh shadows.
Run them under cabinets, along the ceiling line, and under the bed frame. Choose warm white strips around 3000K; cool blue-tinted light can feel clinical in a small room.
Installation steps:
- Clean the mounting surface well
- Measure the run and cut only at the marked spots
- Peel off the backing and press firmly
- Use corner connectors for tidy turns
- Hide the power supply behind furniture
LEDs use very little power, so your battery lasts longer when you camp off-grid. Add a dimmer switch to go from bright task light to a soft evening glow. Fairy lights along a shelf or window frame add sparkle for a few dollars, and these glamping lighting ideas offer more ways to set the mood.

Bluetooth RGB LED Lights with App Control, 64 Scenes and Music Sync LED Strip Lighting
Make the Most of Daylight and Reflection
Natural light is free, so capture as much as you can. Start by swapping heavy, dark curtains for sheer whites or soft grays that filter sunlight without blocking it.
Reflective tricks:
- A mirror directly across from the largest window to double the daylight
- Glossy cabinet fronts that bounce light across the room
- Metal hardware and chrome accents that scatter brightness
- Light-colored walls and ceilings
A well-placed mirror makes a small camper feel much wider, especially when it reflects a pretty campsite view. Glass-front cabinet doors keep the space airy. If your rig has a roof vent or skylights, keep them clear and clean so they pour light into the center of the room.
Swap in Modern, Low-Power Fixtures
You can replace boring factory RV lights with modern, affordable fixtures. Most swaps take just a few screws and a wire connection.
Plan for layered lighting:
- Task lighting: Bright LED panels over the kitchen and work areas
- Accent lighting: A small pendant over the dinette
- Safety lighting: Motion-activated strips for nighttime trips to the bathroom
- Reading lights: Adjustable wall sconces by the bed or sofa
Many home fixtures work on a camper’s 12-volt system with a simple adapter, so that pendant lamp from the home store might fit right in.
Use LEDs everywhere. The bulbs last for years, stay cool, and draw a fraction of the power of old incandescent bulbs. Place lights at different heights (ceiling, wall, and under-cabinet) to give each corner its own glow.
Functional Upgrades for Comfortable Mobile Living
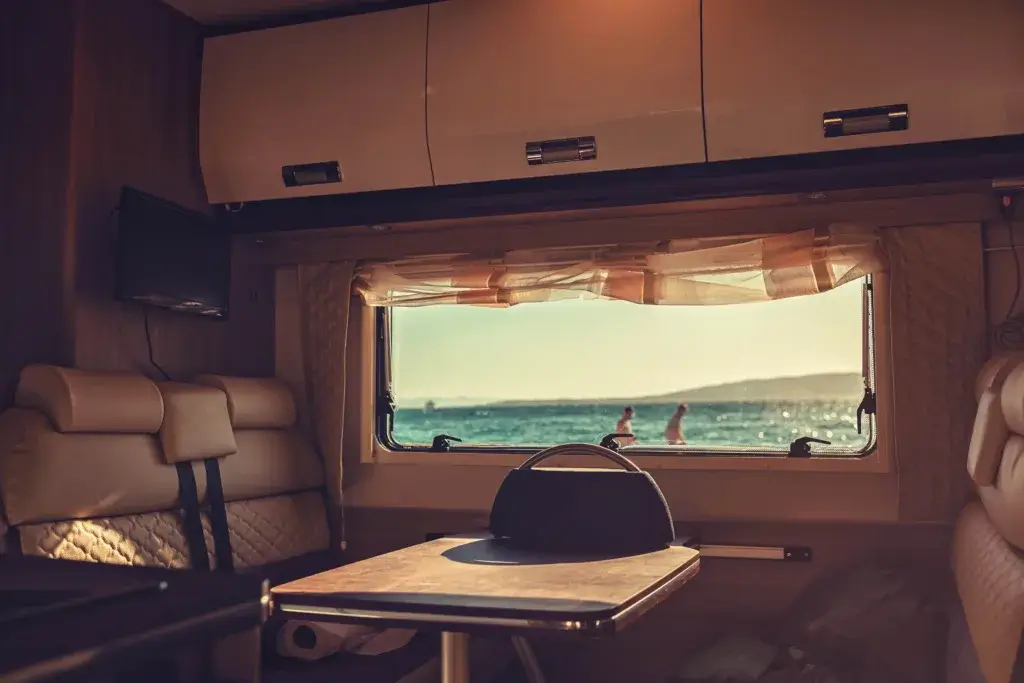
Practical upgrades keep daily routines smooth on the road. A compact kitchen, smart privacy fixes, and a few tech additions can turn a basic camper into a place you enjoy spending time.
Small Appliances and Kitchen Hacks
A well-planned galley makes cooking fun rather than frustrating. Compact appliances, such as an under-cabinet microwave-convection combo oven, handle everything from toast to roasted dinners while freeing up counter space. For more layout tips, see this guide to organizing small camper kitchens.
Beginner kitchen essentials:
- A magnetic spice rack or magnetic spice containers that stick to the fridge or any metal panel
- Nesting bowls and collapsible colanders that stack flat
- An over-the-sink cutting board for extra prep space
- A slim induction cooktop that slides into a drawer
Magnetic spice racks and knife strips keep counters clear and tools within reach. A pull-out counter extension doubles your prep area, then disappears when you’re done.
For outdoor cooking, a folding table and portable two-burner stove keep heat and smells outside on nice days. Inside, a corner sink with a high-arc faucet gives you a deeper basin without taking up much counter space. A 12-volt mini fridge with a small freezer runs on solar power and keeps food cold for days.
Good air circulation matters in a tiny kitchen, too. Crack a roof vent or run a small fan while you cook to reduce steam and condensation.

From reheating to grilling, this air fryer and convection microwave has it all! With 6 different cooking modes, including broil, combo cooking, air fryer, and more, you can cook anything from pizza to meat with ease.
Bathroom and Privacy Fixes
Privacy is rare in a small camper, especially when you’re traveling with others. A few inexpensive upgrades can create personal space without permanent walls.
Portable cassette toilets work well in compact wet or dry bath setups. They tuck under a bench or behind a panel, and you can empty them easily at dump stations.
For showers, a solar shower bag and a pop-up privacy tent let you rinse off anywhere. The sun heats the water, and the tent folds flat.
Budget privacy ideas:
- Accordion room dividers that fold against a wall
- Ceiling-mounted curtain tracks with blackout panels
- Foldable privacy screens that store between the mattress and wall
- Magnetic blackout panels cut to fit each window
A single curtain on a ceiling track can turn your sleeping area into a private retreat. Tracks glide more smoothly than rods and keep the fabric out of the walkway when open.
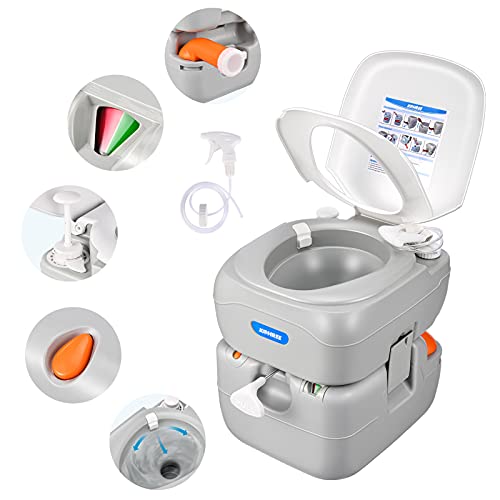
5.8 Gal Portable Toilet for Adults: Large Camping Toilet with Detachable Waste Tank, Flushable Boat Porta Potty for Home Use, Camper, RV Travel
Power and Connectivity for the Road
A few affordable tech upgrades keep you powered and online, even at remote sites. Solar panels paired with a lithium battery provide the foundation. For most beginners, a 200- to 400-watt kit covers lights, phone charging, and laptop use.
A cellular signal booster helps you stay online when you park far from a tower. It might mean working from a lakeside spot instead of driving into town for Wi-Fi.
Budget tech upgrades:
- USB charging outlets built into walls or furniture
- A 12-volt DC to AC inverter for standard plugs
- A portable battery pack for backup power
- Dimmable LED lights controlled by an app
Smart home gadgets can work well in a camper. Voice-controlled lights or a small temperature sensor help you manage power and keep routines simple. Entry-level smart bulbs and sensors start at around ten to fifteen dollars each. Once the basics are in place, explore more tech and gadgets that help organize and simplify camper living.

ECO-WORTHY 200 Watt 12V Complete Solar Panel Starter Kit for RV Off Grid with Battery and Inverter: 2pcs 100W Solar Panel + 30A Charge Controller + 100Ah Lithium Battery + 600W Premium Solar Inverter
Bringing Your Camper Makeover Together
Start by planning: spend a day in the space, measure everything, and split your budget so storage and comfort come first. Then use light paint, mirrors, plants, and soft fabrics to make the room feel more open and warm.
Put walls, under-bed space, and bench seats to work for storage, and choose furniture that folds, lifts, or rolls. Finish with warm LED lighting and practical upgrades like compact appliances, privacy curtains, and a starter solar kit. Tackle one project each weekend, starting with whichever problem bugs you most on your next trip.
Frequently Asked Questions
Which functional updates should come first in a camper remodel?
Start with a quality mattress, USB charging outlets around the space, and LED lights to replace old fixtures. Next, add a water filtration system and a compact microwave-convection combo oven to make daily life much easier.
How can a remodel free up more space in a small RV?
Use convertible furniture, like fold-down tables and lift-top benches, so each piece does several jobs. Add wall shelves, mount the TV and kitchen tools on the wall, and swap swinging doors for sliding ones to open up floor space right away.
What makes a camper sleeping area more comfortable and stylish?
Higher thread-count sheets and a plush comforter can turn the bed into a retreat. Blackout curtains around the sleeping nook block light, a wall-mounted reading lamp replaces a nightstand, and a small washable rug by the bed gives bare feet a soft landing.
What storage tricks keep a camper tidy and clutter-free?
Vacuum storage bags shrink bulky bedding and off-season clothes to a fraction of their size. Over-the-door organizers, magnetic strips for knives and tools, clear, labeled bins, and nesting containers make it easy to see everything at a glance and keep each cabinet neat.