
How to Find Free BLM Camping and Dispersed Sites
The first time I headed down a washboard forest road somewhere in Oregon, I wasn’t sure if sleeping there was even allowed. I had a screenshot of a map, no cell service, and my two German Shepherds panting in the back seat, wanting out of the truck.
We found a flat spot near an old fire ring, watched the sun disappear behind Mt. Hood, and slept better than we had in weeks. That night cost nothing.
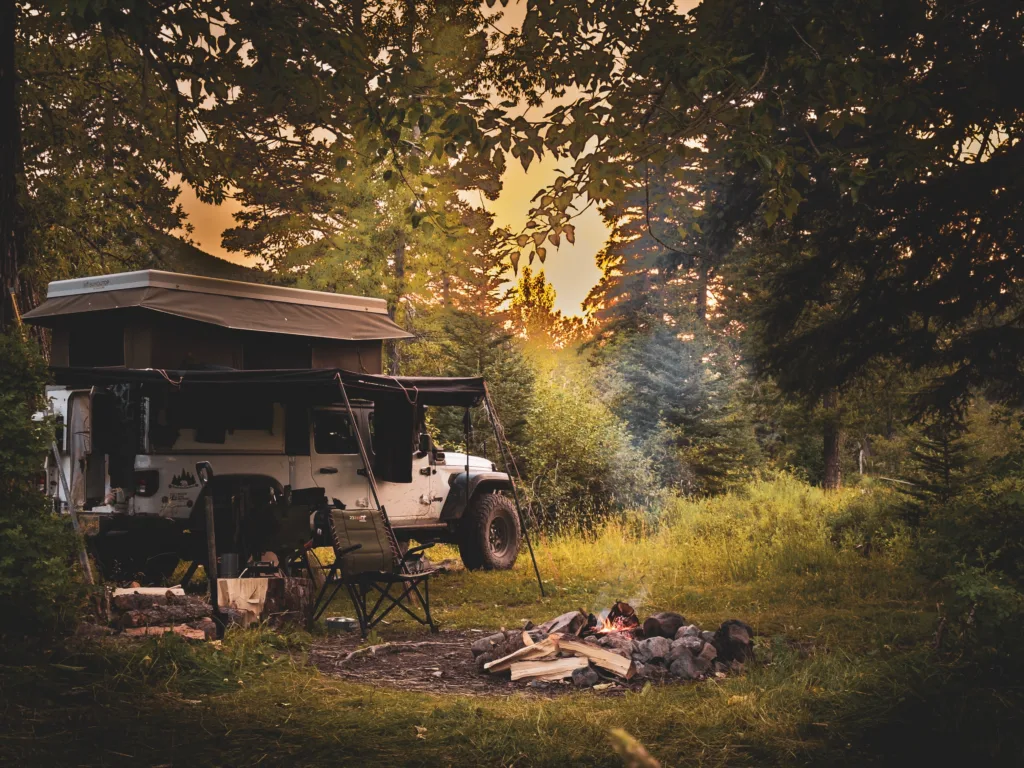
It also taught me that “free” and “legal” don’t always mean the same thing, and that’s where most people new to boondocking (myself included) get tripped up.
We’ve been camping on public land now since about 2016, first as weekend warriors, now full-time living on the road, and we’ve learned a lot.
Free BLM camping is absolutely real, and you can find it all over the western US, but you’ve gotta check that the land’s open to overnight use, camp where others already have, stick to the 14-day limit, and pack out everything you bring.
That’s the whole system. The rest? It’s just practice and figuring it out as you go. It gets easier with time.
This guide is what I wish I’d had that first night in Oregon: how to actually find legal dispersed sites, what “free” really means, how to prep for your first night, and how to camp so these places don’t get shut down.
If you want more stories, camper design ideas, or practical tips for camping with dogs, check out some of our other articles too. We’re here to help.
At-a-Glance: Rules Before You Park
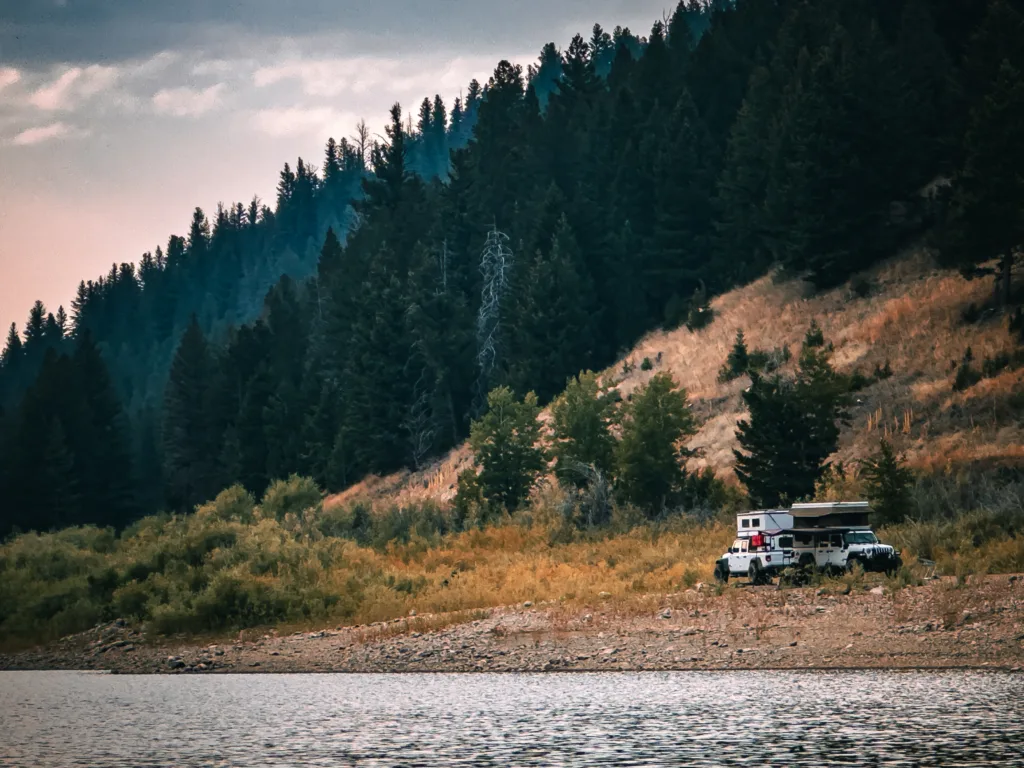
Most free camping on BLM land boils down to a handful of rules: make sure overnight camping’s allowed, respect stay limits, use existing sites and legal roads, pack out your waste, and check fire restrictions before lighting a campfire.
Here’s the short version before we break it down:
- Stay limit: Usually 14 days in a 28-day window, then move at least 25 miles away
- Distance: Camp at least 200 feet from water, and follow posted setbacks from roads and trails
- Roads: Stick to routes on Motor Vehicle Use Maps – no blazing your own trail
- Sites: Use spots and fire rings that already exist
- Waste: Pack out all trash; bury human waste 6–8 inches deep and 200 feet from water, or use a portable toilet
- Fire: Check current fire restrictions with the local BLM office before any campfire
- Cost: Free means no fee, but also no services, so bring your own water, toilet, trash bags, and power
- Quiet hours: Usually 10 p.m.–6 a.m., or as posted
- Verify locally: Rules change by field office, season, and even specific area
Confirm That Overnight Camping Is Allowed
Not all BLM land is fair game for camping. Some parcels are day-use only, wildlife closures, mining leases, or private land that just looks public on the map.
I’ve driven into more than one “BLM area” only to find a shiny new gate and a private property sign. It’s frustrating if you’ve been driving for hours.
When I find a spot, before I commit, I check three things: is it really BLM-managed, is there a posted closure, and is dispersed camping allowed anywhere or just in marked pullouts?
Popular spots near towns and national parks often have extra rules because they get hammered with people and traffic. Signs at the entrance are the final authority. If a sign says “No Camping” or “Day Use Only,” that’s the final word.
Our biggest hack for finding free dispersed camping is OnX Offroad. The app has a dispersed camping layer and a private land layer. We use this every single week, and it makes finding free legal camping so much easier.
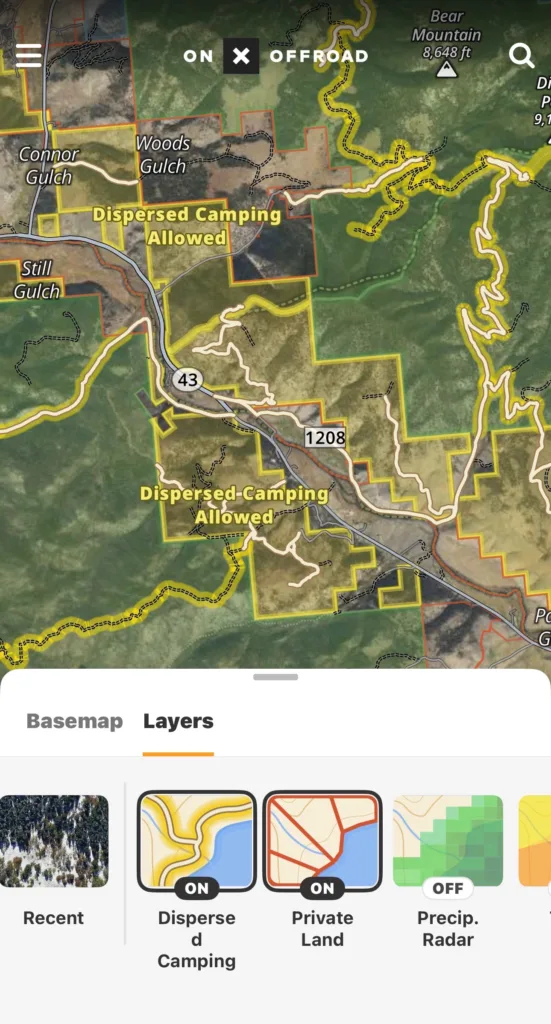

onX Offroad makes it easier to find legal, free dispersed camping on public land. Its Dispersed Camping Map Layer highlights areas where off-grid camping is permitted, while public-land and property-boundary maps help you understand where you can legally camp. You can also download maps for offline use, so you can locate campsites and navigate even when you’re beyond cell service.
Understand the 14-Day Limit and 28-Day Period
Most BLM land sticks to the 14 days camping in a 28-day period rule. After that, you’re supposed to move at least 25 miles, not just to the next turnout down the road.
Some field offices shorten the limit, especially in busy spots during winter. I’ve seen 7-day and 10-day limits in Arizona and Southern California. Rangers do keep track. They jot down plates and rig descriptions, and repeat offenders get warnings or tickets.
Use Existing Sites and Designated Routes
The best habit for dispersed camping is to camp where others already have. A flat, bare spot with an existing fire ring does no new damage.
Driving is the same; stick to existing roads. Desert soil often has this dark, crusty layer called cryptobiotic soil, and one tire track can wreck decades of growth.
Pack Out Waste and Respect Water Setbacks
There’s no trash service on BLM land. Whatever you bring in, you must bring out. That includes food scraps, toilet paper, those annoying little foil bits from the fire ring- all of it.
The usual rule is to camp at least 200 feet from any water source – spring, creek, stock tank, or lake. That keeps water clean and leaves wildlife access, since animals need the same water you do.
We use a portable toilet in the camper, which makes things easier and keeps us legal where burying waste isn’t allowed. For dishes, I strain gray water and scatter it far from water, never dumping it all in one spot.
Check Fire Restrictions Before Lighting a Fire
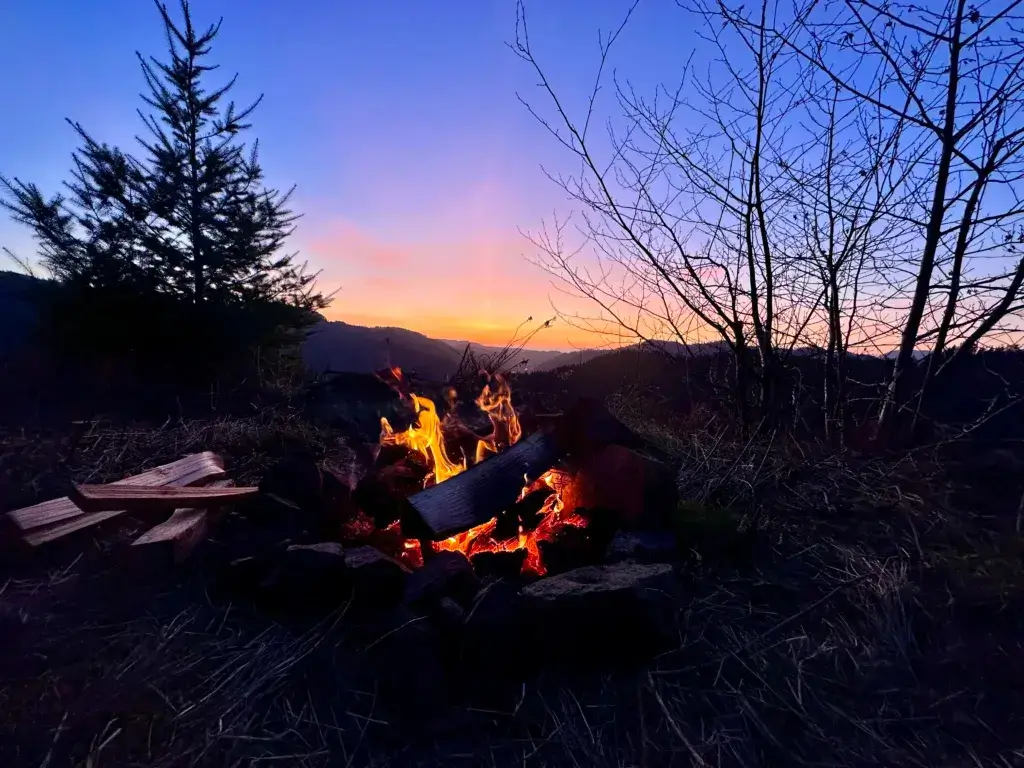
Fire rules change fast out West – sometimes weekly. A campfire that’s fine in April might get you a ticket in July.
Before lighting anything, I always check with the local office for current restrictions. Stage 1 usually means fires only in developed rings. Stage 2 can ban all open flames, including charcoal, and sometimes even restrict generators or parking on dry grass.
Some states even have websites with up-to-date fire restrictions, which is helpful.
If fires are allowed, use an existing ring, keep it small, and drown it until the ashes are cold to the touch. I’ve poured more water on a fire than I thought possible, and never regretted it once.
With fires raging all summer long, this is extremely important.
Choose the Right Kind of Public-Land Stay
Free camping isn’t just one thing. Dispersed sites give you real solitude and zero services. BLM and Forest Service campgrounds charge a small fee for a vault toilet and a picnic table. Long-Term Visitor Areas in the desert offer a permit system for winter stays.
Picking the right one for your rig, budget, and comfort saves a ton of frustration.
Dispersed Sites Versus Developed Campgrounds
Free dispersed camping means no fee, no reservation, no assigned spot, and no services. You find a legal spot, park, and take care of everything yourself.
Developed BLM campgrounds usually cost a modest nightly fee and give you a defined site, a fire ring, a picnic table, and often vault toilets. Some have water and a dump station.
For a first trip, a cheap developed campground is a great way to get your feet wet. You get most of the remote feeling but with a safety net.
When a National Forest May Be a Better Fit
BLM land is mostly desert and open range. National Forest land managed by the USFS gives you trees, shade, and cooler temperatures, and dispersed camping is legal in most national forests under similar rules.
In July and August, we head for higher elevation and camp in national forests almost exclusively. The trade-offs are real – forest roads can be rough and narrow, sites are often tighter for a truck camper, and rain can turn the road to mud.
Fire restrictions are often stricter in forests during dry months. Motor Vehicle Use Maps matter even more, since forest road networks are dense and not every road allows camping alongside it.
Long-Term Visitor Areas for Winter Stays
If you want to park in the desert for months instead of weeks, BLM Long-Term Visitor Areas (LTVAs) are designed for you. They’re mostly in southern Arizona and southeastern California and use a permit system instead of the 14-day rule.
A seasonal permit covers a long winter stay and usually includes basics like water, trash, and a dump station, depending on the spot. Short-term permits exist too.
LTVAs aren’t remote or quiet in peak season – thousands of RVs show up – but the cost per night is dirt cheap, and the community is friendly. For budget travelers wanting a winter base, it’s one of the best deals out there.
What Free Actually Includes, and What It Does Not
Free means no camping fee. That’s it.
What you don’t get: potable water, toilets, showers, trash cans, dump stations, picnic tables, electricity, cell service, or any guarantee of help. What you do get: quiet, space, big sky, and the freedom to pick your own view.
The hidden costs for beginners are real, though. Water jugs, solar or a portable power station, a portable toilet, and extra fuel for getting to remote areas all add up. Once you have those essentials, the nightly cost really drops to zero, and that’s what makes long-term travel doable on a tight budget.
Find a Legal Site Without Guesswork
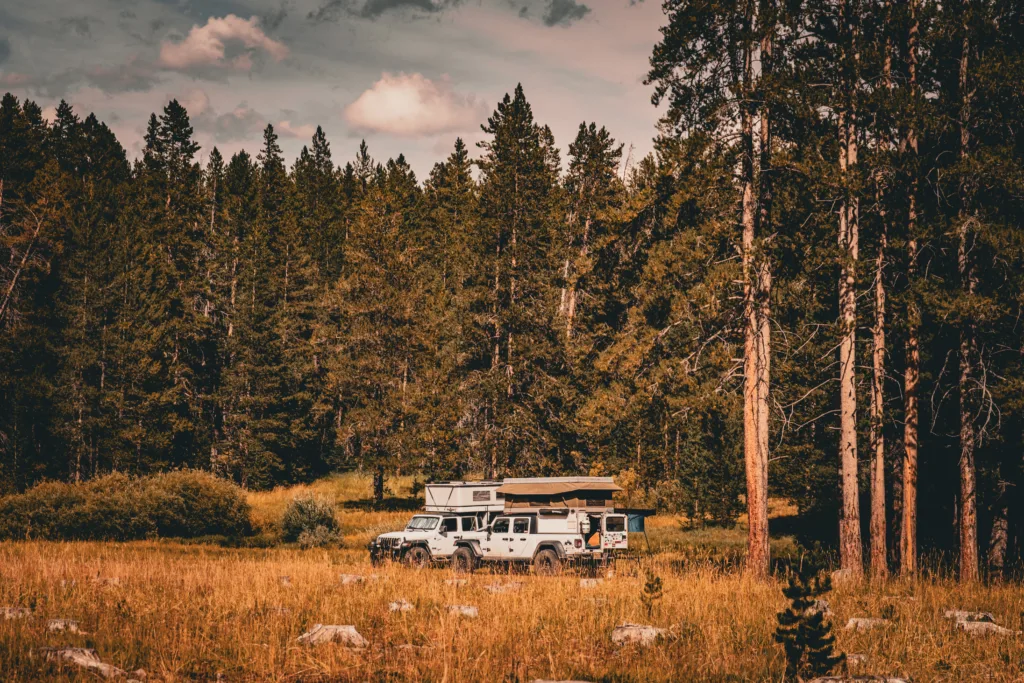
Finding a legal free site is a layered process. Start with official BLM and USFS maps to check land ownership and legal roads. Cross-check community apps for current conditions.
Read the clues about road quality and whether your rig will fit. Always have a backup in mind in case you show up after dark to find a spot full or closed.
We can’t recommend OnX Offroad enough; it never lets us down. Other useful apps we’ve used are Gaia and No Roads.
Start With Official BLM and USFS Sources
Before I had a subscription to a GPS map, I always started with the BLM website and Recreation.gov. The BLM’s interactive maps lay out land ownership and managed areas. Recreation.gov lists developed campgrounds, permits, and seasonal notices.
The Motor Vehicle Use Map (MVUM) is the other must-have. These free maps show which roads are legally open to motor vehicles and often note where roadside camping is allowed. You can usually download them or grab a paper copy at a field office. If you’re new to an area, the MVUM will allow you to drive confidently instead of just hoping for the best.
Official sources are the only way to get up-to-date info on seasonal closures, road washouts, and current fire restrictions.
Use Land-Ownership Layers Before Community Pins
Apps like Campendium, freecampsites.net, and The Dyrt are genuinely useful, but they’re loaded with pins that are outdated, on private land, or in areas that closed ages ago.
My rule: find a pin, then double-check it with a land-ownership layer before heading out. Most mapping apps have overlays that show BLM, Forest Service, state trust, and private boundaries in different colors. If the pin sits on a patchwork of public and private, I skip it. Western land ownership is a mess – one section line, and you’re on someone’s ranch. And they’re not always friendly….
Community reviews fill in the gaps that official maps never cover, like whether the road’s gotten worse, if there’s trash, if cell service works, or if the spot’s a zoo on weekends.
Read Road Access and Vehicle-Fit Clues
Photos and reviews tell you more than you might realize. I look for tire tracks, ruts, rock size, and how tight the turnaround looks in the images.
Stuff I check before I commit:
- Surface type: Graded gravel, deep sand, clay, or rock ledges
- Grade: Steep pitches with loose surface are the ones that strand people
- Width: Can I back out if the spot is full?
- Turnaround: Is there room at the end for my rig plus a trailer if I had one?
- Clearance: Overhanging branches matter for anything tall
- Weather sensitivity: Clay roads that are fine dry become impassable wet
If a review says “high clearance recommended,” believe it. If it says “4WD required,” take it seriously.
Create an Offline Backup Plan
Cell service always disappears the moment you leave the pavement. Before I lose signal, I download offline maps for the whole region, not just my route. OpenStreetMap-based apps and Avenza-style PDF map readers are solid for this. MVUMs work as georeferenced files, so I can see my position with no signal.
I save two backup sites for every main site. If the first spot’s taken, closed, or the road’s a mess, I’m not stuck making decisions in the dark with tired dogs and a hungry partner. That habit’s saved more evenings than any fancy gear.
I always keep a paper map in my door pocket. It never fails to load.
Call the Office That Manages the Area
The most underrated tool in dispersed camping is a phone call. BLM field offices have people who know their district better than an app.
When I call, I ask specific questions: Is dispersed camping allowed on this road? What’s the stay limit? Are there fire restrictions right now? Will the roads handle a one-ton truck with a camper? Any closures I should know about?
They usually answer in five minutes; they’re almost always friendly, and I’ve never had anyone get annoyed by a beginner question. Stopping in person is even better; they’ll hand you free maps and sometimes point out a better spot right on paper.
Plan a Self-Sufficient First Night
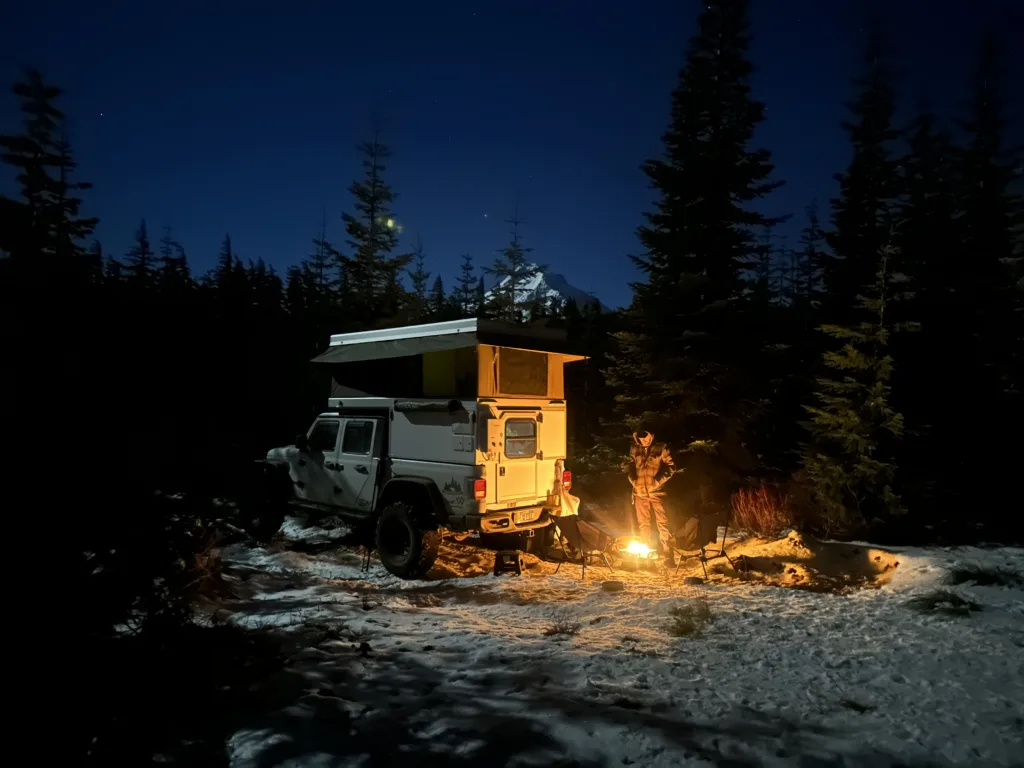
A good first boondocking night comes down to four things: driving a road that matches your rig and your nerve, carrying enough water and power to be truly independent, arriving with daylight to spare, and setting up camp so you and your dogs, family, and friends are comfortable.
Match the Road to Your Rig and Driving Confidence
Be honest about what you’re driving. A van or small truck camper can handle way more than a 35-foot fifth wheel, but in reality, the driver’s experience matters more than the vehicle.
My rule for a new road: if I wouldn’t want to back down it, I don’t drive up it. I can’t tell you how many times I’ve driven down a narrow road and had to make a 15-point turn because it was a super tight turnaround.
If you’re in an RV or towing, this becomes an even bigger challenge. You don’t want to get stuck in a bad position. Getting towed off a remote road can cost hundreds, and you might not even have cell service to call for help.
Always check road conditions after rain. Desert dirt roads look solid and then swallow a tire. Walking the last stretch before driving it takes ten minutes and answers most questions.
Bring Water, Power, and a Waste Plan
Self-sufficiency is the whole skill of boondocking. My suggestions:
- Water: 1–2 gallons per person per day, plus extra for dogs and dishes. I always carry a spare jug.
- Power: Solar plus a battery bank, or a portable power station for shorter trips. Track what you actually use for a weekend, and you’ll know your real number.
- Waste: A portable toilet or cathole kit, sealed trash bags, and a separate bag for recycling.
- Gray water: A container or a plan to strain and scatter it far from water and camp.
- Fuel: Fill up before leaving pavement. Remote areas mean long backtracks.
Figure out where the nearest potable water source and dump station are before you head out if you’re in an RV. Small town campgrounds, some gas stations, and certain BLM developed sites usually have both.
Build a Safe Arrival and Exit Routine
I try to arrive at least two hours before sunset. Everything about picking a spot is easier in daylight. Reading the ground, checking for glass and nails, spotting washes that flood, and seeing if the site is actually level.
On arrival, I check:
- Am I in a dry wash or a drainage? Never camp in one.
- Is anything dead hanging above me? (trees, branches)
- Is the ground firm where my tires will sit?
- Which way is out if I need to leave fast?
I park nose-out when I can. Before bed, one of us walks the site to note the exit route and any soft spots. Someone outside our travels always knows roughly where we are and when we expect to have service again.
Set Up a Comfortable Camp With Dogs

Traveling with two German Shepherds changed how we camp. Dogs need shade, water, and a boundary they understand.
If there’s no shade, we create shade right away with our awning. If you don’t have an awning, a tarp or a pop-up tent usually works. Put out a water bowl that won’t blow over in the wind, and keep leashes on until we know the terrain.
Cactus spines, foxtails, and snakes are real hazards in desert camping, so I check paws every evening if we’re in that kind of area. I also scan the campsite for any glass, trash, human waste, etc. (Yes, human waste- people can be gross, and trust me, your dog will find it.)
Heat is the bigger danger. A camper heats up fast in the sun, so if we’re hiking, we plan it for early morning and evening, and never leave the dogs inside without ventilation and a way to monitor temperature.
We bag and pack out the dogs’ waste, same as ours. Barking travels absurdly far in open country, so we do our best to keep the dogs close and calm after dark. A comfortable camp isn’t just about the view – it’s about everyone in the rig being able to relax and enjoy the trip.
Camp With Care So Access Stays Open
Free dispersed camping stays free because enough people take care of it. What matters most: stay on durable ground, pack out every scrap, follow fire rules (including permits in California), and give other campers room and quiet.
Protect Soil, Vegetation, Wildlife, and Cultural Sites
Leave No Trace isn’t just theory out here. In the desert, damage sticks around for decades. Don’t be that person.
Practical version: park on bare, already-used ground. Don’t drive around a puddle and widen the road. Don’t pull rocks apart to build wind blocks. Don’t cut branches, living or dead – dead wood is habitat.
Give wildlife space and never feed anything, including those “friendly” ground squirrels and chipmunks. Fed animals become problem animals and then dead animals.
Cultural sites are everywhere on public lands in the Southwest. Rock art, pottery shards, old walls, and stone tools are protected by federal law. Look, take photos, and leave everything exactly where it sits. I’ve found flakes of worked stone at more than one campsite, and they stayed put.
Handle Trash, Gray Water, and Human Waste Responsibly
Pack out everything. That means cigarette butts, bottle caps, twist ties, pistachio shells, and orange peels – they don’t break down quickly in dry climates.
I keep a trash bag clipped inside the camper door and a second bag for anything I pick up that someone else left. It takes five minutes, and it’s the single highest-value thing a camper can do for the reputation of dispersed camping.
Strain gray water to catch food bits, then scatter it at least 200 feet from any water source. Never dump it in one puddle next to the rig.
Human waste gets packed out in a portable toilet or buried in a cathole 6–8 inches deep, 200 feet from water, trails, and camp. Toilet paper gets packed out. Please, please, please don’t leave toilet paper. I see it around all the time, and it’s nasty.
Follow Local Fire Rules and California Permit Requirements
Fire rules are the most location-specific thing in this whole guide, and they change all the time.
In California, you need a California Campfire Permit for any campfire, charcoal fire, or portable gas stove on most public lands outside developed campgrounds. It’s free, online, and takes about fifteen minutes, including a short video. Carry it with you – I keep a photo of ours on my phone and a printed copy in the glove box when we’re in California.
Everywhere else, check the current restriction level with the managing office before you plan on a fire. Use existing rings only, keep flames low, never leave a fire unattended, and drown it completely. When restrictions are in place, a propane stove and a good headlamp work fine. No fire is worth burning down the entire forest.
Be a Considerate Neighbor on Shared Public Land
Space is the currency of dispersed camping. If I see a rig already parked, I keep driving and find something out of their view. If the only option is close, I wave and ask if the spot next to them is okay.
Quiet hours are roughly 10 p.m. to 6 a.m. Generators, music, and voices carry way farther than you’d expect. We run our generator midday, if at all, and rarely.
Other small things that go a long way: drive slowly through camping areas so you don’t throw dust, aim your headlights away from other rigs at night, keep dogs leashed and quiet, and don’t shine bright lights toward neighbors. Most boondockers came out here for the same reason you did – give them what you want.
Inspiring Regions to Research Responsibly
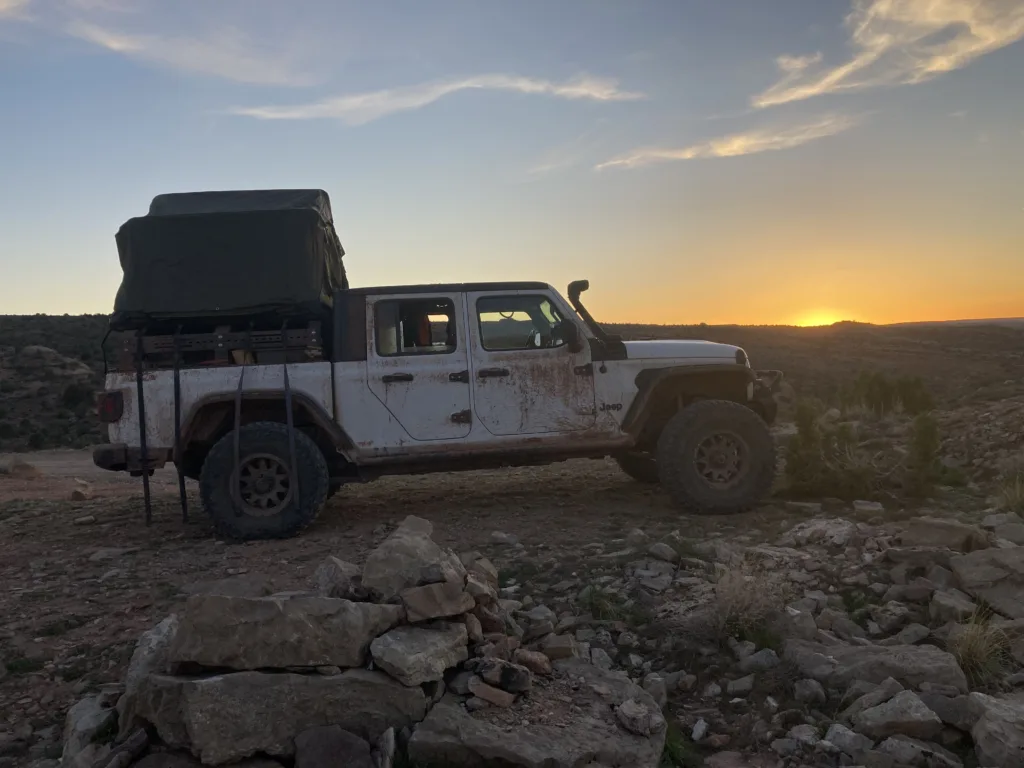
These are places we’ve camped or scouted – think of them as research starting points, not GPS pins. Desert areas in California and Arizona are winter classics. The high deserts of Utah, Nevada, and New Mexico open up in spring and fall. Every one of these spots has local rules that change more often than most blog posts get updated.
Desert Camping Around Alabama Hills and the Mojave Desert
Alabama Hills near Lone Pine, California, is probably the most photographed free camping area in the country. Rounded granite boulders, arches, and Mount Whitney stand behind it. It’s also heavily used, which means designated camping areas, tighter rules, and real enforcement. Check the current management plan before you go. It’s changed a lot lately.
The Mojave Desert stretches across California and Nevada with volcanic craters, Joshua trees, and long dirt roads to primitive spots. Solitude is easy to find here. So is trouble if you underestimate the heat, the sand, or the distance to the nearest gas station. Spring and fall are the best. Summer? Honestly, it’s dangerous.
Arizona and California Winter Options
Southern Arizona pulls in a ton of full-time travelers every winter, and I get why. The days stay mild, nights are cold and clear, and there’s a ton of BLM land near towns with water and dump stations.
Agua Fria National Monument sits north of Phoenix. You get high desert grassland, canyon country, and quiet spots to camp along some pretty rough roads.
If you want to try Agua Fria, you really need a high-clearance vehicle. Route planning matters out there. I’ve seen people get stuck because they underestimated the roads.
Southeastern California and southwestern Arizona have the Long-Term Visitor Areas (LTVAs). These are, hands down, the cheapest way to winter out west.
Buy a seasonal permit, and you’re good for months. If you’re new to this, starting out in an LTVA is actually pretty friendly. People are close by and usually happy to help.
High-Desert Possibilities in Utah, Nevada, and New Mexico
Utah’s red rock country offers some incredible dispersed camping. But heavy use near the national parks means lots of spots have switched to designated-site-only rules.
Do yourself a favor and check the rules for the exact BLM field office before you go. Just looking up the general region won’t cut it. I’ve learned that the hard way.
Nevada feels wide open and empty, which I love. It’s all basin and range, with hot springs and cool stuff like Antelope Spring Cave if you’re into geology.
But the roads out there are long, gas stations are few, and cell service is more of a rumor than a reality. I always fill up before heading deep in.
New Mexico mixes high desert, volcanic land, and pinyon-juniper country. It usually has fewer crowds than Utah or Arizona.
Spring and fall are the sweet spots. Winter at elevation? Gets cold and snowy. I personally love snow but you’ve got to be equipped for it.
Use Landmark Areas as Starting Points, Not Automatic Campsites
Every well-known free camping spot has a predictable life cycle. First, it’s quiet; then people catch on, and suddenly it’s crowded and regulated.
Alabama Hills? Saw it happen there. Moab and Sedona? Same deal.
If you see a spot featured in a ton of videos, it’s probably going to have designated sites, permits, or even closures soon. That’s just how it goes. Unfortunately.
I’ll pull up the field office boundaries and check the MVUM. Then I start poking around for less famous roads nearby. Some of my best nights have been down a random road that nobody bothers to photograph.
Before I commit, I call the local office to double-check. Articles (including this one, let’s be real) get outdated fast.
The folks managing the land? They’re the ones who actually know what’s up.